Paul Dean updated September 25, 2014 at 6:38 PM
...
- How do I upgrade or downgrade my gfortran? How do I upgrade or downgrade my gfortran?
When connecting from outside the UCSD network and not using AFP, VPN is required. Click here to learn [How to VPN into the UCSD network].
32Bit -> 64Bit
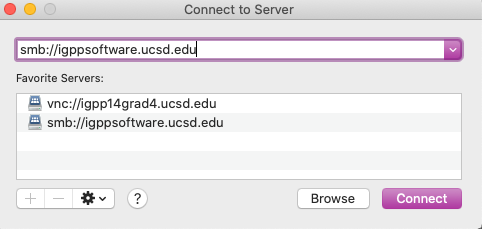
- In Finder, go to Go in the top menu and choose Connect to Server.., or just press ⌘ + K.

- Type in afpsmb://igppsoftware.ucsd.edu and click 'Connect'

- Type in your Open Directory AD username and password.
- Mount the igppsoftware volume.

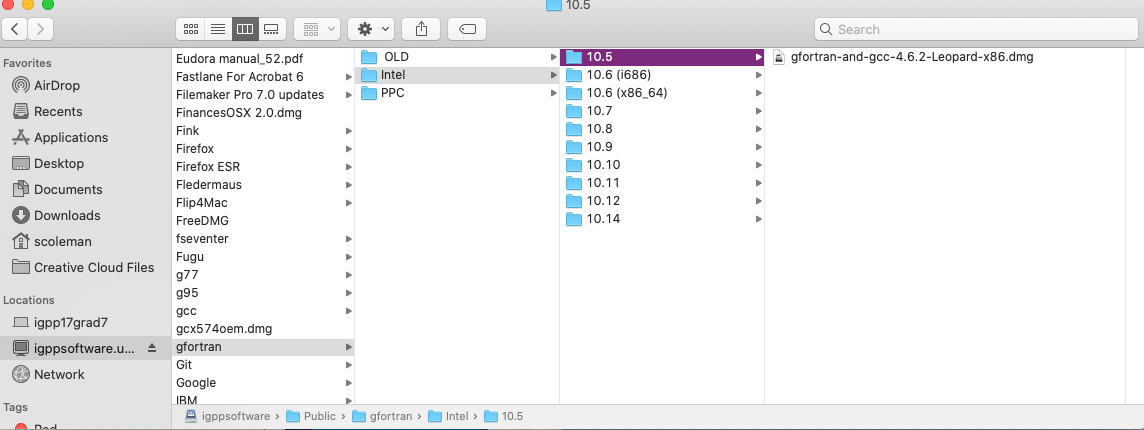
- Navigate to the gfortran gfortran folder within the Public folder.
- Open the 10.6 (x86_64) folder inside of the Intel Intel folder and mount gfortran-4.5.0-x86_64-SnowLeopard.dmg

- Run the installer as you would normally.
----------------------------------------------------------------------------------------------------------------------------------------
64bit -> 32bit
- In finder, go to Go in the top menu and choose Go to Folder.

- Type in /usr/local and click OK.

- Drag the gfortran folder to the trash.

- Authenticate with your computer password.
- In finder, go to Go Go in the top menu and choose Go to Folder.
- Type in /private/var/db/receipts /private/var/db/receipts and click OK.
- Drag the receipts labeled com.gnu.gfortran.plist & com.gnu.gfortran.bom to trash.

- Authenticate with your computer password.
- In finder, go to Go in the top menu and choose Connect to Server.
- Type in afpsmb://igppsoftware.ucsd.edu and click 'Connect'.
- Type in your Open Directory AD username and password.
- Mount the igppsoftware igppsoftware volume.
- Navigate to the gfortran gfortran folder within the Public folder.
- Open the 10.4 and 10.5 10.4 and 10.5 folder inside of the Intel Intel folder and mount gfortran-macosx-x86.dmg

- Run the installer as you would normally.
If you need further assistance, please contact IGPP NetOps.