Presenting in the Munk and Revelle Conference Rooms
Summary:
This page explains how to present using the projectors in the Munk and Revelle Conference rooms for special events.
Presenting in the Munk Conference Room
Connecting to Projector via HDMI
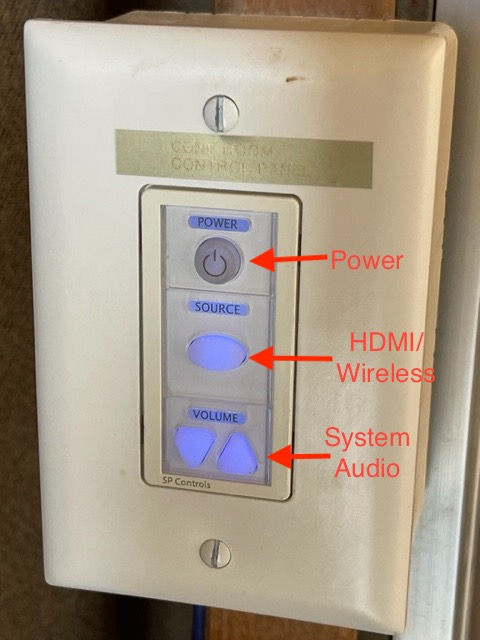
- Go to the main interface panel (side of chalk board), push Power Button (top button).
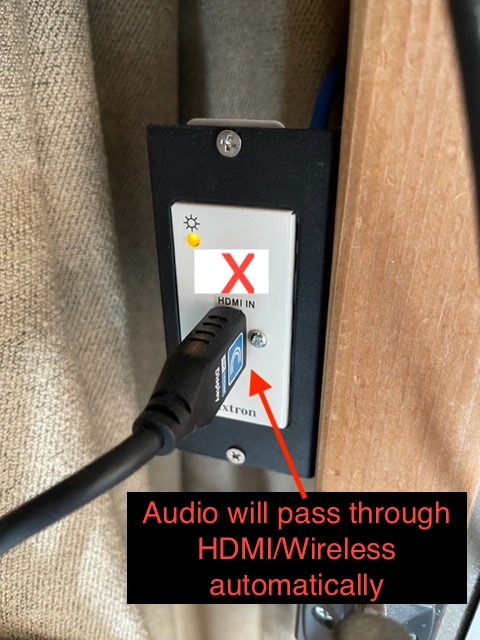
- The source will automatically set itself once you plug the HDMI/USB-C cable into your device.
- Once connected via HDMI or wirelessly, you can control the room's audio with the audio controller.
- If using HDMI the audio will automatically pass from the computer to the speakers within the HDMI cable.
- When done presenting, please power off the projector by double pressing the power button at the top of the button panel to preserve the life of the projector bulb.
Connecting wirelessly
- Power on the projector.
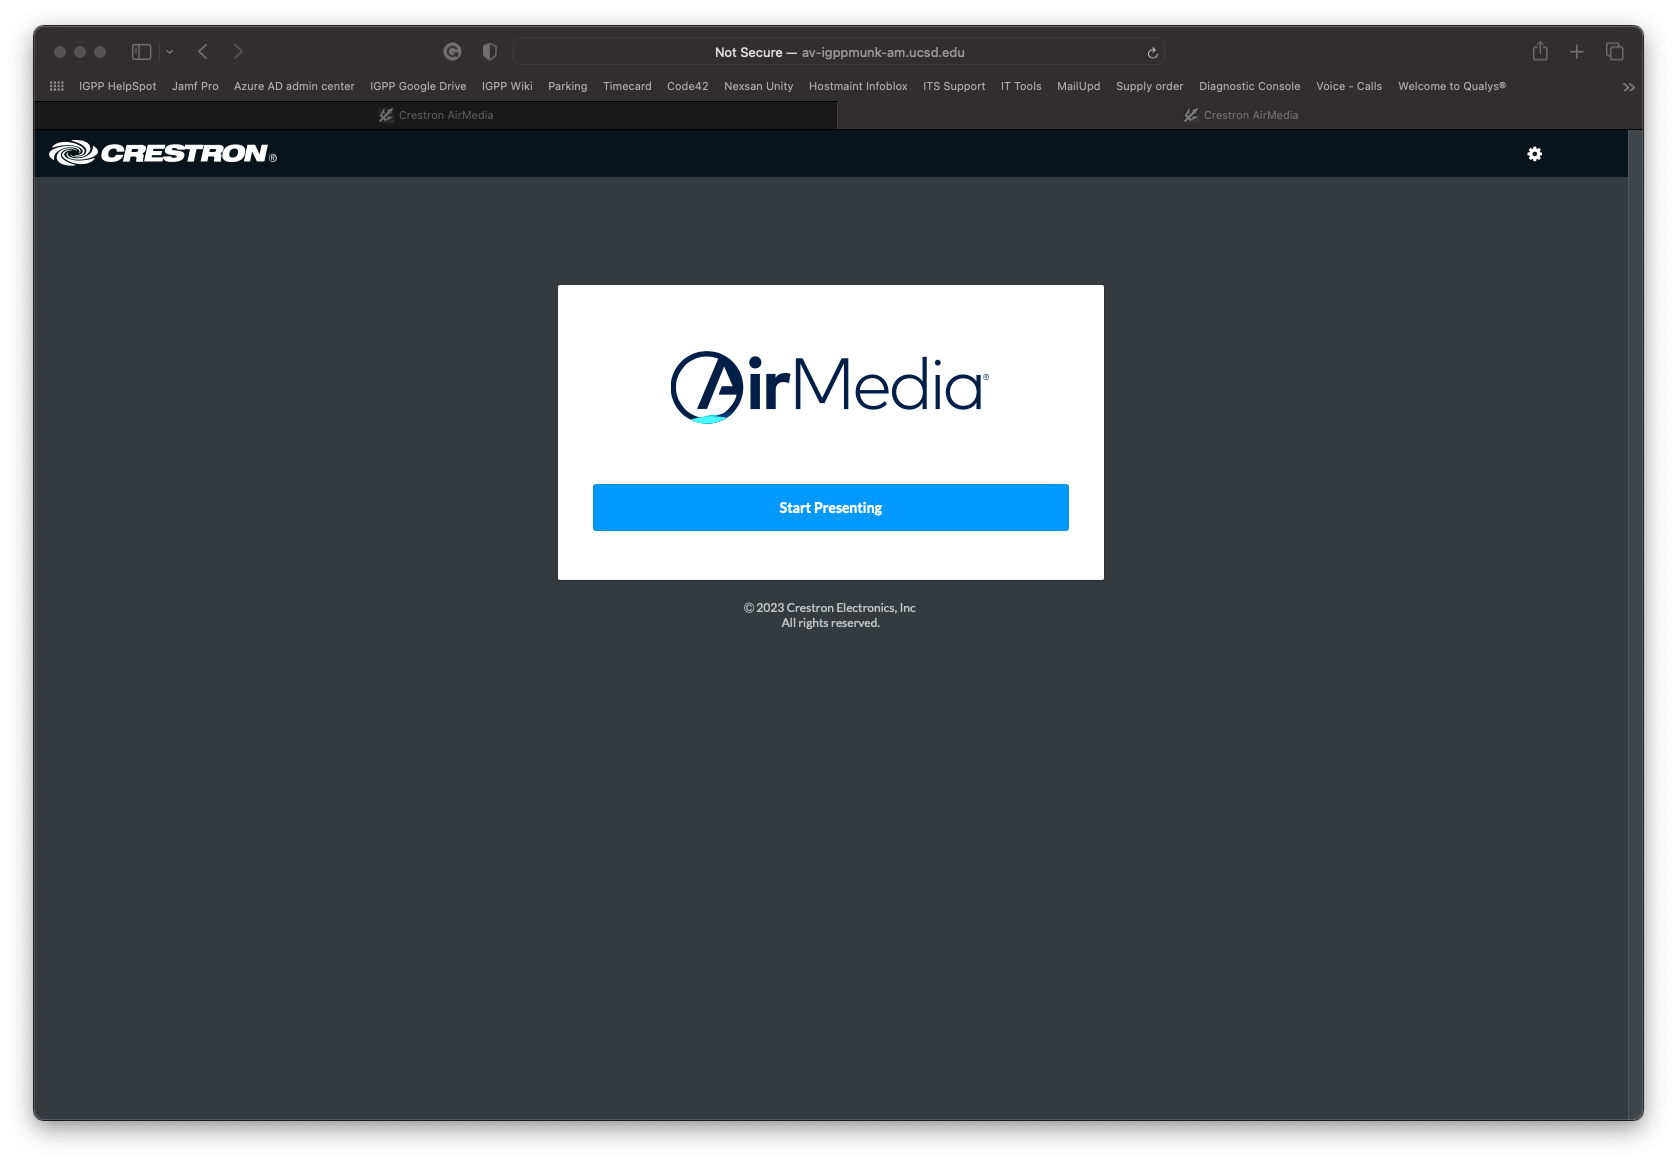
- Navigate to https://av-igppmunk-am.ucsd.edu to take you to the AirMedia homepage.
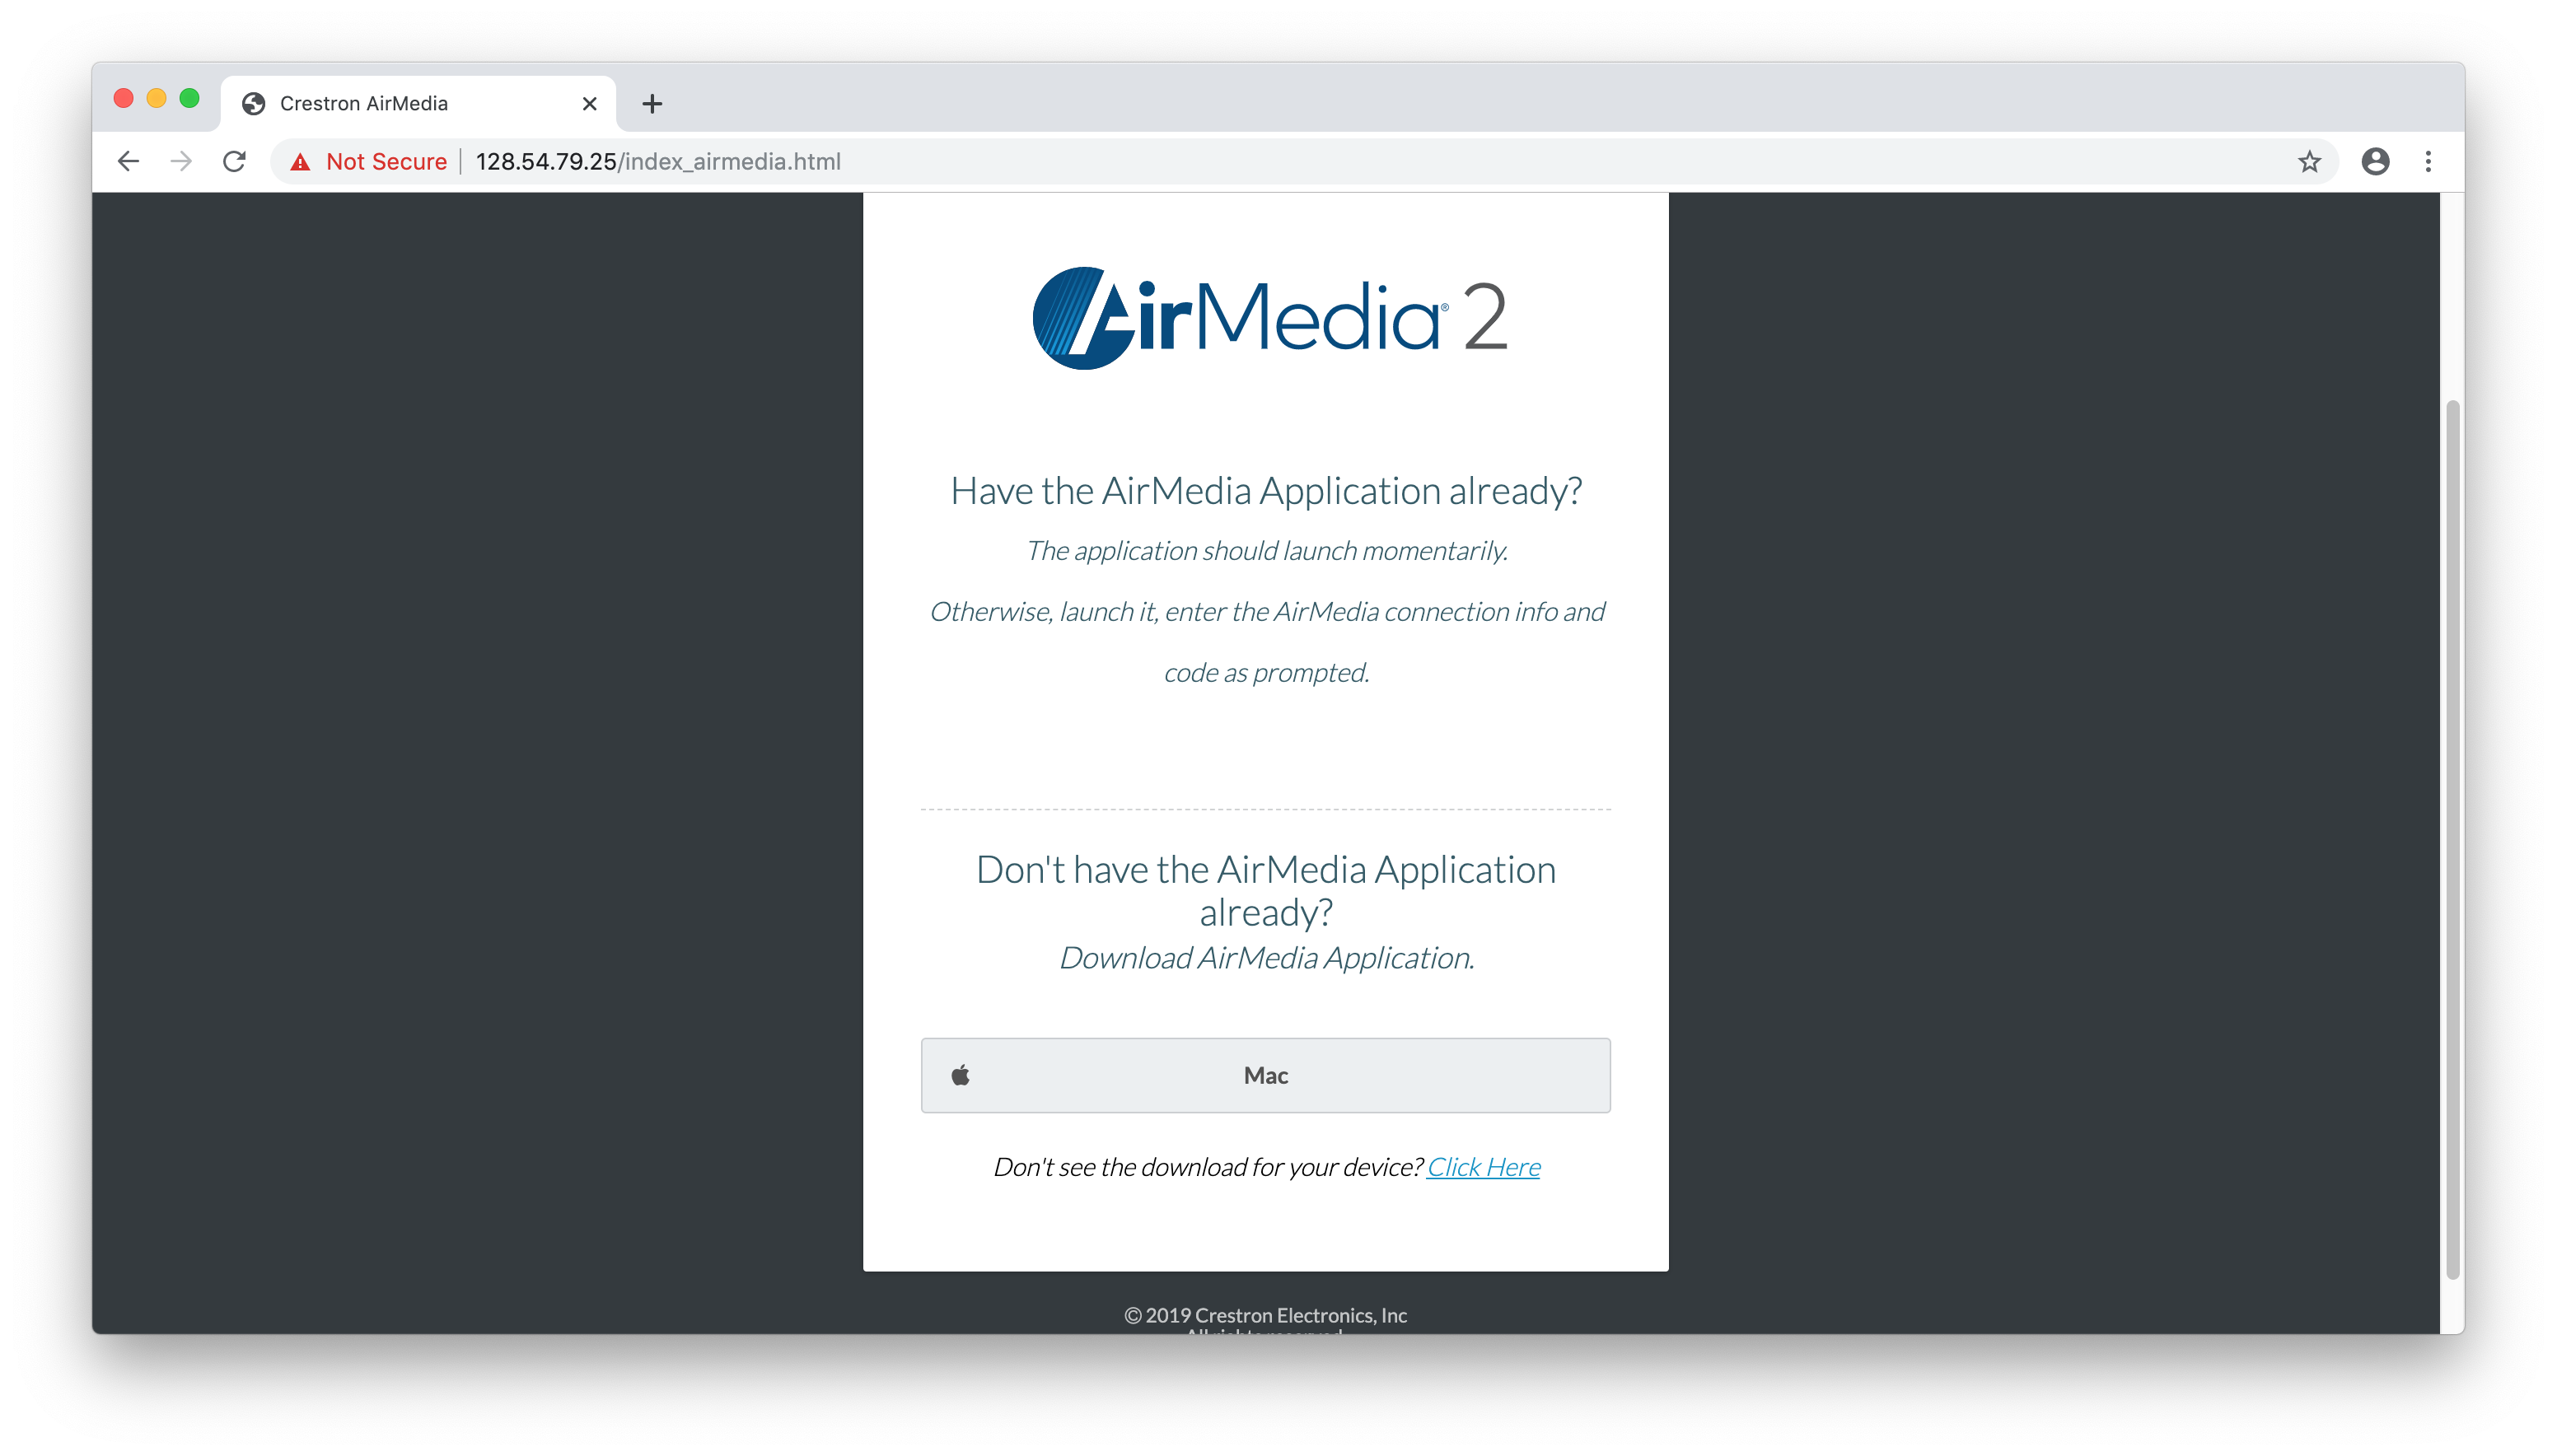
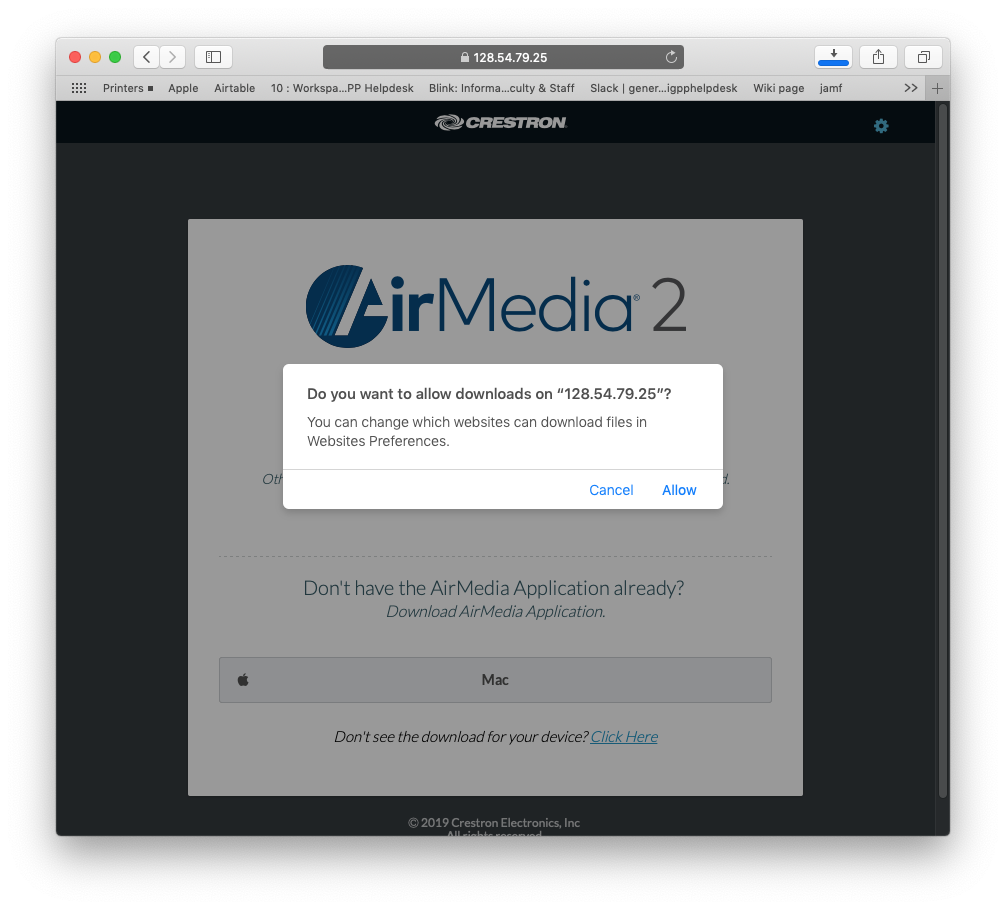
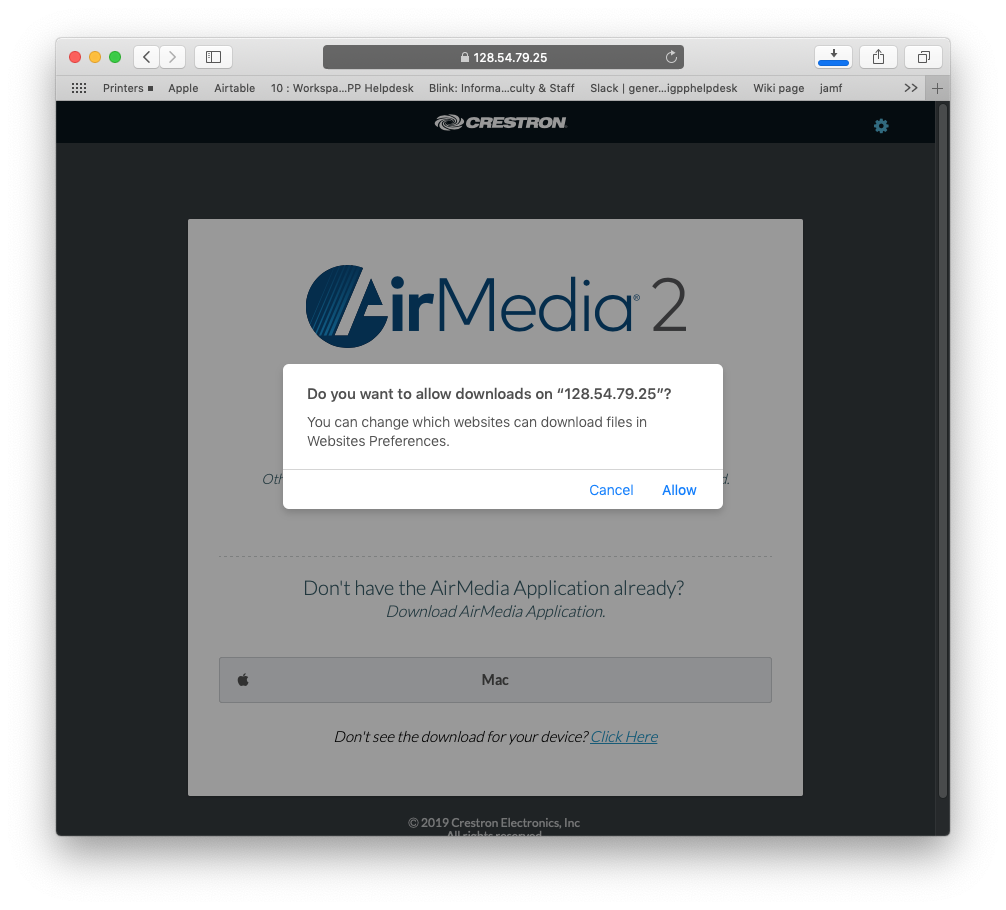
- Click Mac in the grey box to download the software.
- Click Allow to start the download.
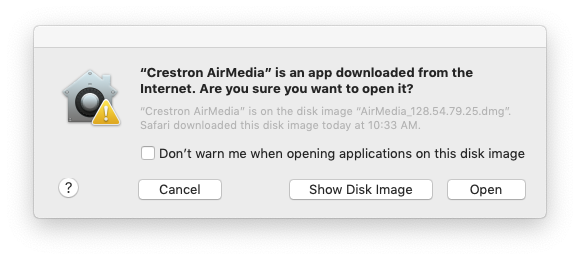
- In your Download folder, open up AirMedia file.
- Select Open this file.
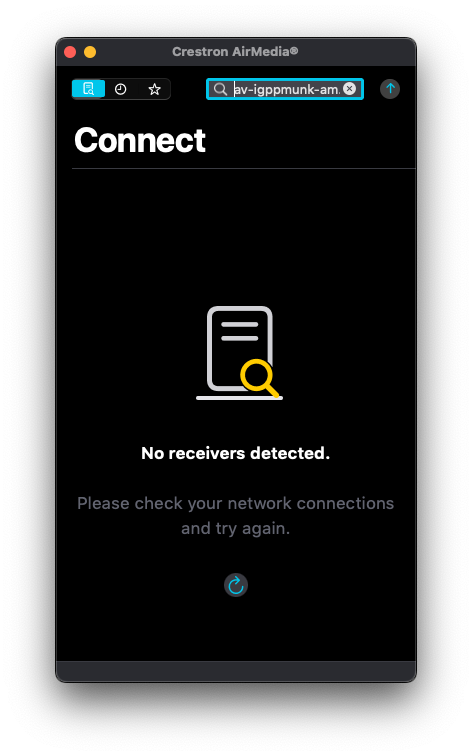
- In the Crestron AirMedia app, enter the hostname of the projector if it does not automatically populate at launch: av-igppmunk-am.ucsd.edu or you can used the IP address 172.19.40.96
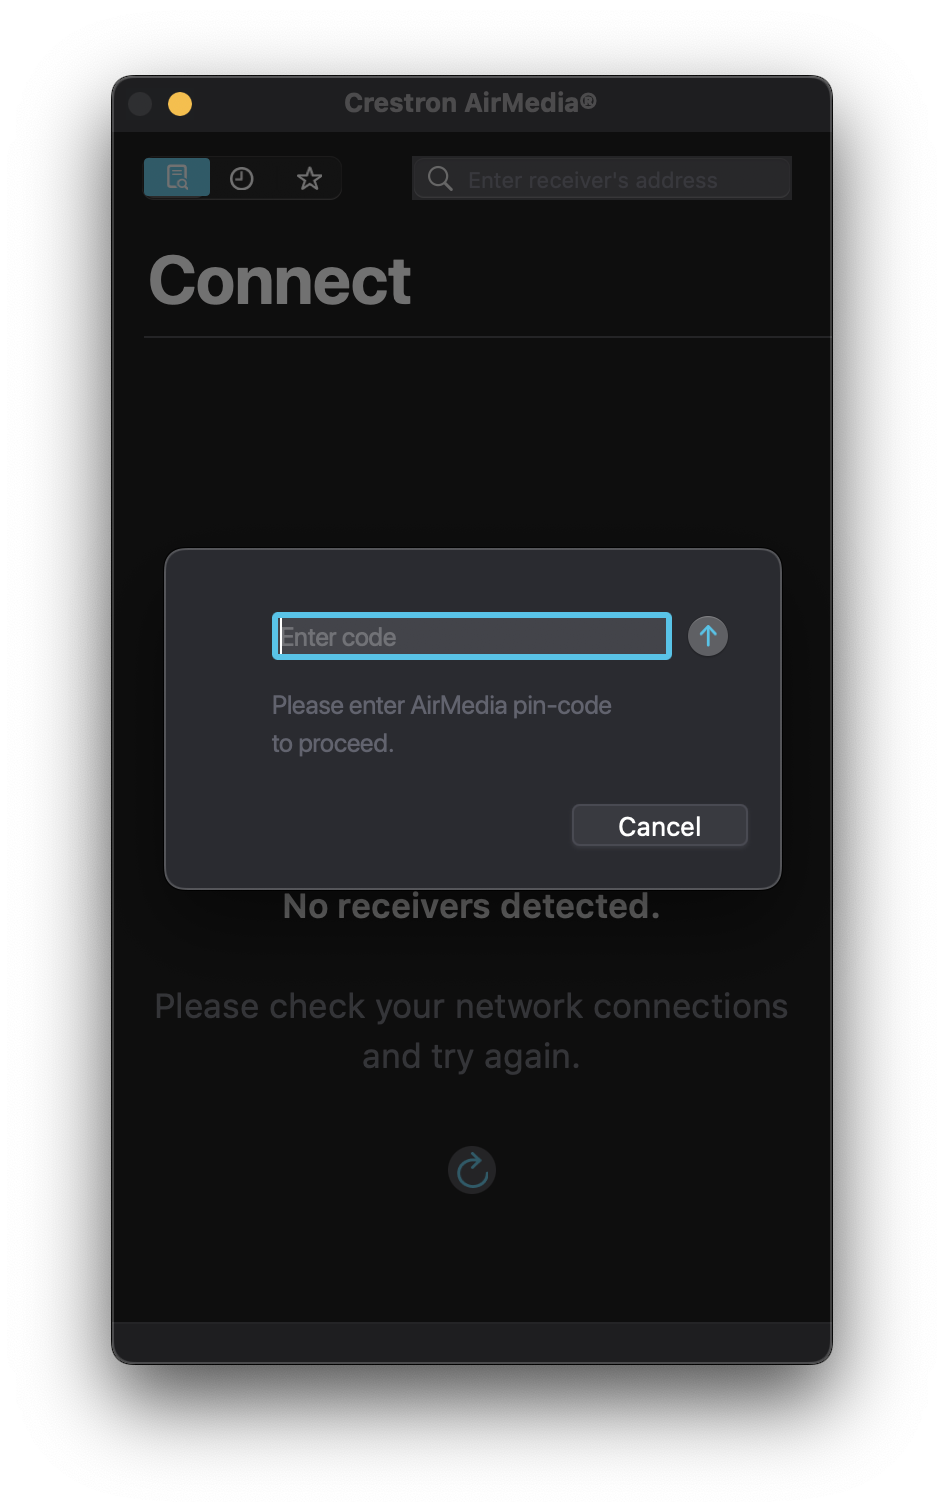
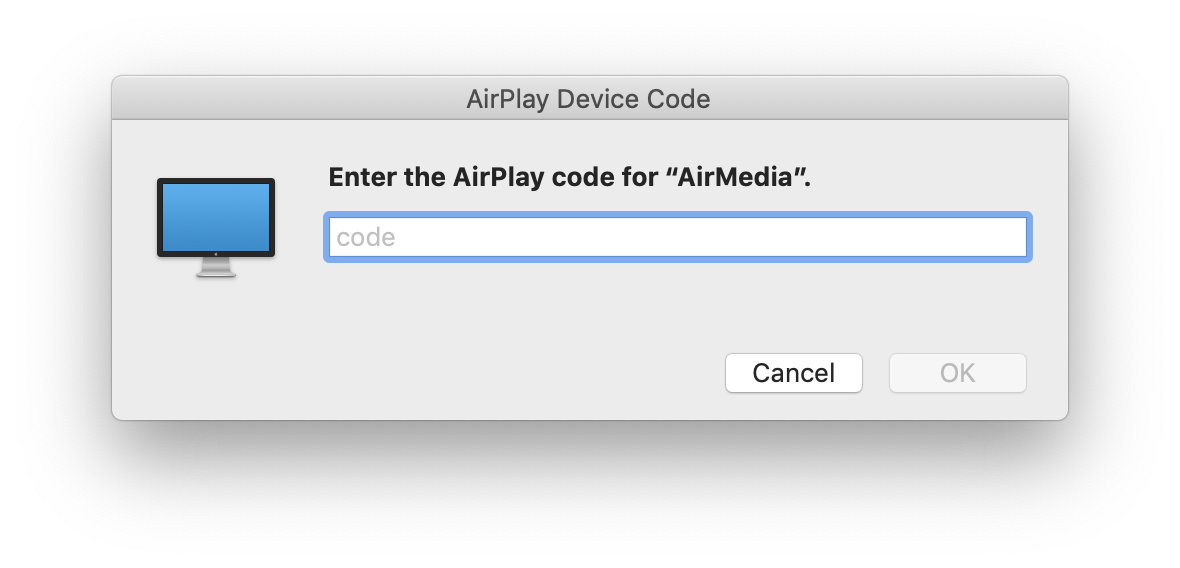
- Enter the 4 digit code that pops up on the projector screen.
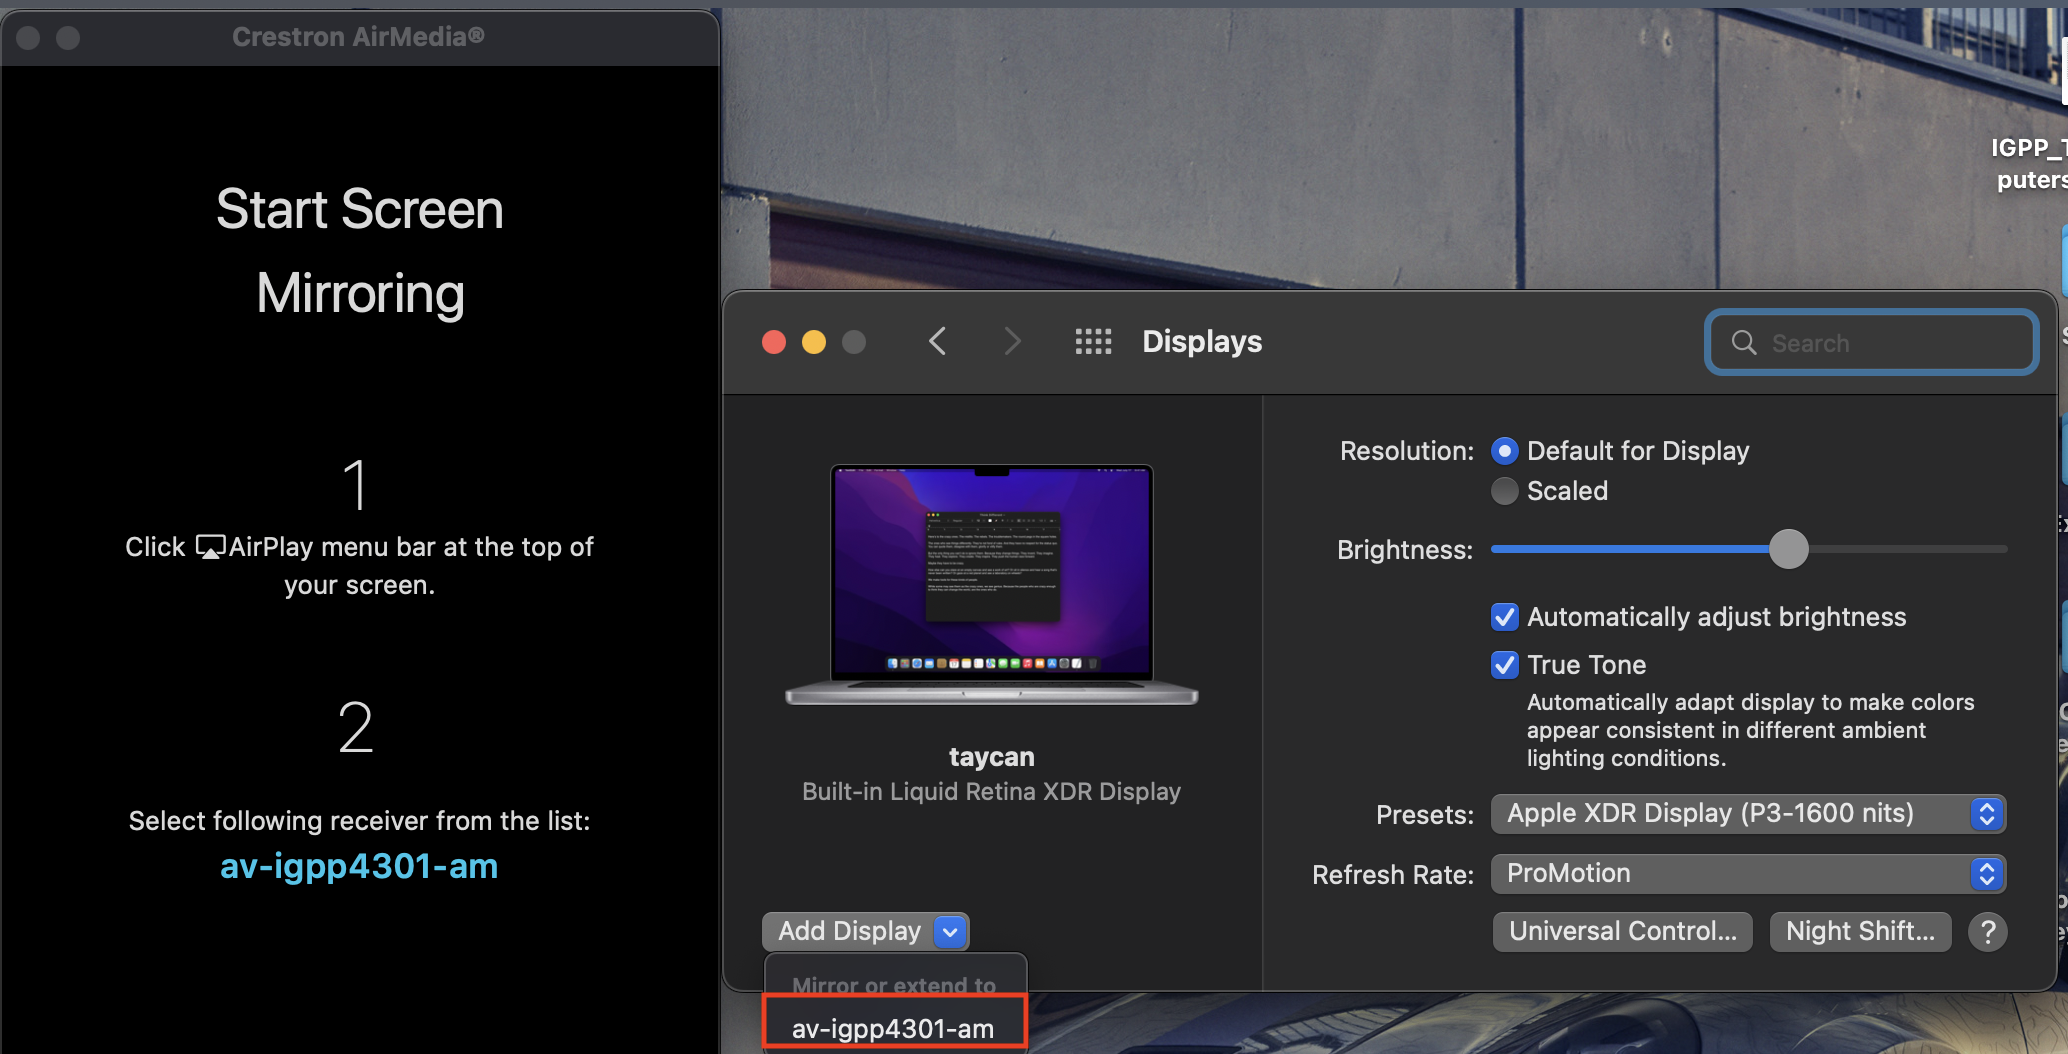
- Click on the AirPlay icon located on the toolbar of your Mac and select "Display Preferences".
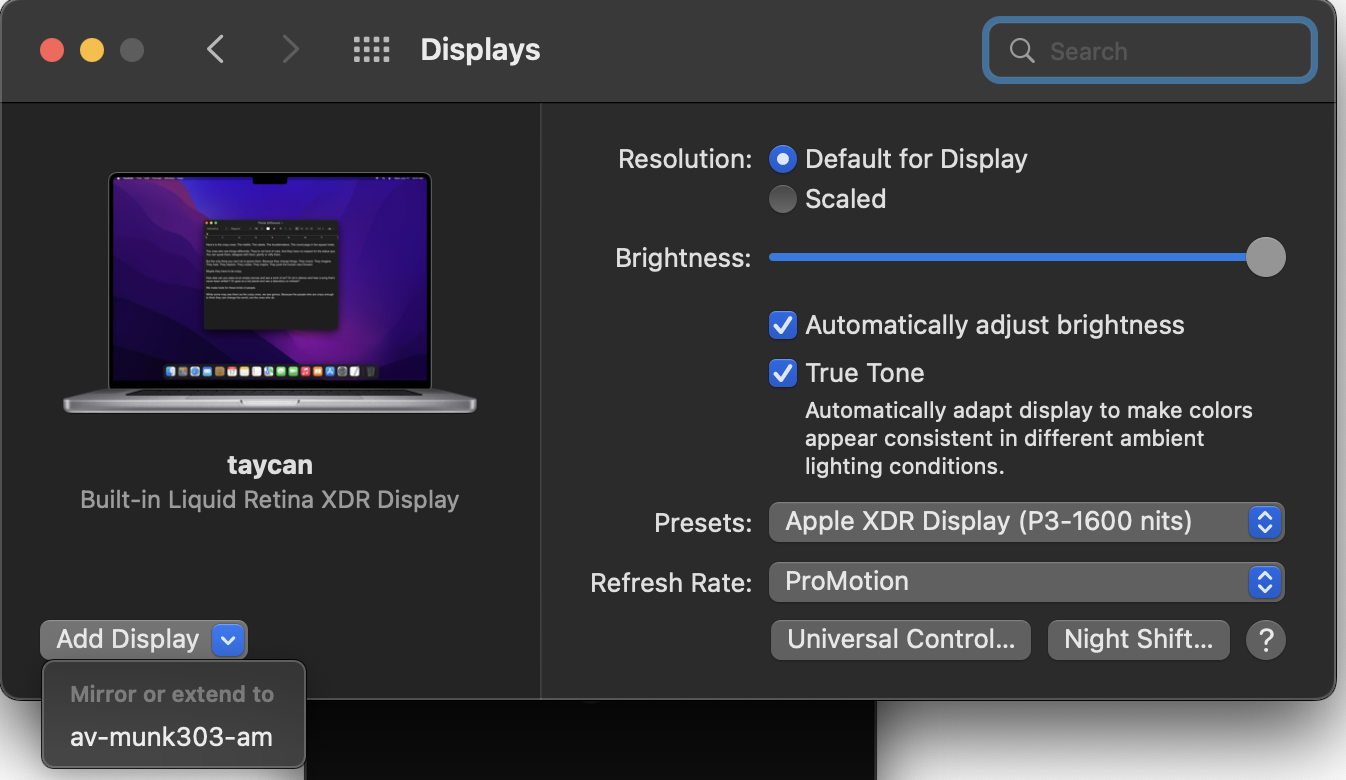
- Click on the "Add Display" dropdown and select the "av-munk303-am' display.
- Enter the 4 digit code once more to display your desktop onto the projector screen.
- You should now be connected to the projector.
- To disconnect, navigate back to Display Preferences, and in the "add display" dropdown, click on the grayed-out area on that list to disconnect from the projector.
Troubleshooting the Munk Projector
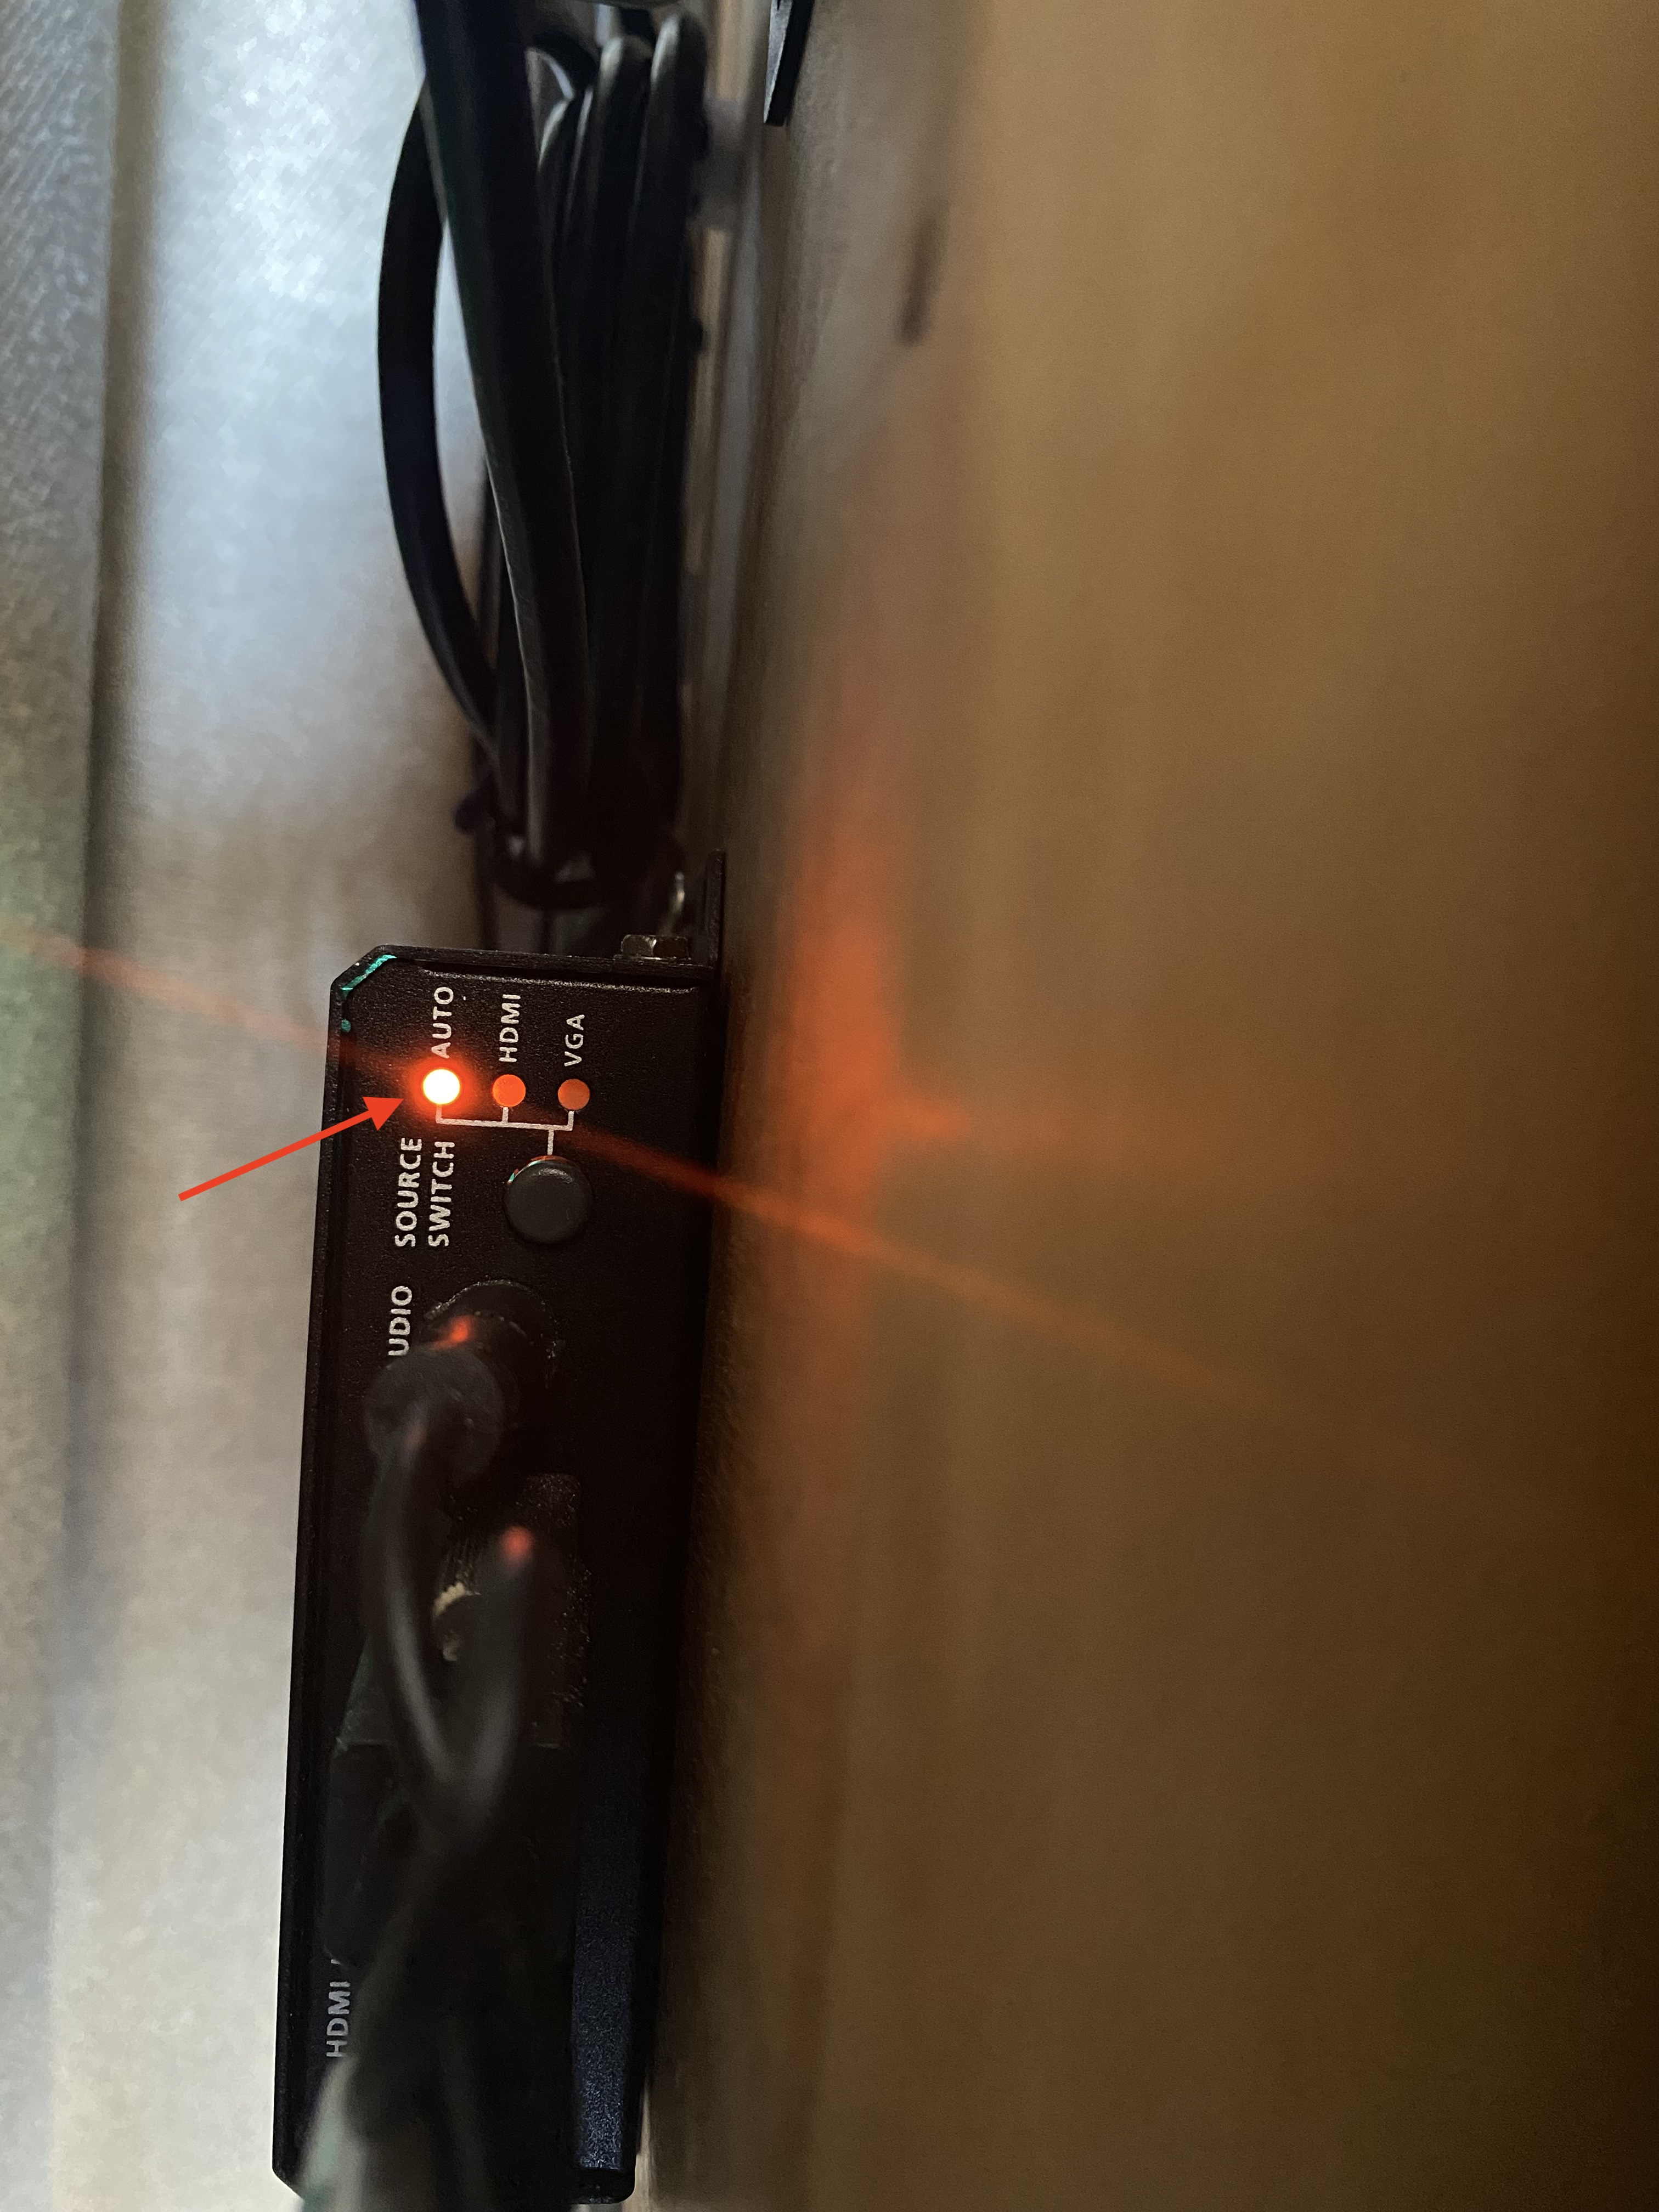
- If you are connecting to the Munk Projector via HDMI and your desktop is not showing on the projector, look behind the chalkboard and make sure that the controller is set to "auto" to autodetect the HDMI or VGA signal.
For macOS Ventura Airplay
Click Control Center in the menu bar, click the Screen Mirroring icon , then choose desired Airplay Media device.
Enter a four-digit code on your Mac.
To set whether your desktop mirrors or extends your Mac screen, click the Screen Mirroring icon , then choose Mirror Built-in Display or Use As Separate Display.
Presenting in the Revelle Conference Room
Connecting to Projector with HDMI / VGA:
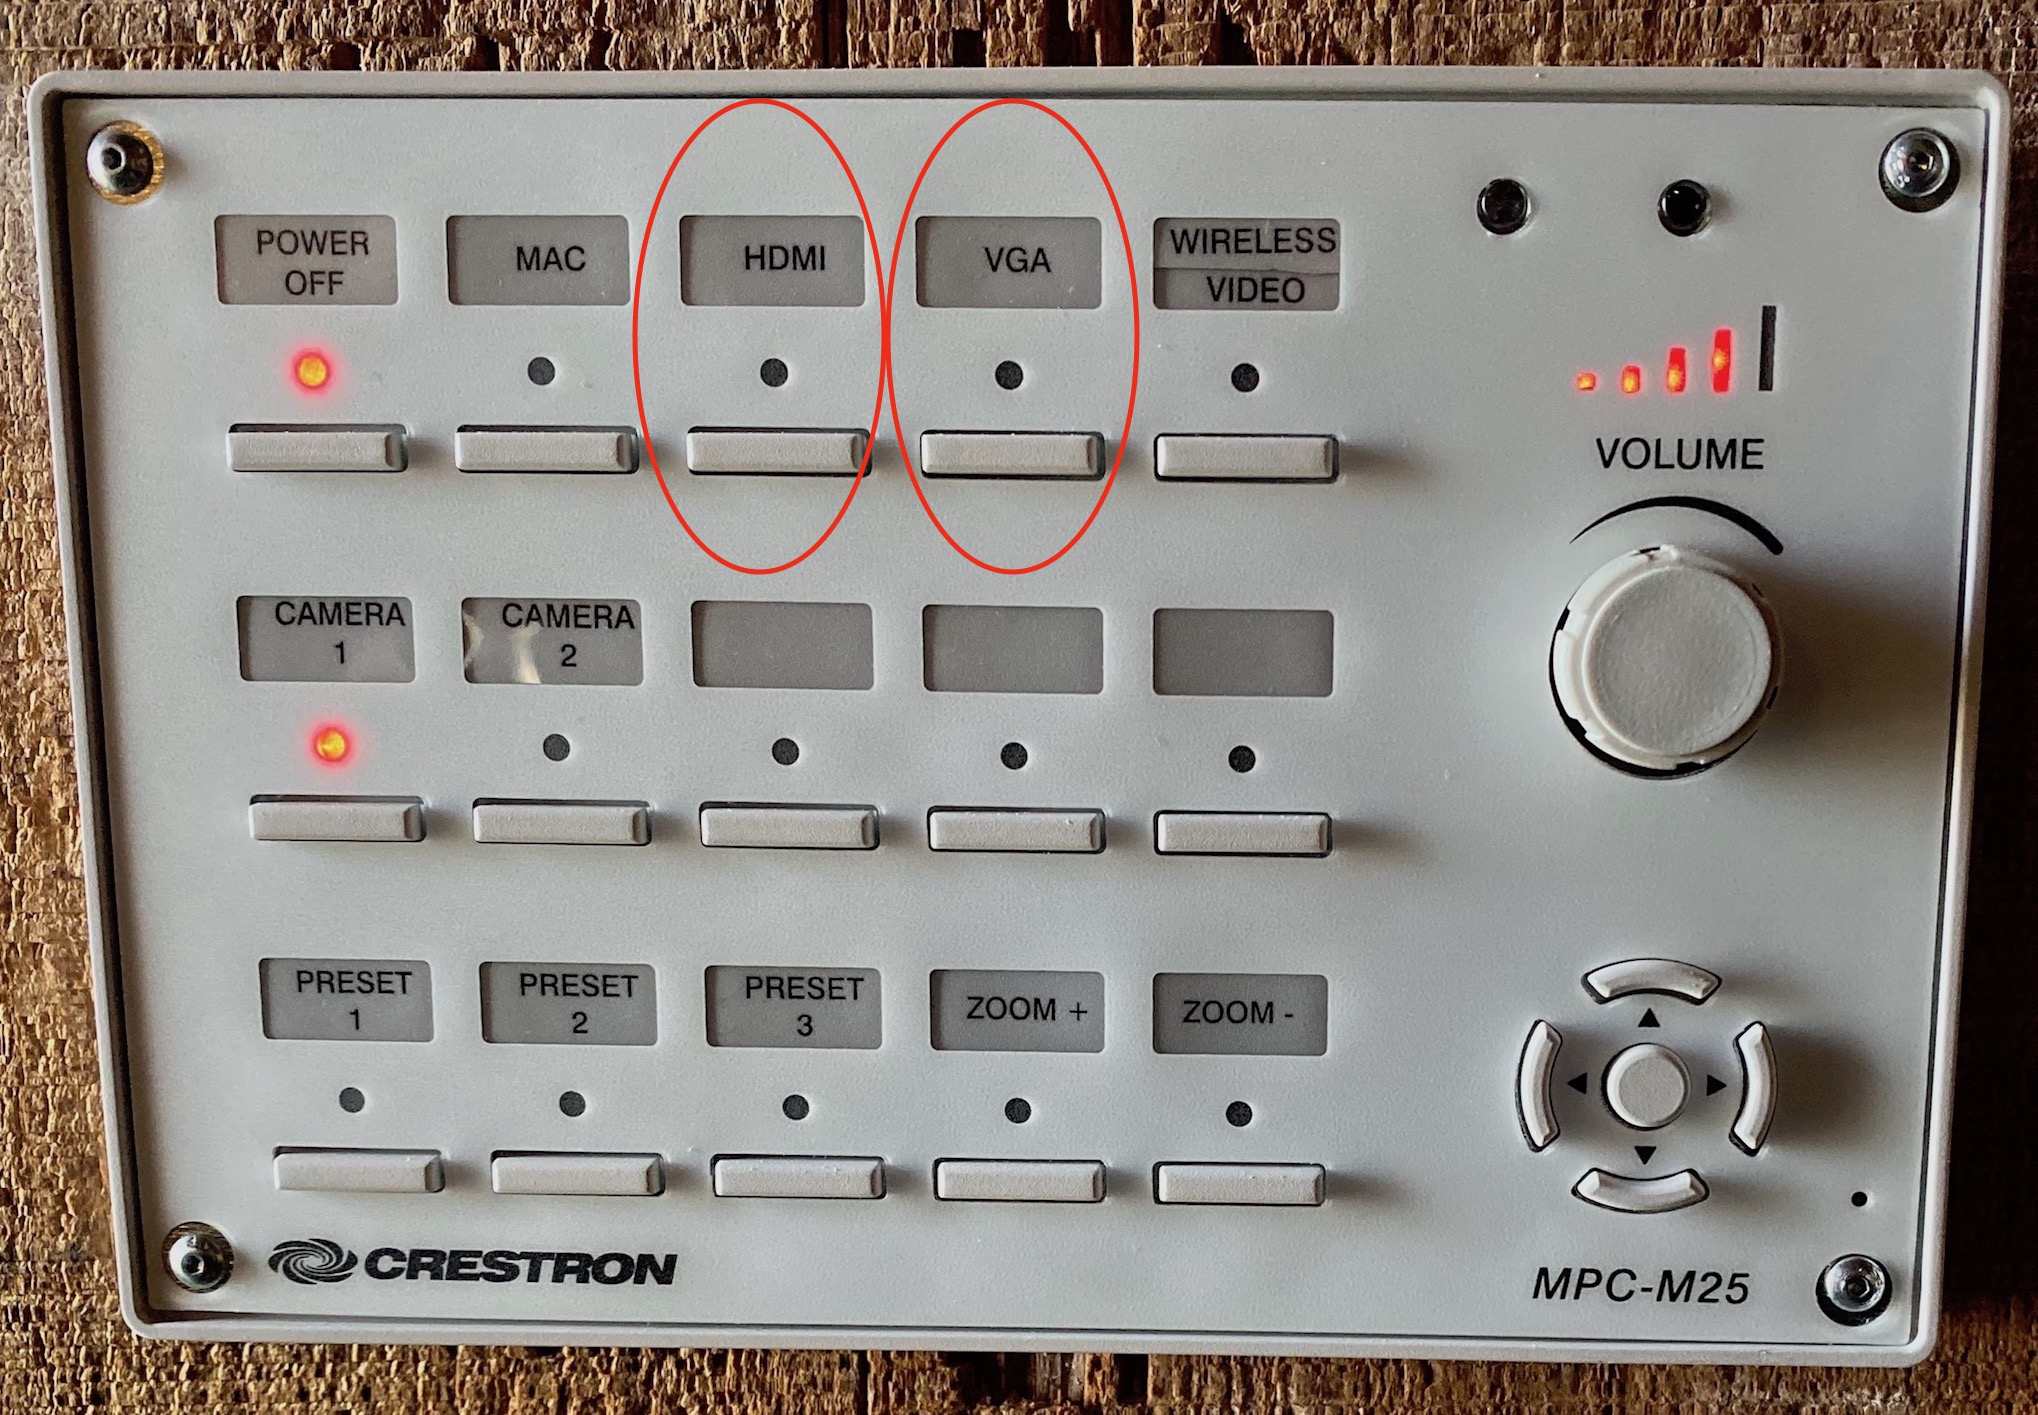
- Select HDMI or VGA on the wall-mounted panel.
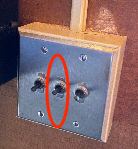
- Behind the wall-mounted control panel is a screen control panel with 3 switches. Flip middle switch to DOWN position to lower the screen and return switch to MIDDLE position once screen is completely down.
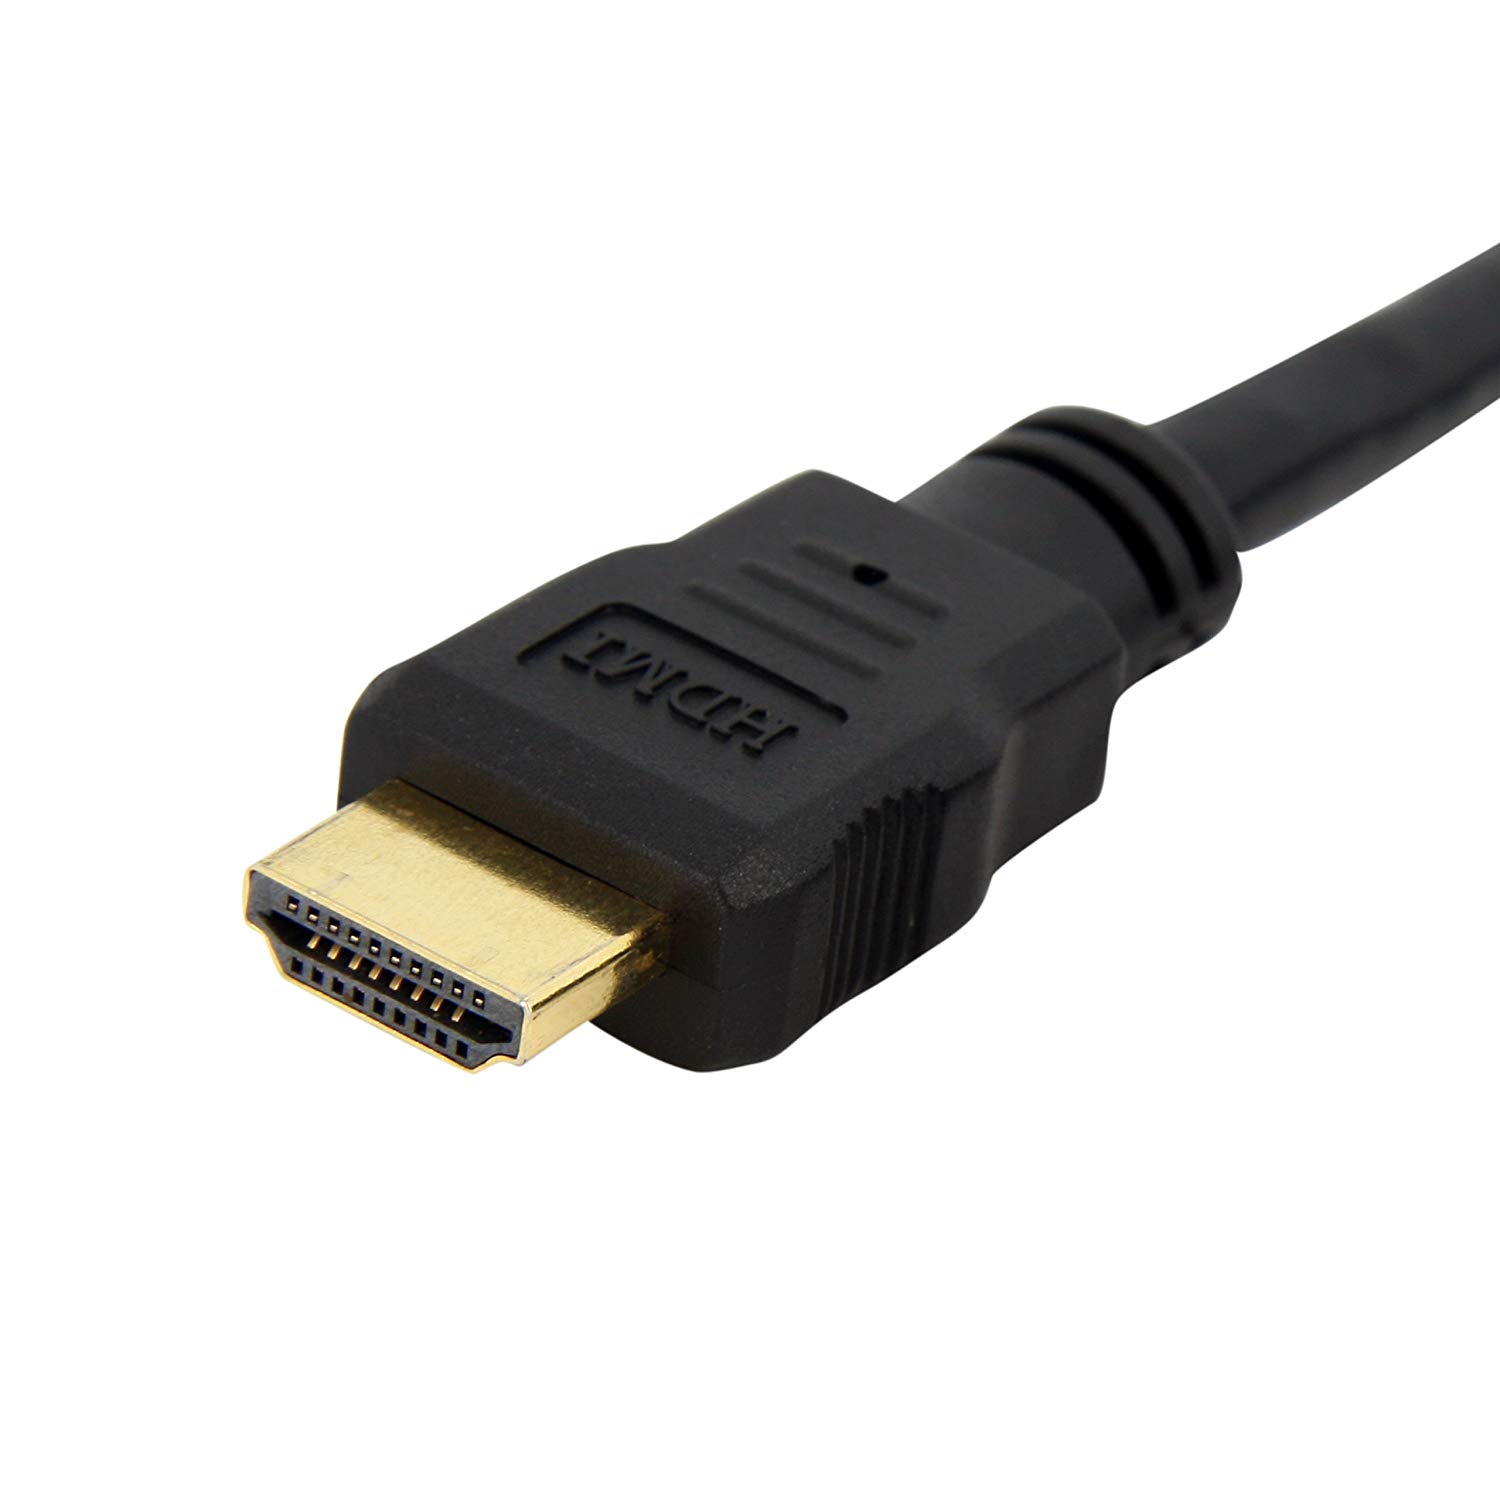
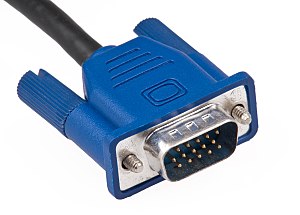
- Choose the VGA or HDMI cord from the cords located below the chalk board.
HDMI:
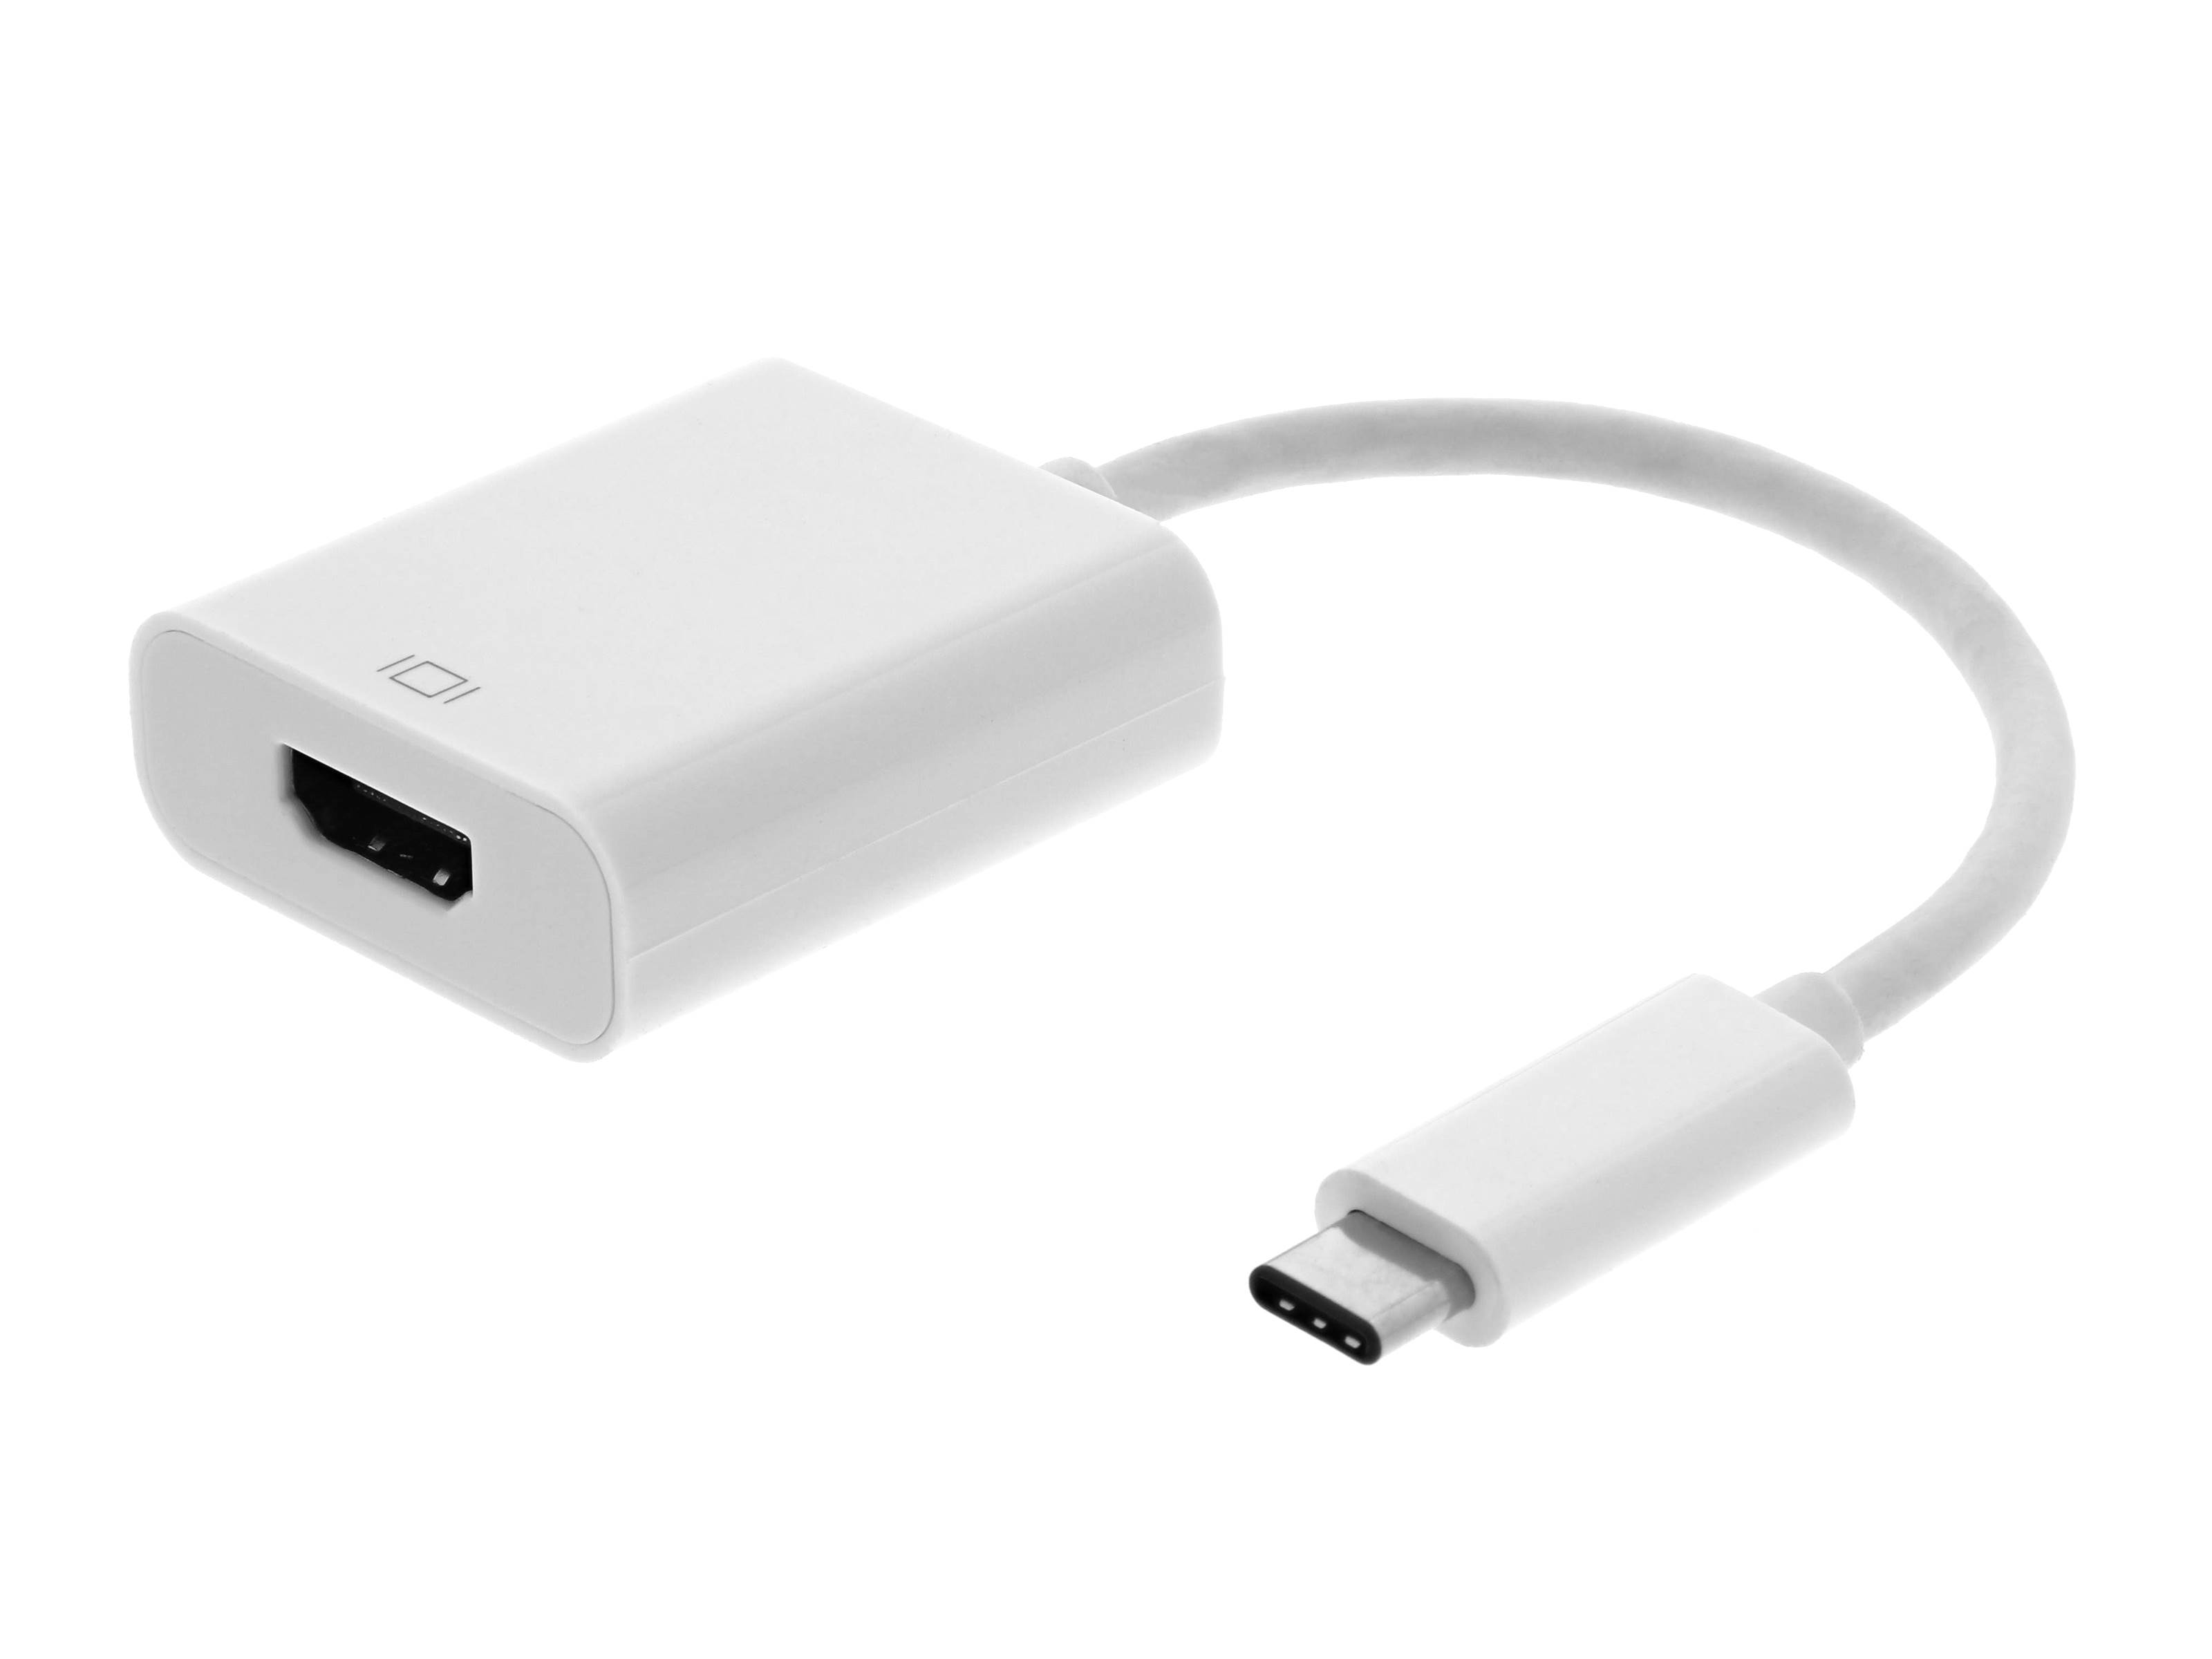
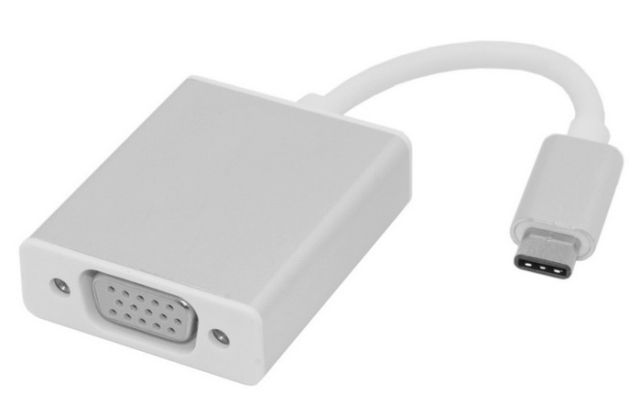
or VGA: - Depending on your device, Using the HDMI or VGA connection may require a dongle. Use one of the attached dongles or come see us downstairs in 4112.
USB-C to HDMI:
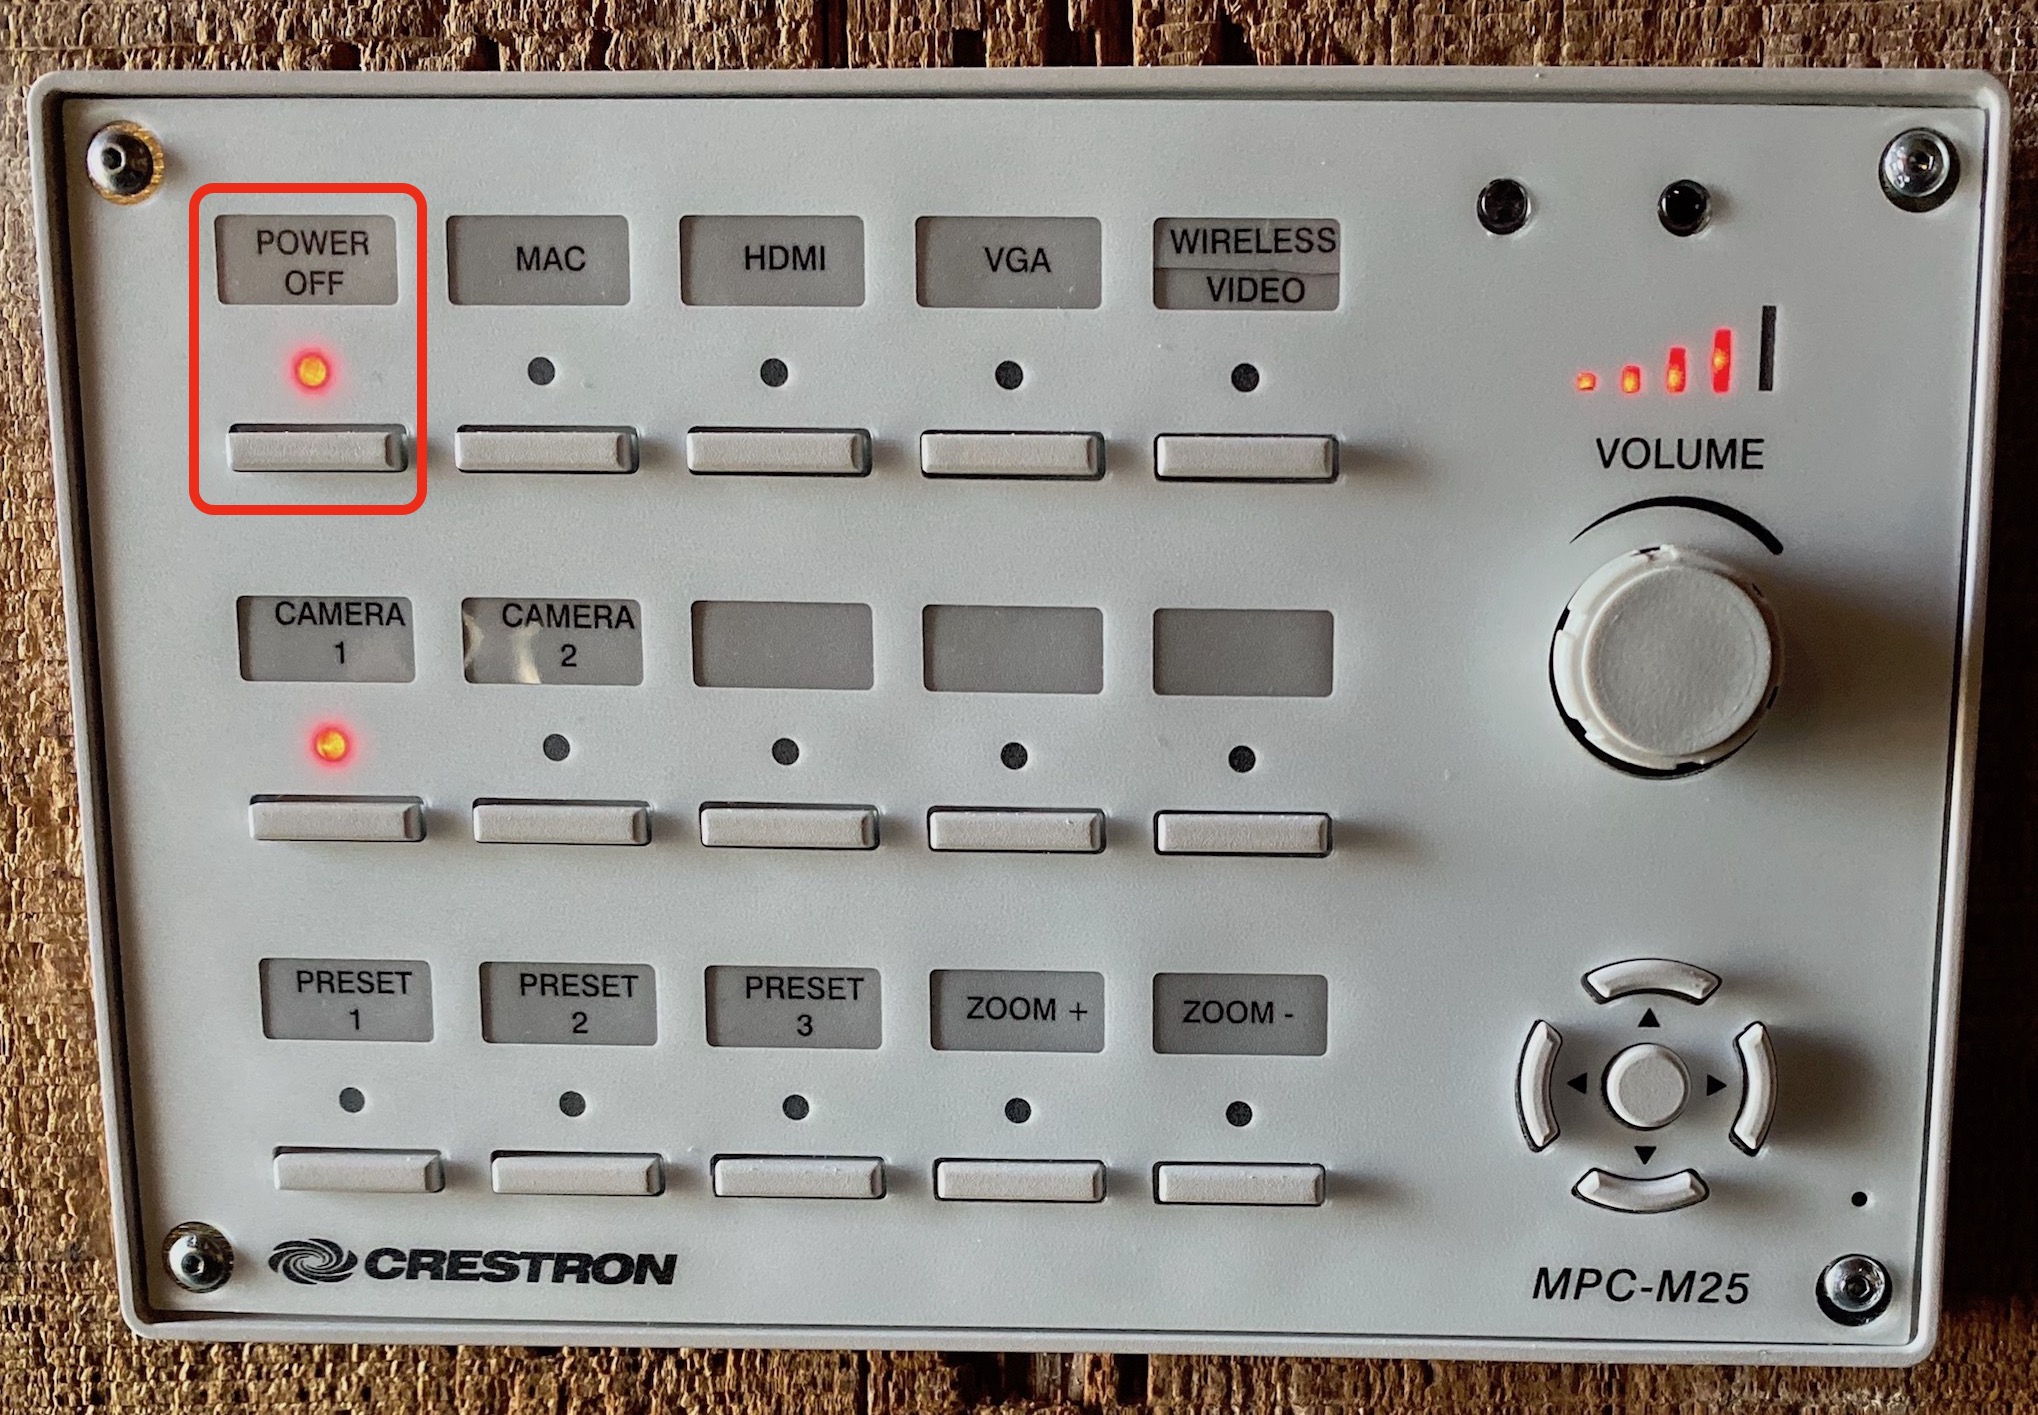
USB-C to VGA: - When done with the screen, please power down system by pushing the button under Power Off.
- Return to the screen control panel. Flip middle switch to UP position to raise the screen and return switch to MIDDLE position once screen is completely back up.
Connecting Wirelessly:
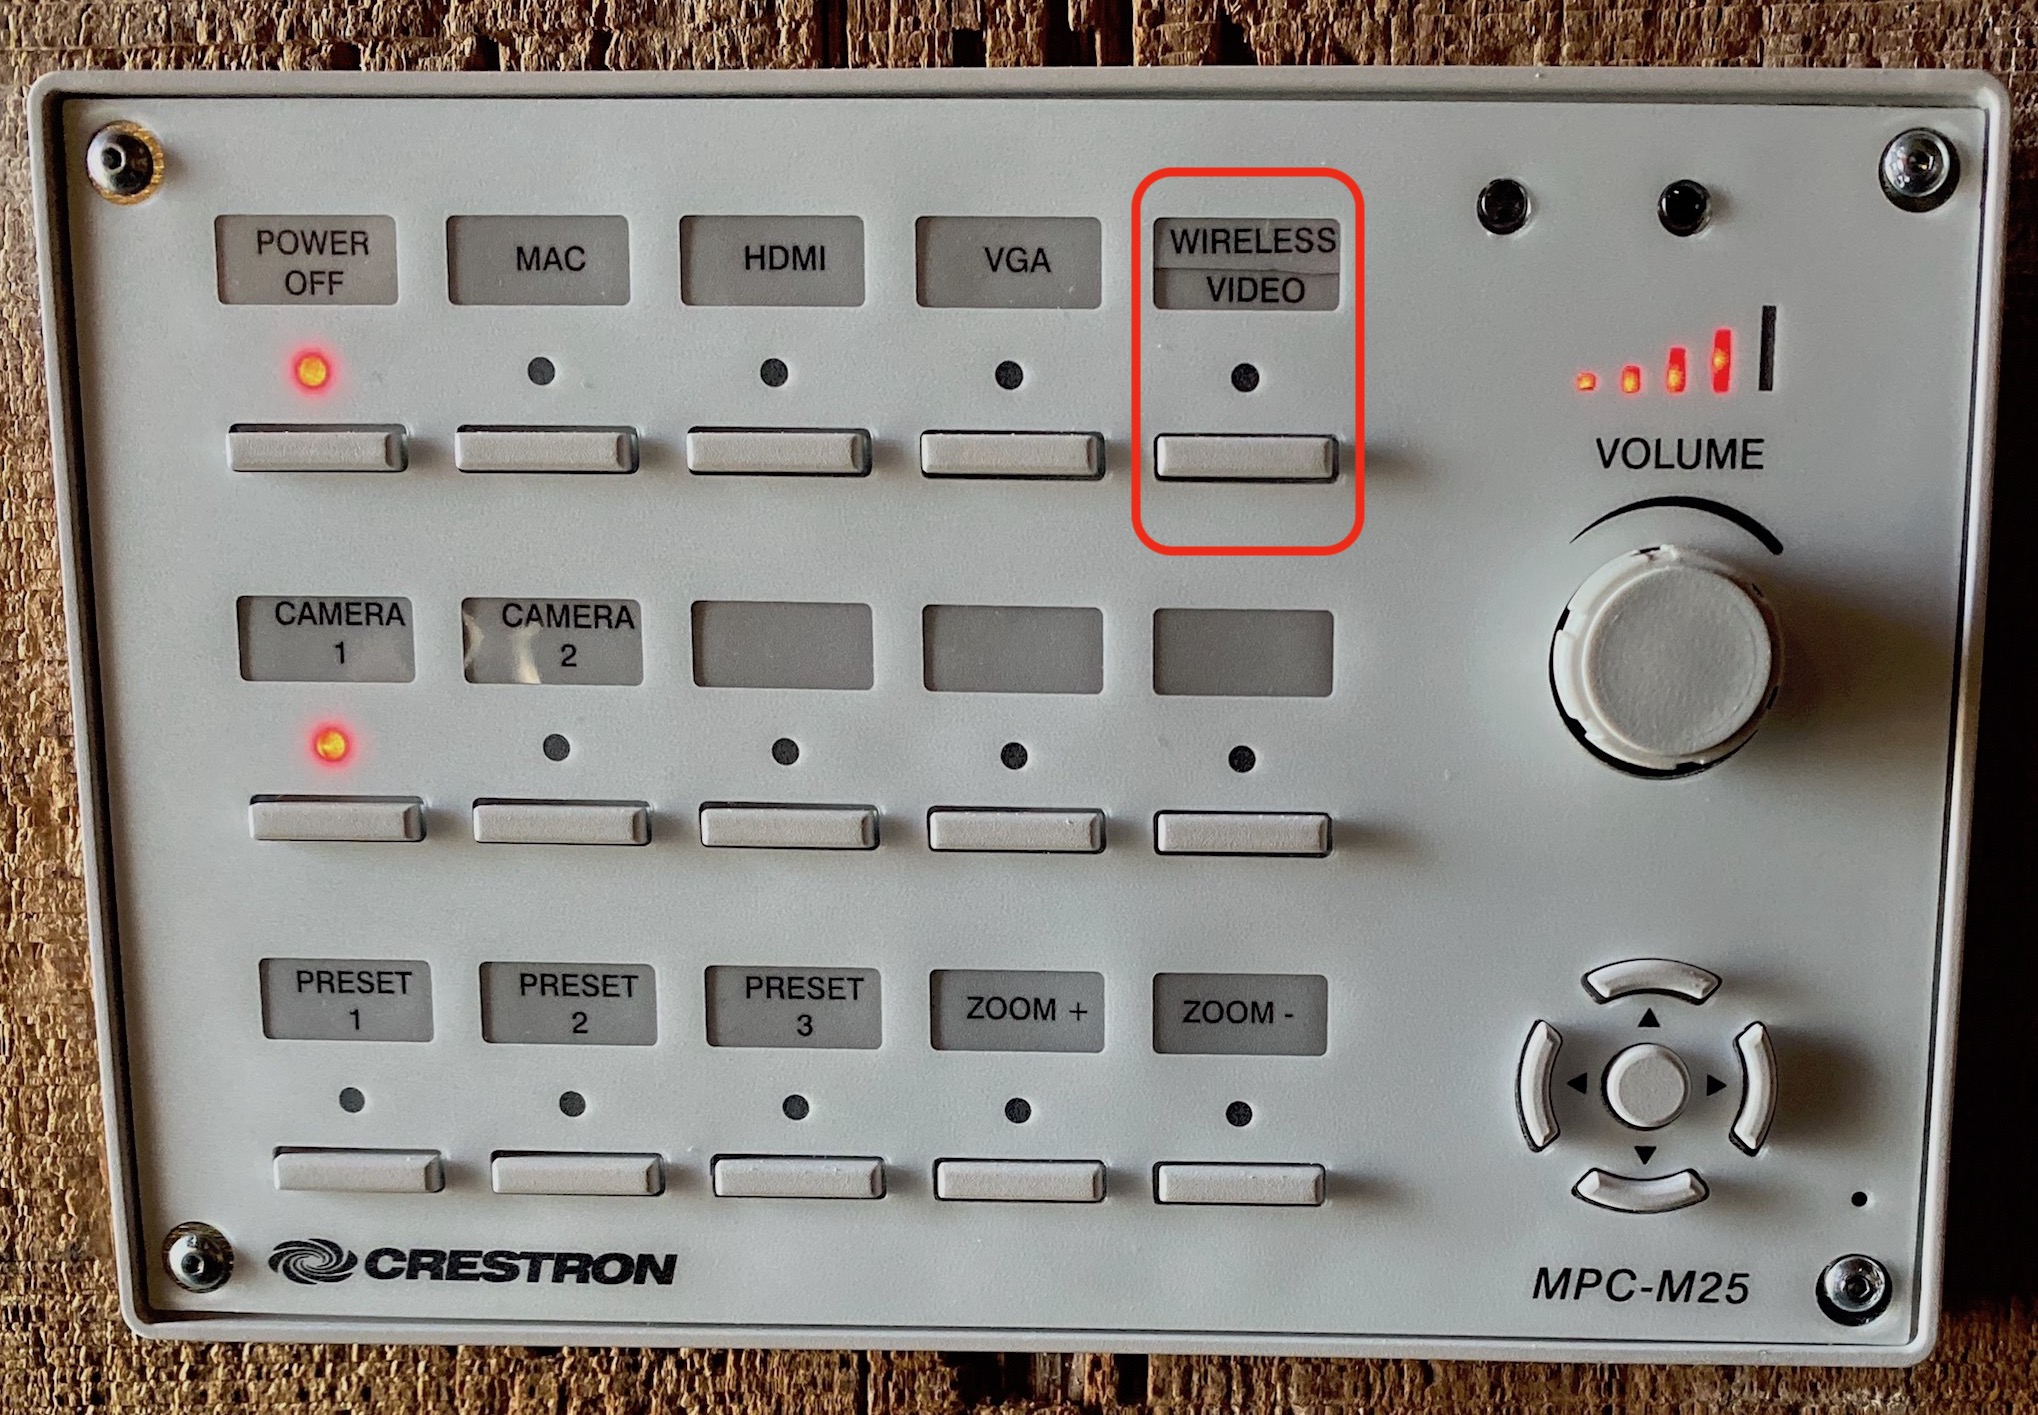
- Push the button under Wireless Video on the wall-mounted control panel.
- Behind the wall-mounted control panel is a screen control panel with 3 switches. Flip the middle switch to the DOWN position to lower the screen and return the switch to the MIDDLE position once the screen is completely down.
- Visit this website: http://av-igpp4301-am.ucsd.edu-, which should also be visible on the screen.
(You need to be connected to UCSD-Protected when connecting to this device) - If you encounter a message similar to the following (depending on the browser), click on Show Details and visit this website.
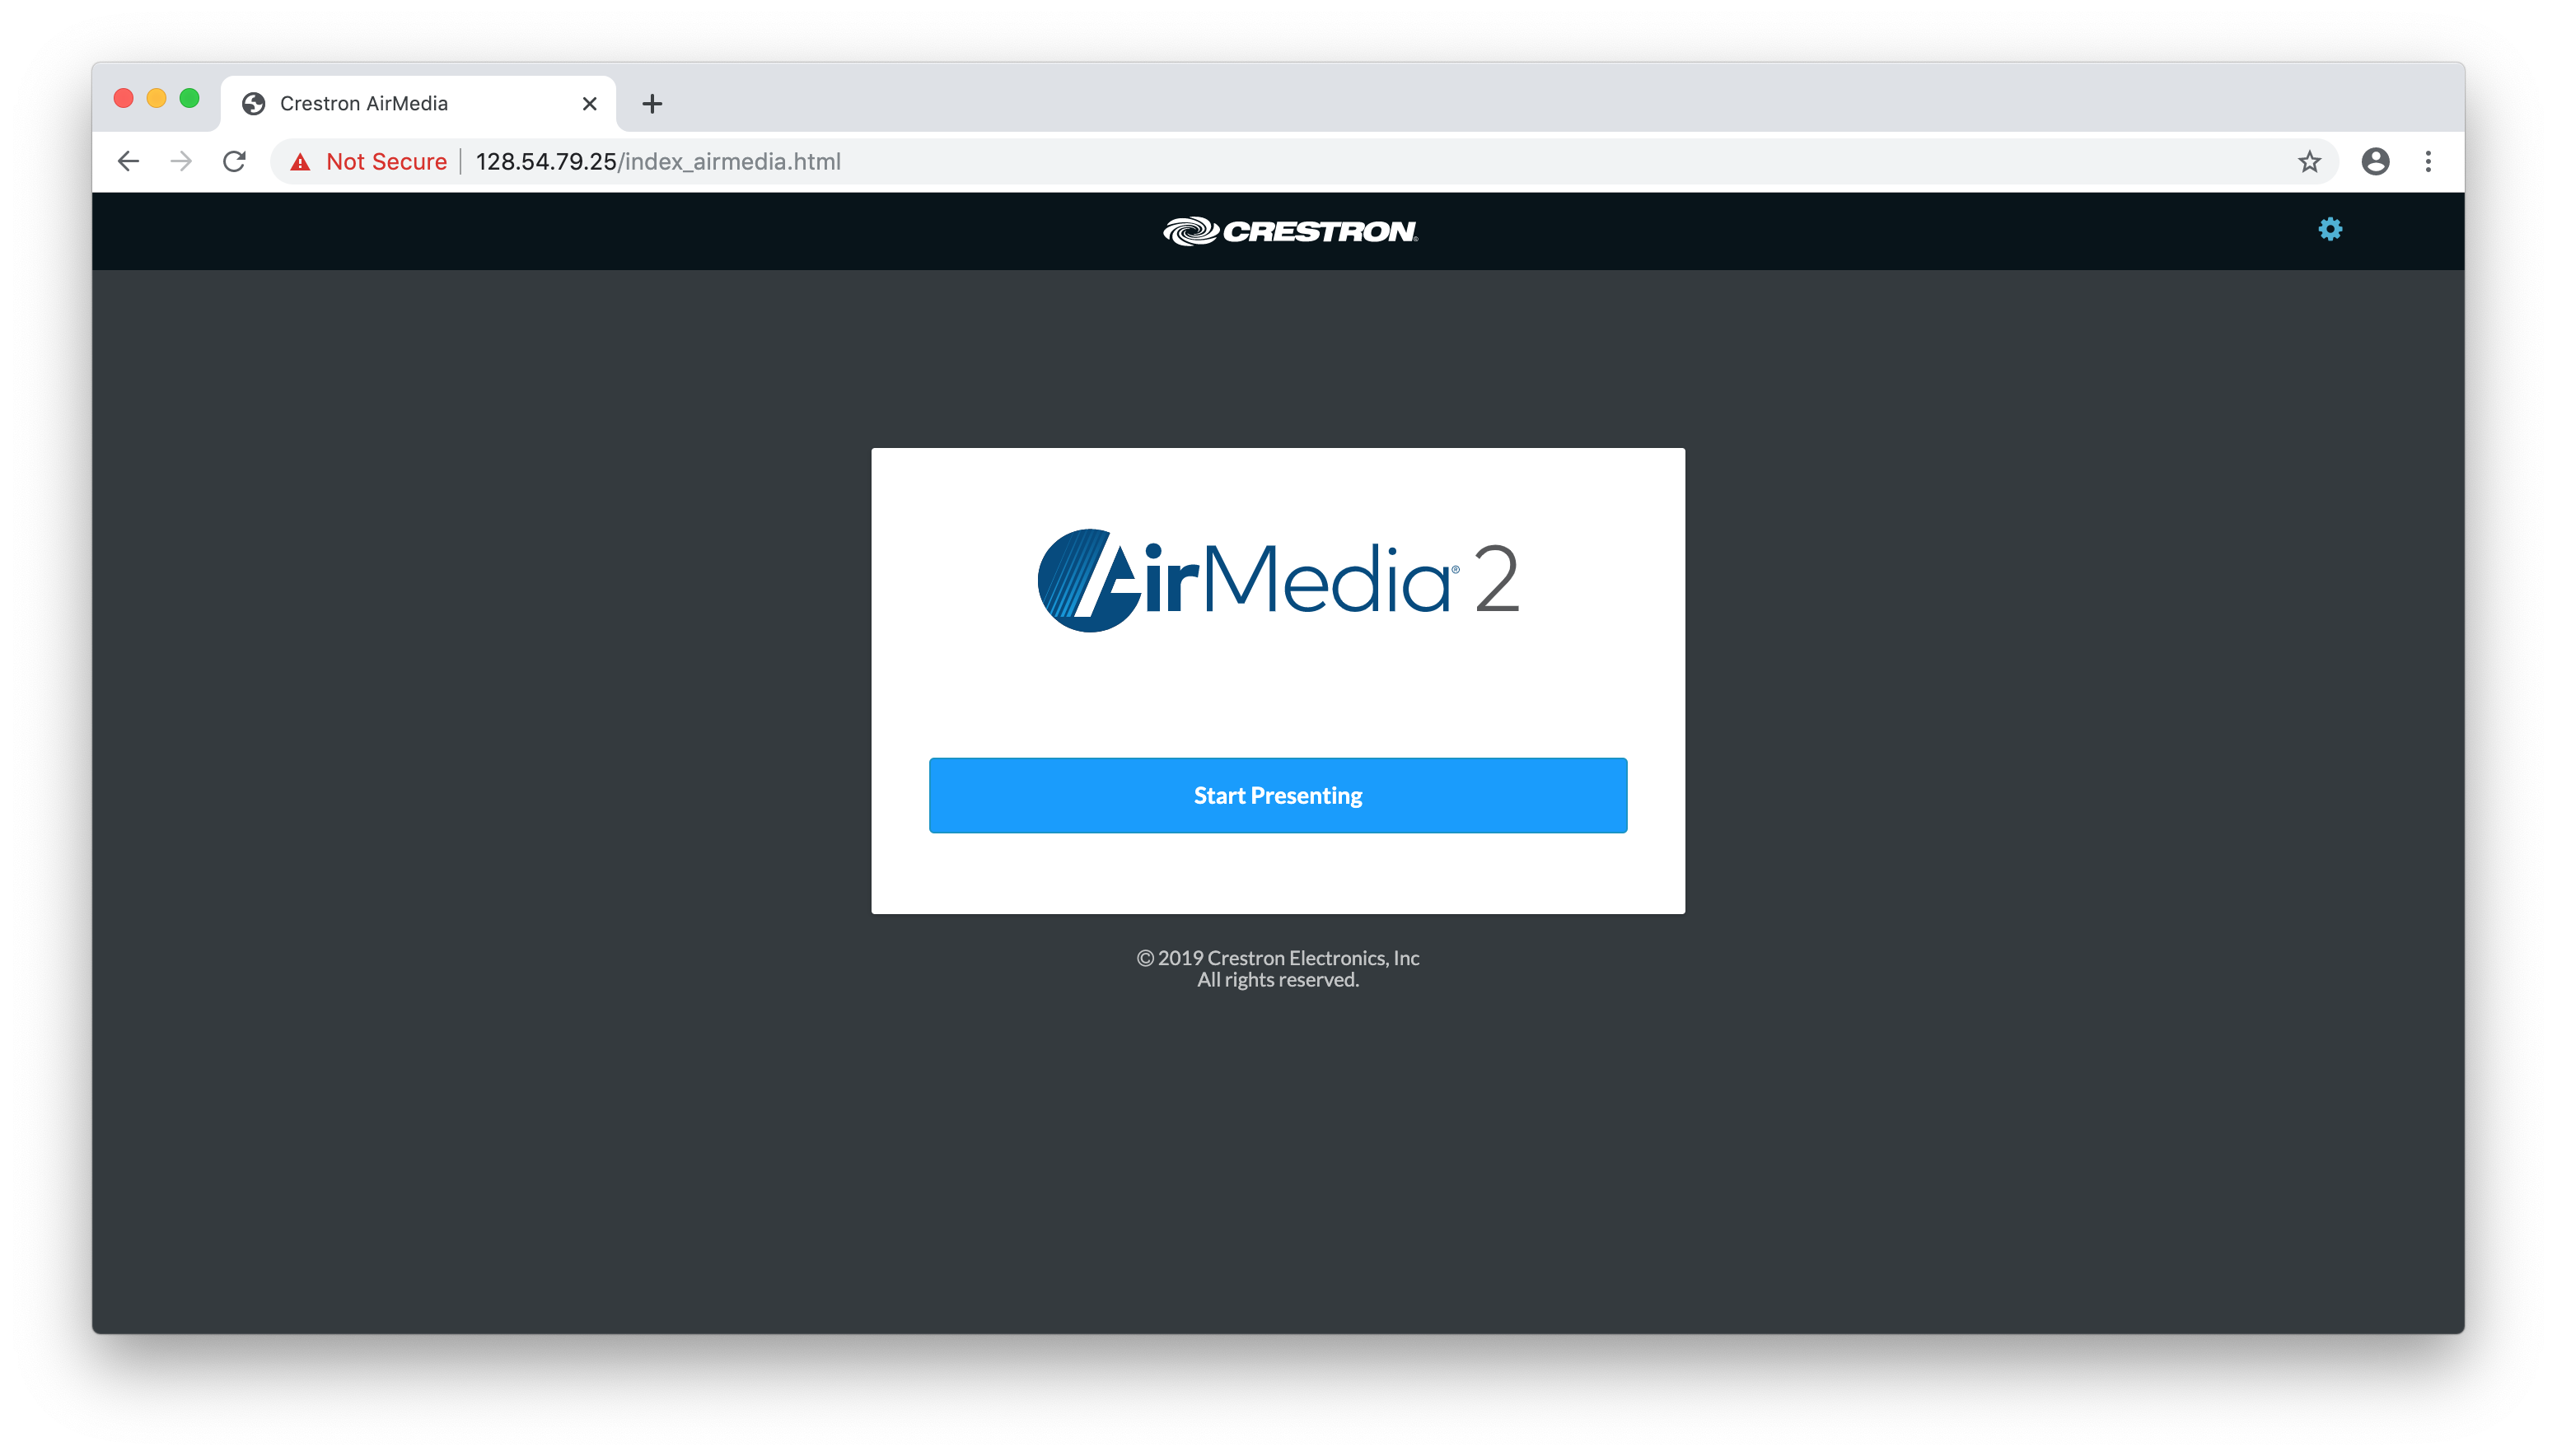
- Click Start Presenting.
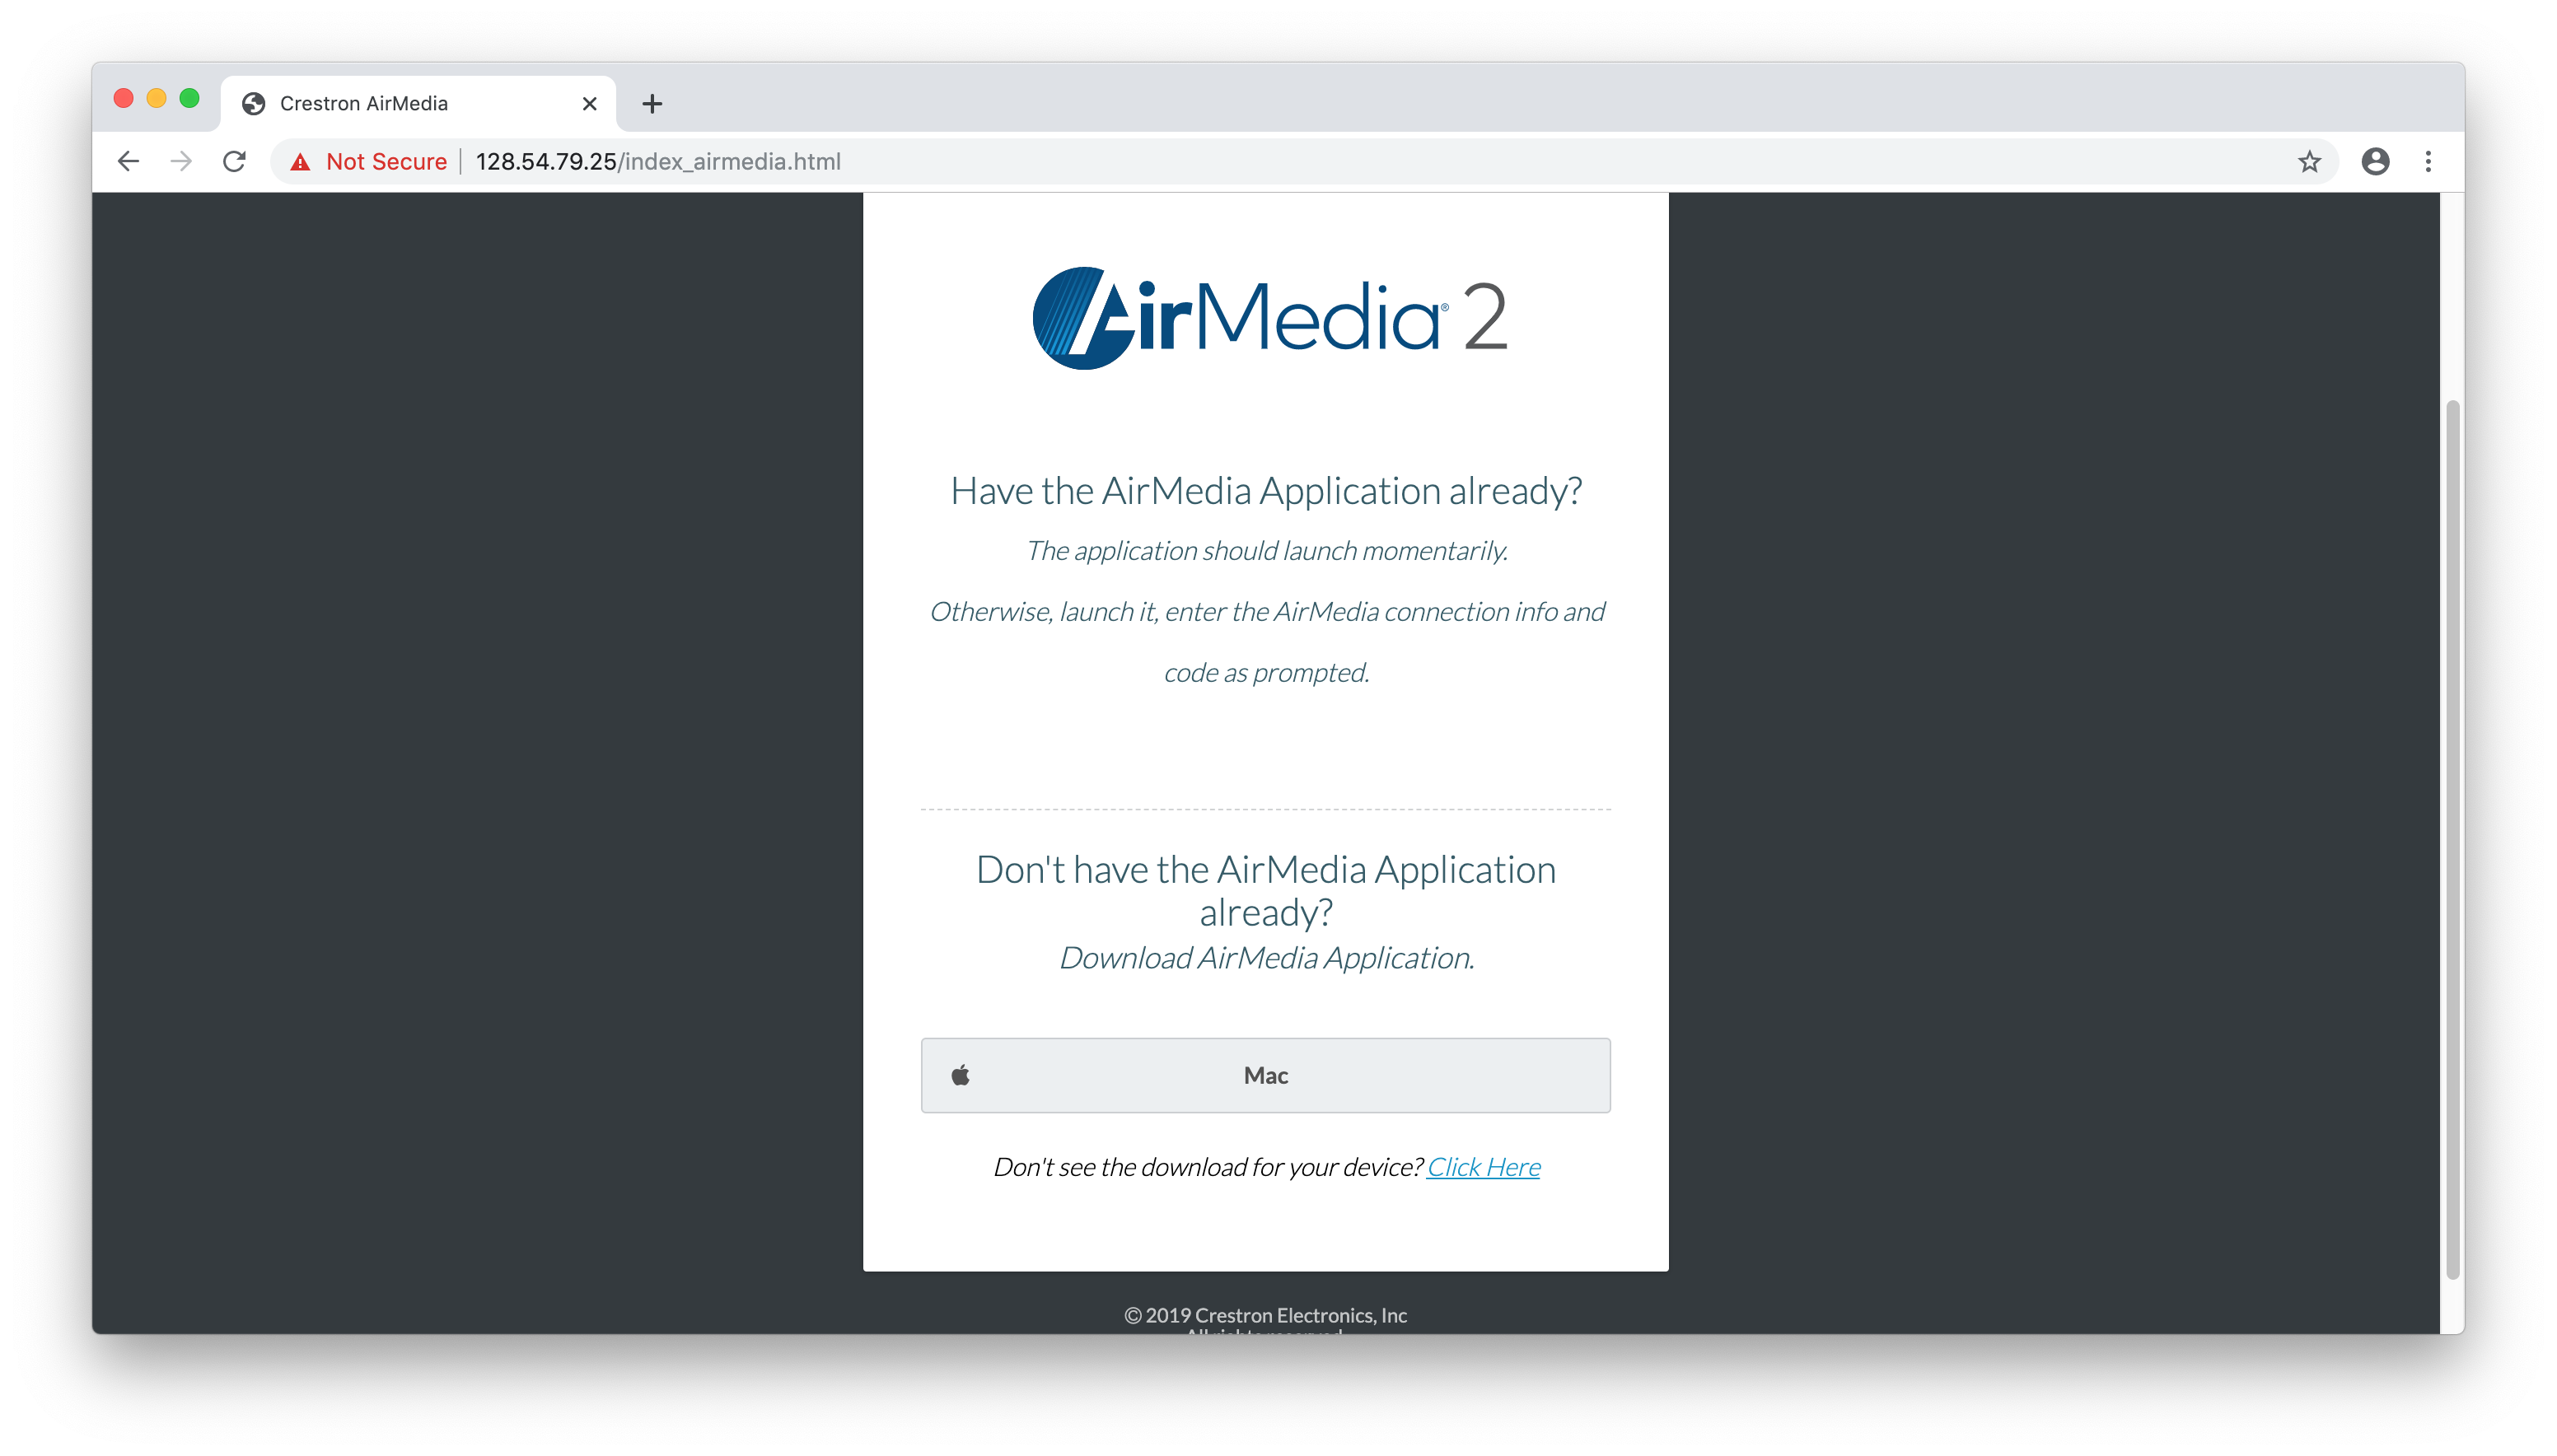
- Click Mac in the grey box to download the software.
- Click Allow to start the download.
- In your Download folder, open up AirMedia file.
- Select open this file.
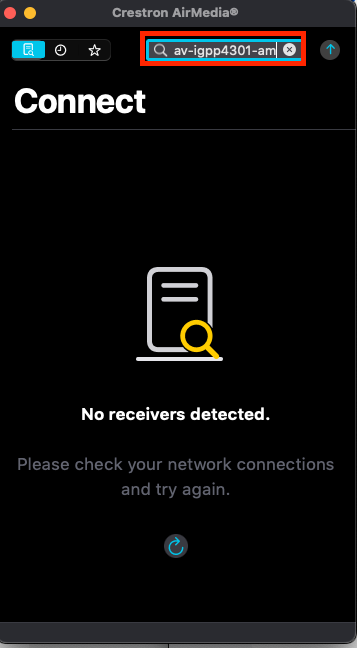
- Once the Crestron AirMedia app is open, type "av-igpp4301-am.ucsd.edu" into the search bar shown below and hit enter.
- When prompted, enter the 4-digit code found on the screen under the web address (URL) on the projector desktop.
- Once you've entered the 4-digit code, follow the screen mirroring instructions from the Crestron app.
(If you do not see the AirPlay tab on your menu bar, navigate to System Preferences > Displays > select the "Add Display" dropdown and select "av0igpp4301-am"). - You should now see your display via the projector.
- When done using screen sharing disconnect from airplay via task bar in top right corner, select turn off Air Play
- When done with done with screen, please power down system by pushing the button under Power Off.
- Return to the screen control panel. Flip middle switch to UP position to raise the screen and return switch to MIDDLE position once screen is completely back up.
- To disconnect from air play just go taskbar and click on the arrow to disconnect
Functionality of Projector
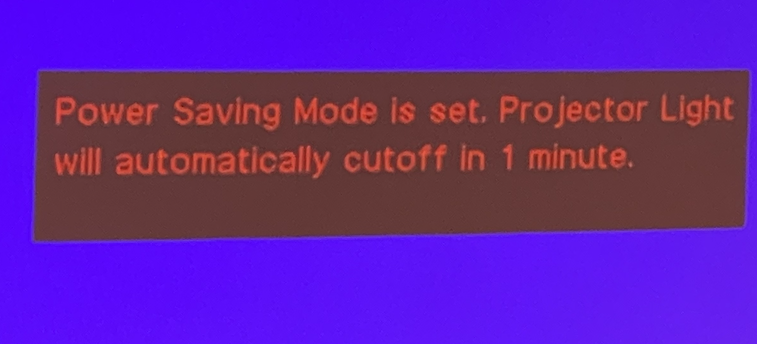
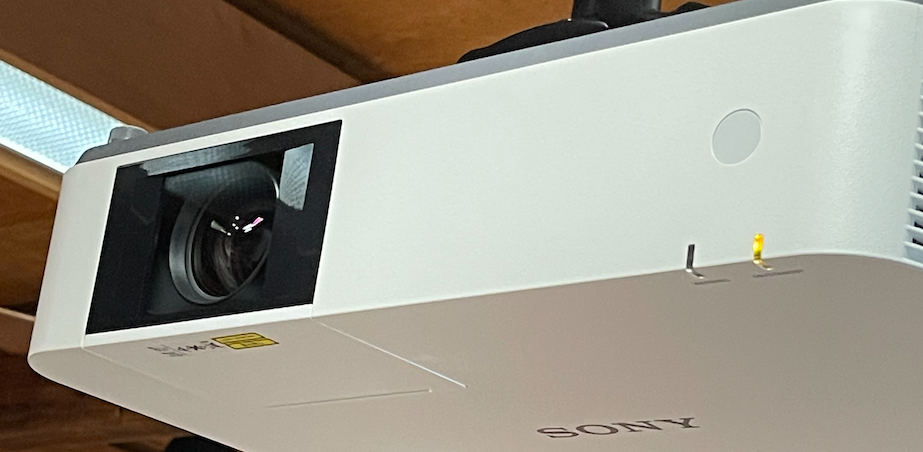
The projector has a 90-second shutoff when a source is not detected. The projector will display a "power save" message 60 seconds before it goes into standby and the green power light will turn amber along with the bulb turning off.
Based on source selection:
- Mac Mini; based on sleep mode setting of the mac, Crestron will lose signal and the projector will shut down ~3:30 min after the Mac goes to sleeps
- Laptop inputs; if selected and no device is connected or disconnected at the end the projector will be off roughly after 3:30 min.
- AirMedia; since the video is always present if selected, a timer for 10 mins for swapping inputs if no user is presenting. The projector will start its default 2 min shutdown.
The option for shutdown on the projector is light source only.
If a user is to wake up their laptop or wake up the Mac mini if sleeping, the projector will turn on again without needing to press the panel.
Presenting in the Munk Room 5 Conference Room
Connecting to Display via AppleTV
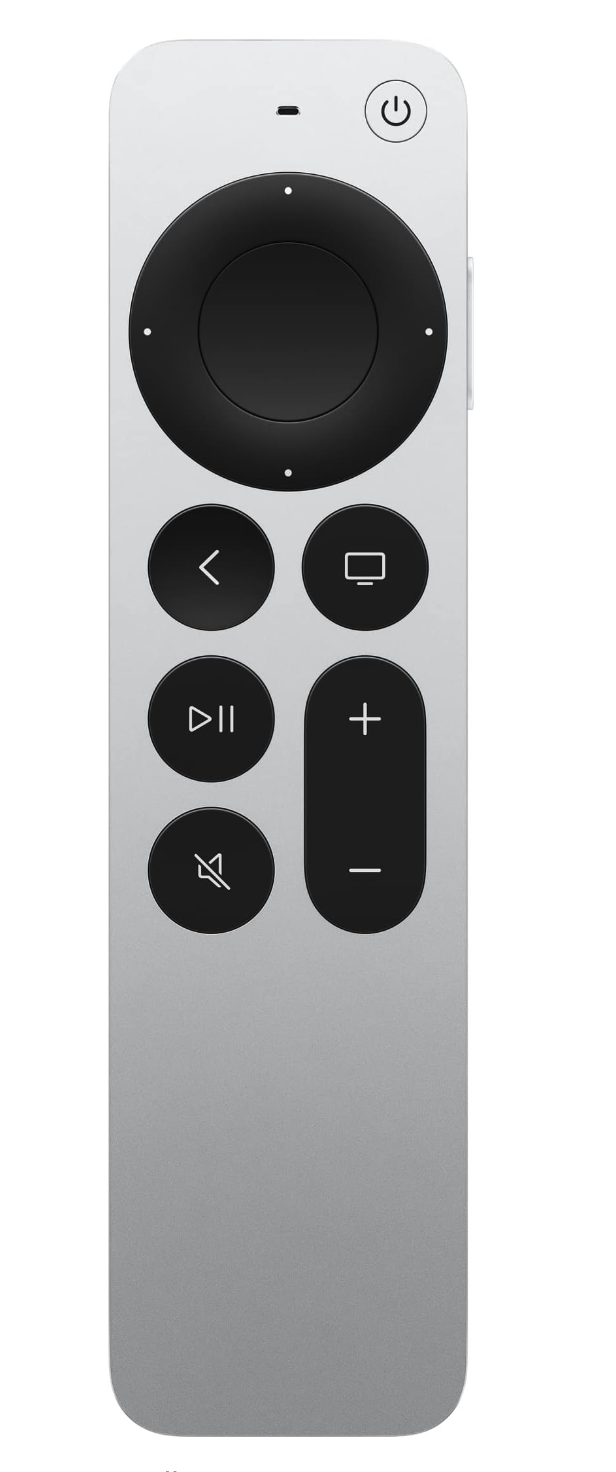
- Power on AppleTV and Display with AppleTV remote control
Click Control Center in the menu bar, click the Screen Mirroring icon , then choose igpp-munk5-atv.
- Enter the 4-digit code on your Mac
- To set whether your desktop mirrors or extends your Mac screen, click the Screen Mirroring icon , then choose Mirror Built-in Display or Use As Separate Display.
Connecting to Display via HDMI
- The source will automatically set itself once you plug the HDMI/USB-C cable into your device
Additional information on capabilities of the Revelle Conference Room 4301 can be found here: /wiki/spaces/IGPPForUs/pages/7192039
If you need help, contact the Front Office at (858) 534-1927.
