The following steps will help you set up Code42 CrashPlan on your computer. CrashPlan is an application that backs up your data. To set up CrashPlan you will need to know your UCSD Active Directory (AD) account username, password, and submit a help request requesting a CrashPlan account.
Once you have received confirmation of your CrashPlan account from the IGPP Help Desk:
Note: You may set up CrashPlan with your account on multiple computers that are used only by you. The following steps are written with Mac OS in mind. If you are working on a different OS, the following steps should be guidelines for setting up CrashPlan on your computer. Use the steps that apply to your OS analogous to the steps below. For further questions feel free to contact us at contact IGPP Net Ops.
*Please note our backup SLA*
Download CrashPlan Client
- Go to smb://igppsoftware.ucsd.edu/guest/Code42 to download the current Code42 client (formerly called CrashPlan). You must be connected to VPN.
- Select desired OS folder on the left navigation area.
- Follow the installation steps below.
=======================================================================
Installation Steps
- Double click on the Code42CrashPlan.dmg file you just downloaded to mount the installation drive.
- Open the mounted drive (seen below in the upper right hand corner) to bring up a window with the installation file.
- Click Install Code42 CrashPlan and go through the installation process.
=======================================================================
CrashPlan Account Setup
Under Finder go to Go > Applications and launch Code42 (CrashPlan).
On the first screen enter your AD username and igppbackup.ucsd.edu as the server address. The following screen will prompt you for your AD Password.
On the next screen select Add New Device unless this installation is on a computer that was previously backed up.
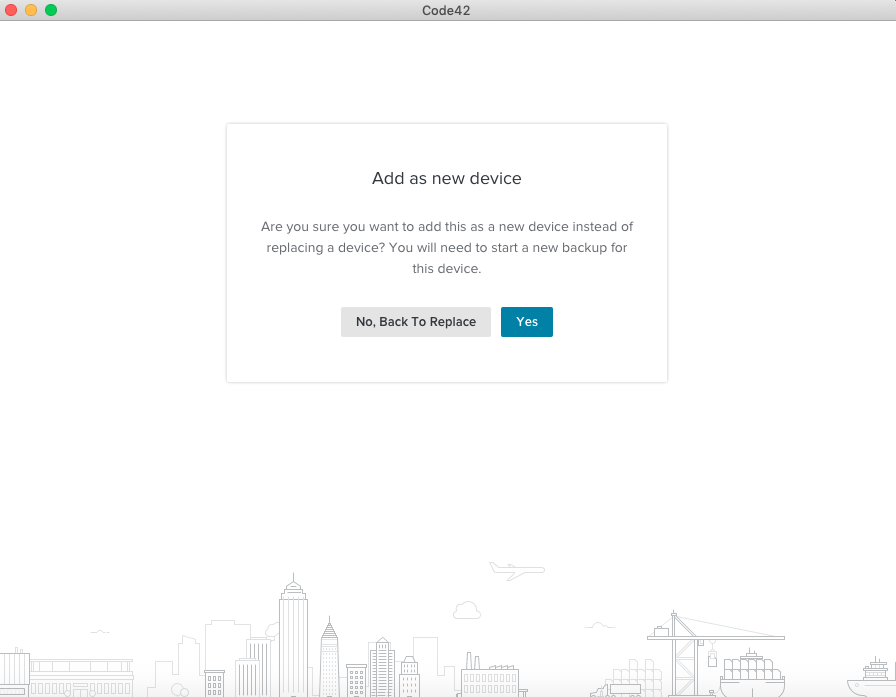
On the next screen click Yes to add this device to your backup account.
This will take you to the main window. The application will sync your files with both of our backup servers (this may take a while depending on how much data you have). This process will run in the background and then the backup will begin.
Make sure to check back the following day to make sure your backup was completed.
=======================================================================
Verify a file is set to be backed up
You can verify that a file is set to be backed up by doing the following:
Open the CrashPlan application (/Applications/CrashPlan)
Select the Manage Files tab.
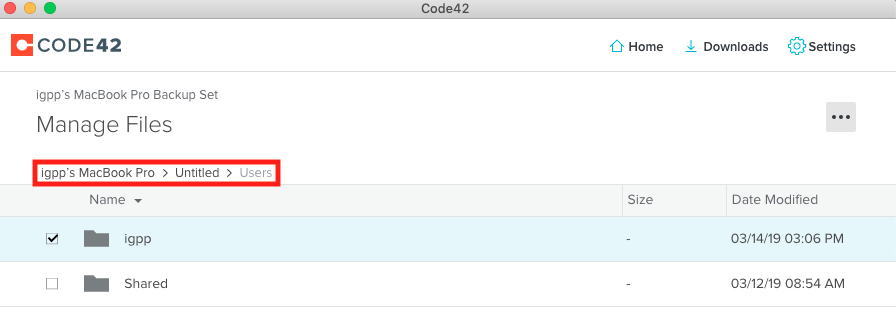
There is a line at the top which will indicate your location in the filesystem.
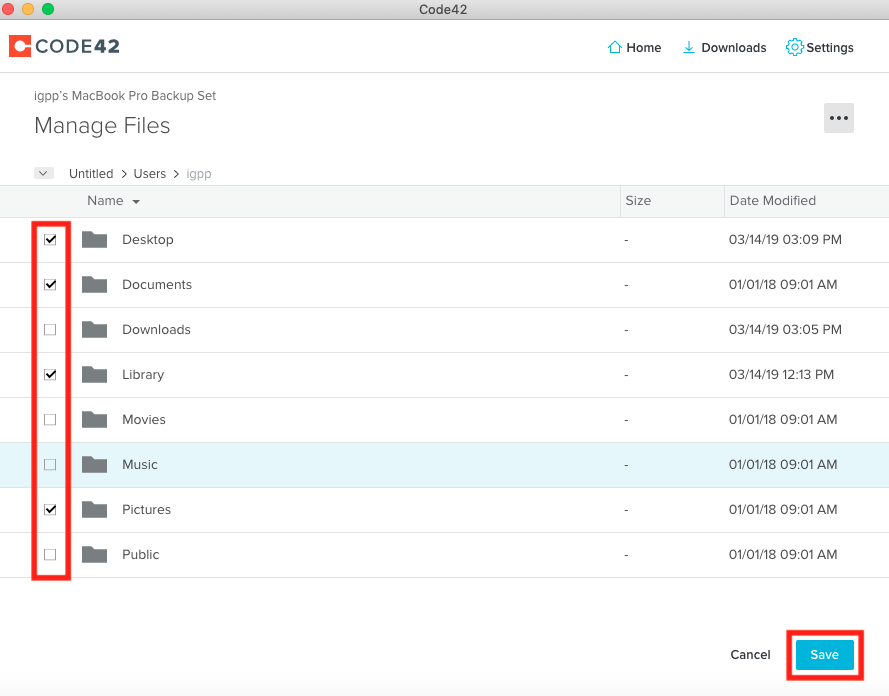
The checkboxes on the right side indicate files which are being backed up. Check or uncheck any files you wish to modify and click save to update your backup settings.
Note: Double clicking a folder will load the contents of that folder into the window.
Also Note: By default, the checkmark does not necessarily indicate that the entire contents of a folder are backed up.
=======================================================================
Verify files are being backed up
The backup of your selected files is complete if there are green checkmarks by both backup servers in the main window.
If you need further assistance, please contact IGPP Net Ops.


