Crashplan Cloud Client Setup for MacOS
- Former user (Deleted)
- Preston Pierce
- Wayne Chen
To start you will need an UCSD Active Directory (AD) account that is activated for Crashplan. If you are not installing with method 1 below, please submit an account request for an account.
Note: You may set up Crashplan with your account for up to 4 client devices. Full service level agreement can be found at backup SLA*
Installation
For Windows and Linux
- Follow the instructions from Crashplan support page.
- Installers can be downloaded from https://console.us2.crashplan.com/app/#/console/app-downloads. Be sure to select the latest installer for your operating system and processor.
- Use clients.us2.crashplan.com for the server address
For MacOS:
- If you have a laptop be sure the power cable is plugged-in to allow the backup process to run.
- If you have FileVault2 full disk encryption enabled make sure you have login to decrypt your disk after a reboot to permit the backup of your disk and that screen locks are set to automatic to secure your session.
- Sparsebundle images and sparseimages files are not supported and known to not be recoverable with Crashplan https://support.crashplan.com/hc/en-us/articles/9019721025293#Global_exclusions
- If you have any other previous version of Crashplan installed, Uninstall any older version first.
Method 1: Installing via Self Service (Preferred)
What you will need:
- A Mac managed by the IGPP Helpdesk (not self-managed)
- Internet connection
Installation steps:
- Navigate to your Applications folder.
- Launch Self Service.
- Click "All" on the right sidebar.

- Locate Install Crashplan Cloud and click Install to start the installation process.
Grant Crashplan Full Disk Access in System Preferences
Select Security & Privacy > Unlock to make changes > Select full disk access on left pane > select Crashplan- Once completed, open Crashplan in your Applications folder
- Enter your UCSD Email address, this will open a browser window that will request your Active Directory credentials and 2-factor authentication.
Method 2: Installing via SMB download
What you will need:
UCSD network connection (Ethernet, UCSD Wireless, or VPN) to download the installer
- Unsure how to connecting to SMB (Mac or PC) click here for help.
- In the Finder menu bar, navigate to Go > Connect to Server.
- Enter "smb://igppsoftware.ucsd.edu/guest/Crashplan" for the Server Address and click Connect.
**NOTE** If using an M1 Mac, use the installer with "arm64" in the installer name. For Intel Mac, use the installer with "x86-64" in the installer name. - Select desired OS folder
- Follow the installation steps below.
Installation Steps
- Double-click on the Crashplan_x.x.x_Mac-xxxxx.dmg file to mount the DMG image.
- Open the mounted image
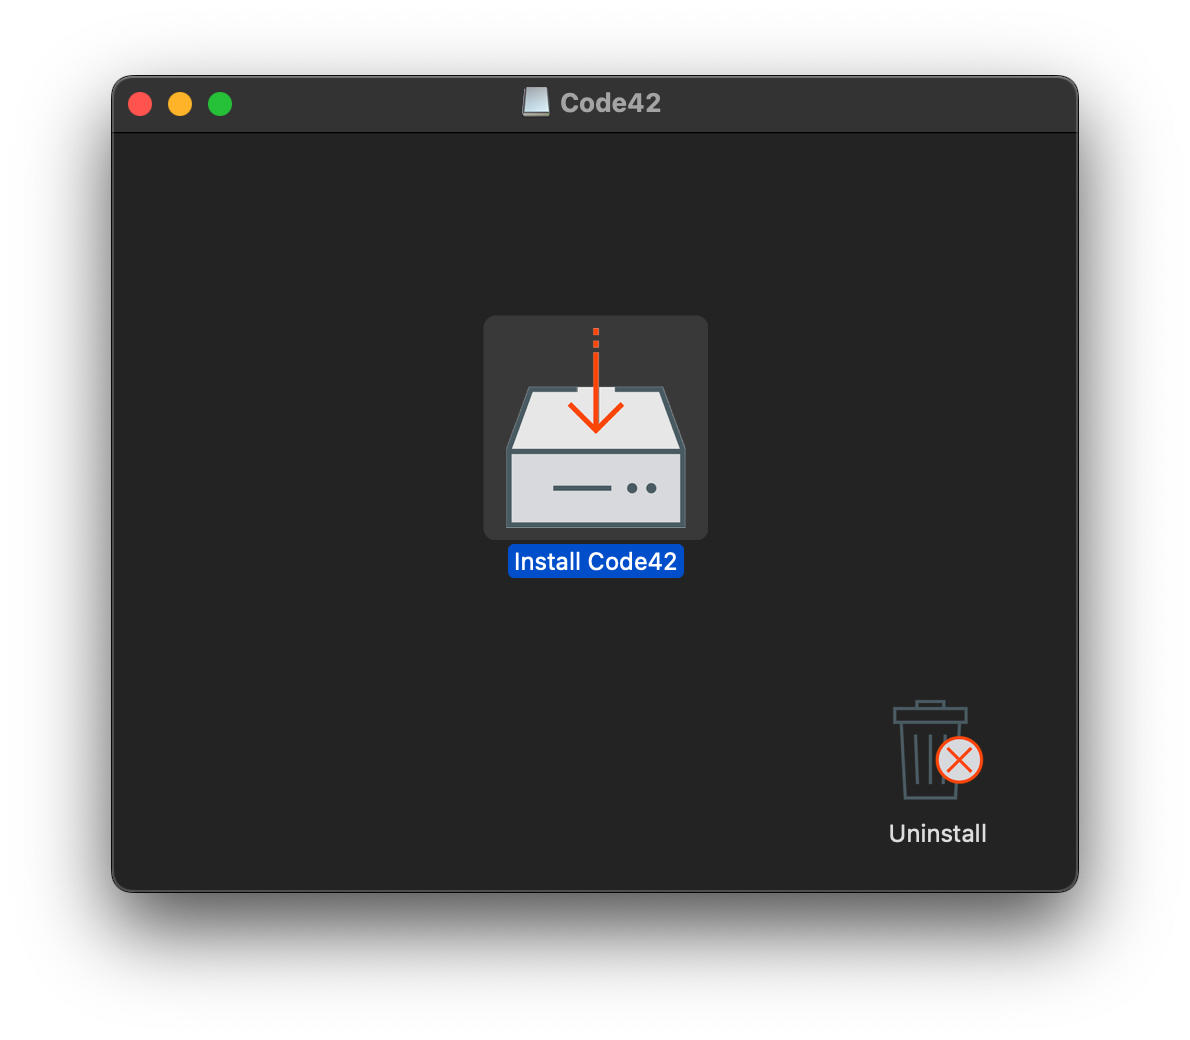
- Click Install Crashplan and go through the installation process.
Crashplan Setup
Grant Crashplan Full Disk Access in System Preferences
Select Security & Privacy > Unlock to make changes > Select full disk access on left pane > select Crashplan

Lock to save the changes
Launch Applications > Crashplan.app
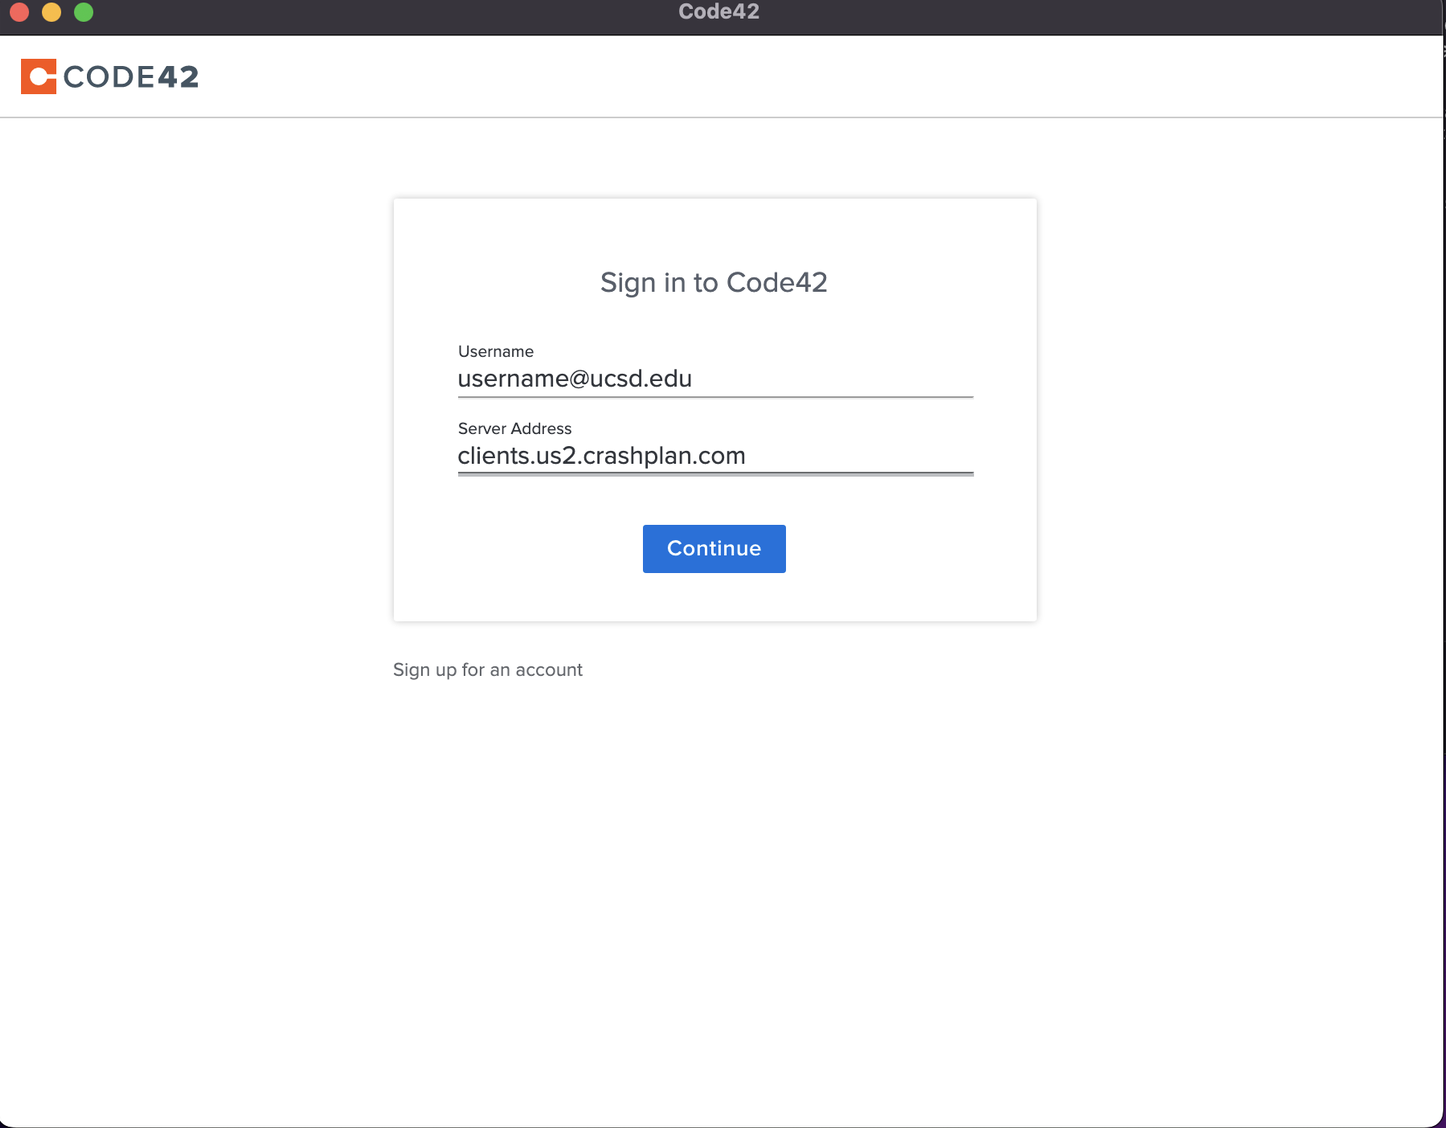
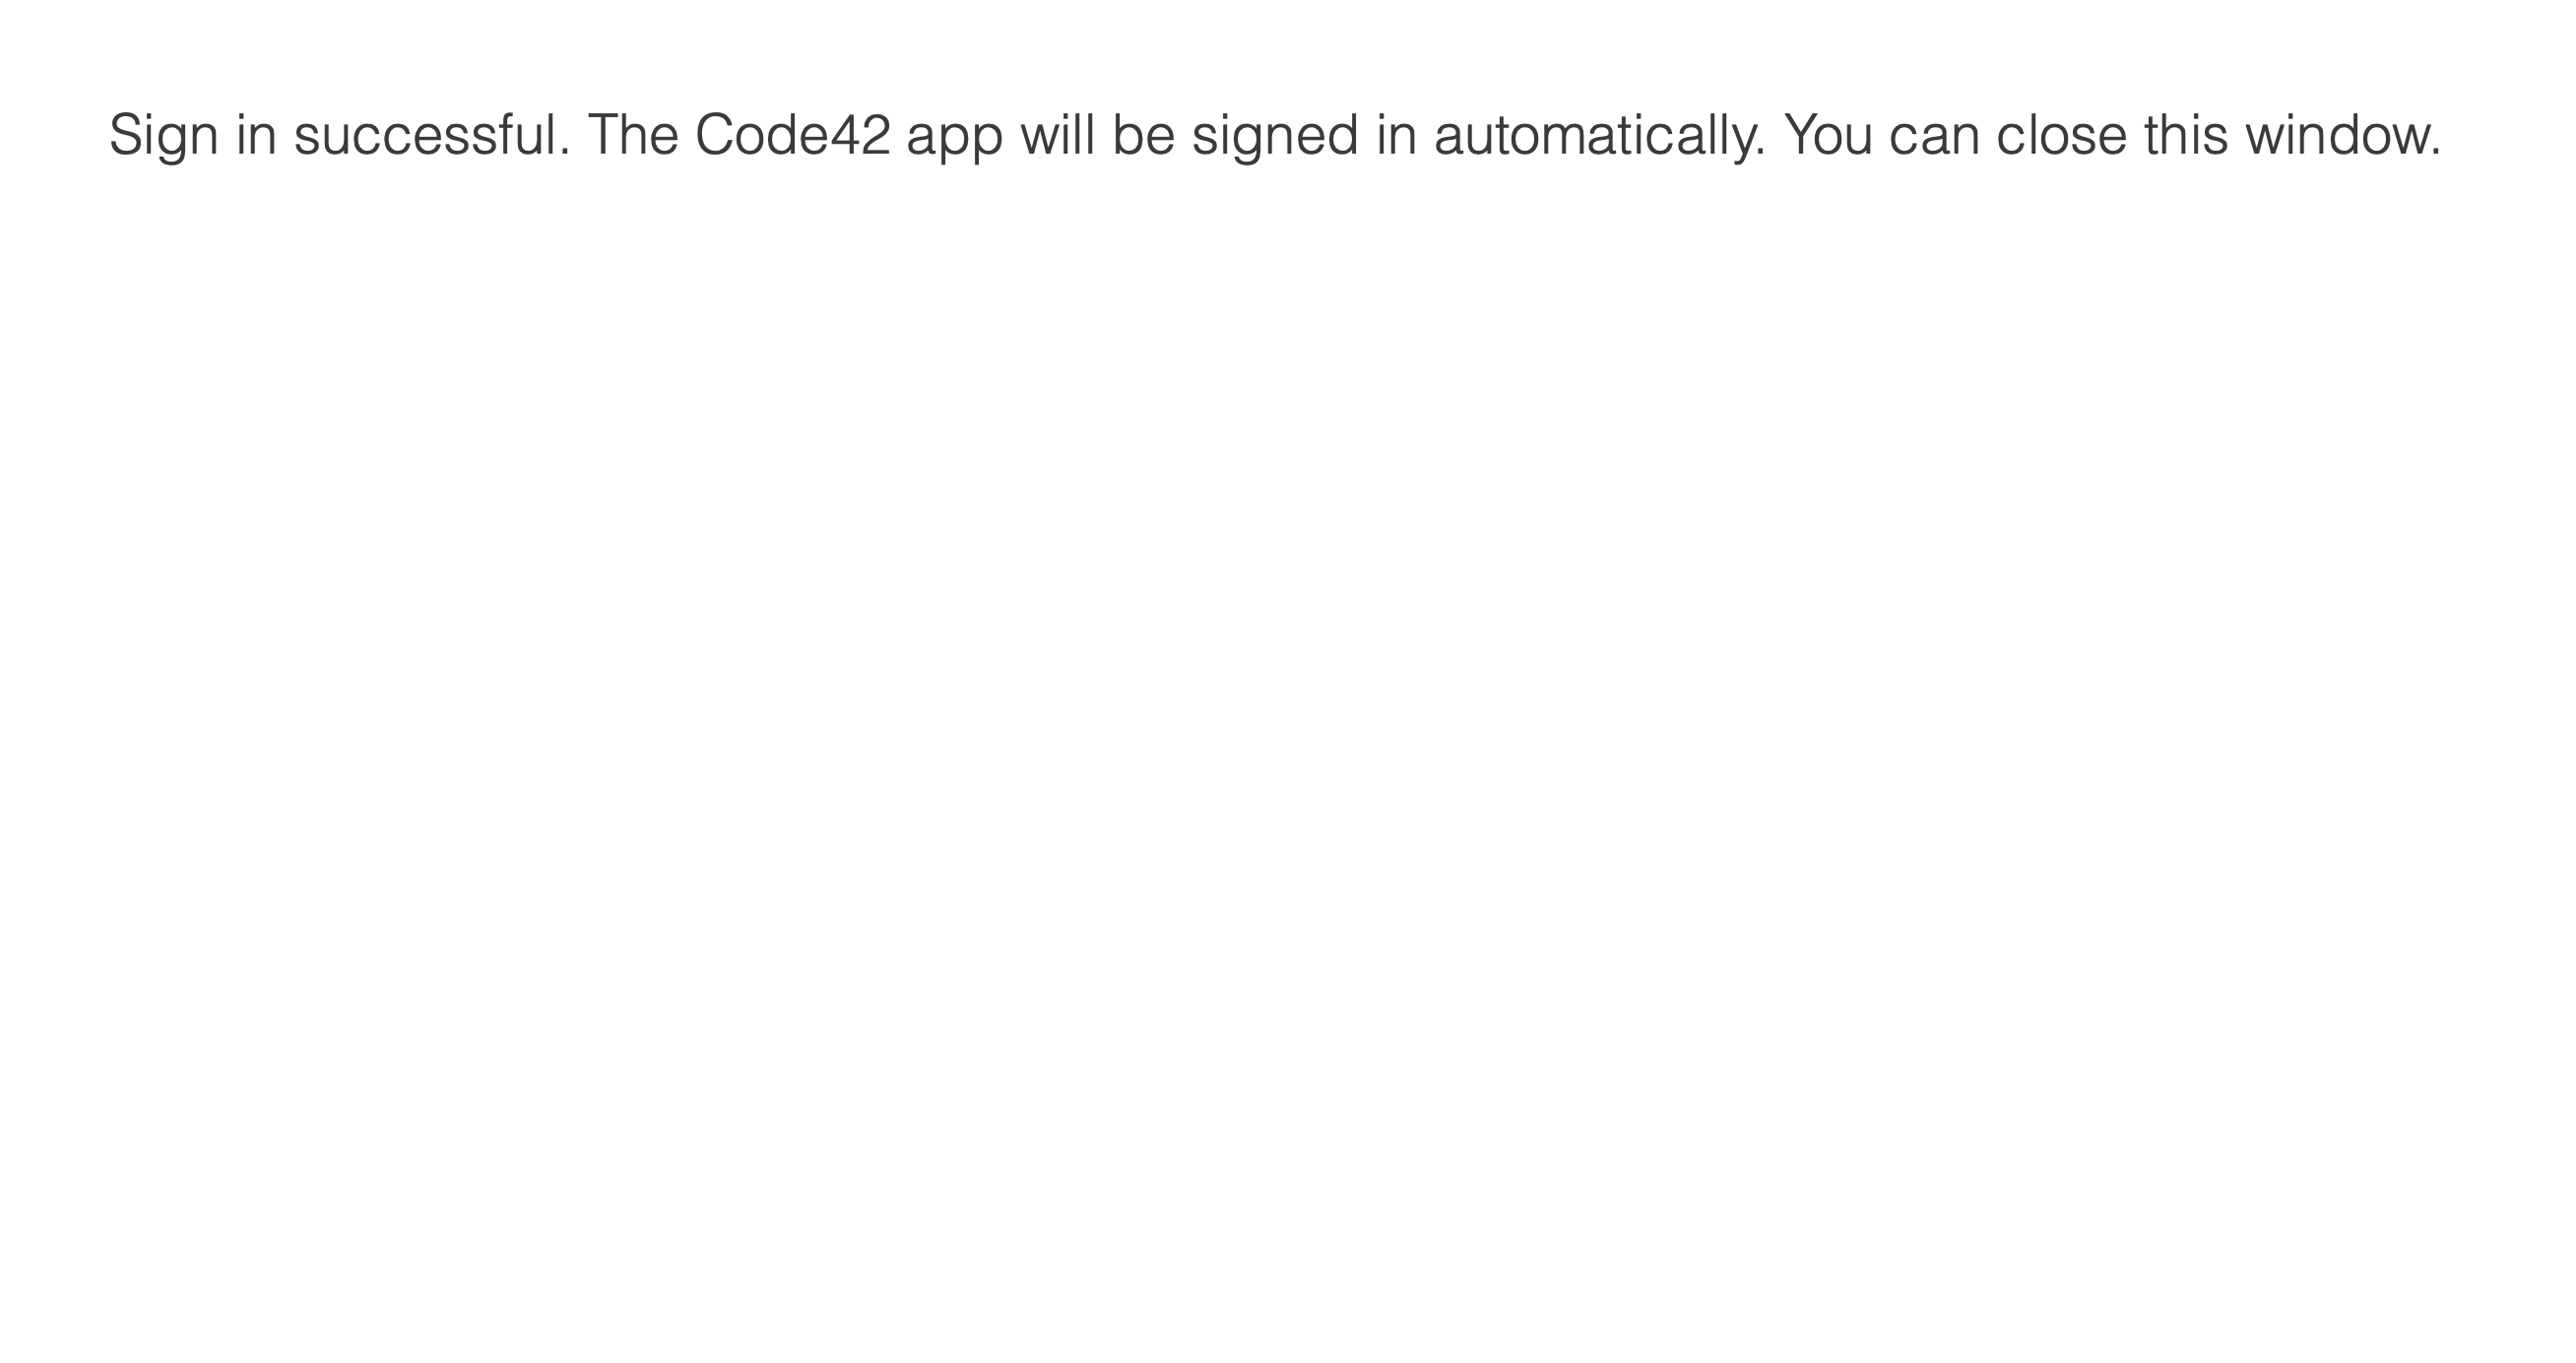
On the first screen enter your UCSD Email address and clients.us2.crashplan.com as the server address. The following screen will open a browser that will request your AD credentials and 2 factor authentication.
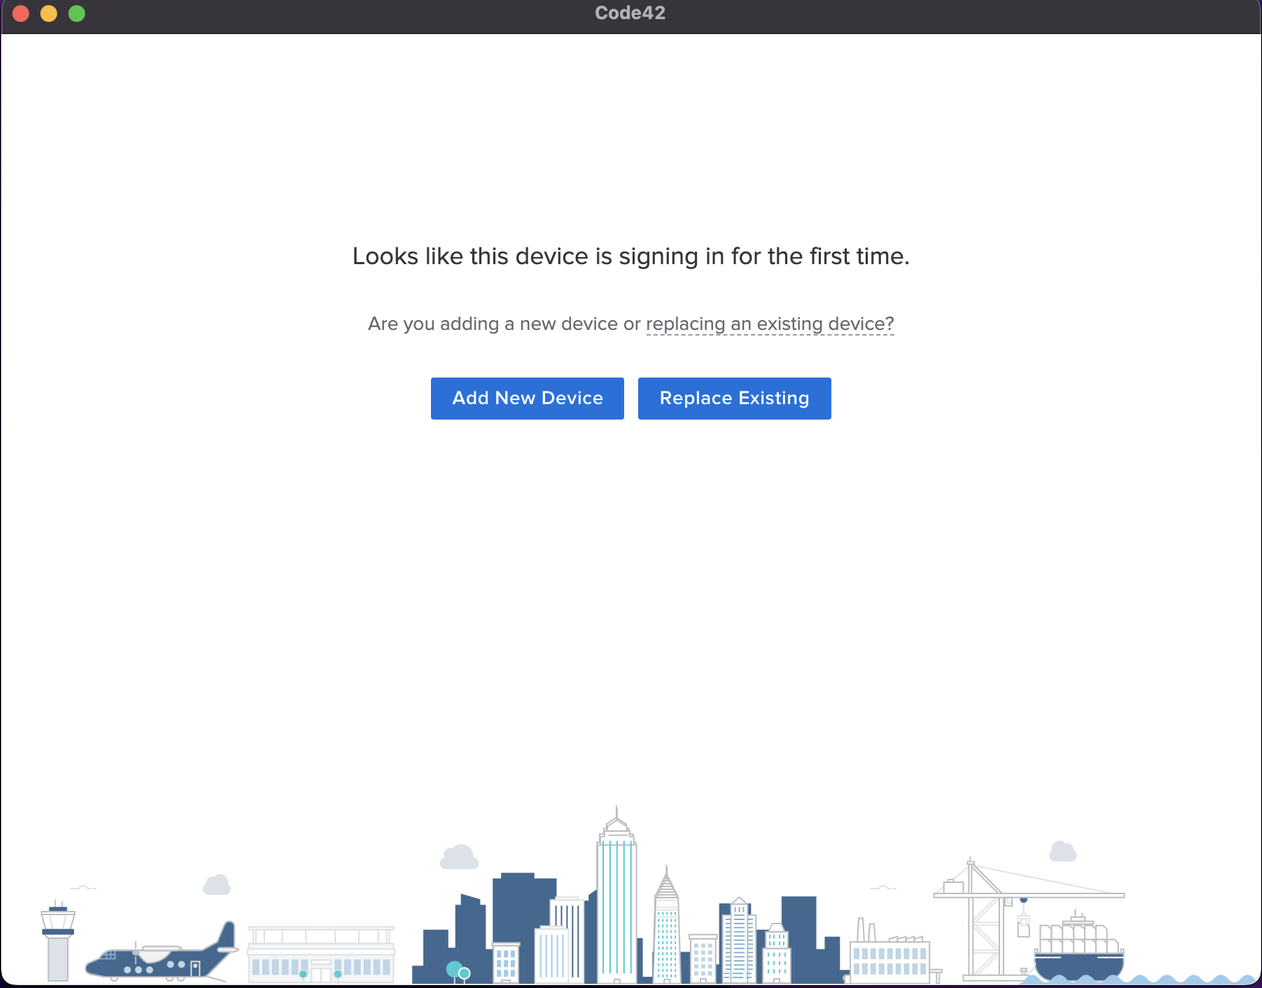
Once you go back to the Crashplan application, select Add New Device.
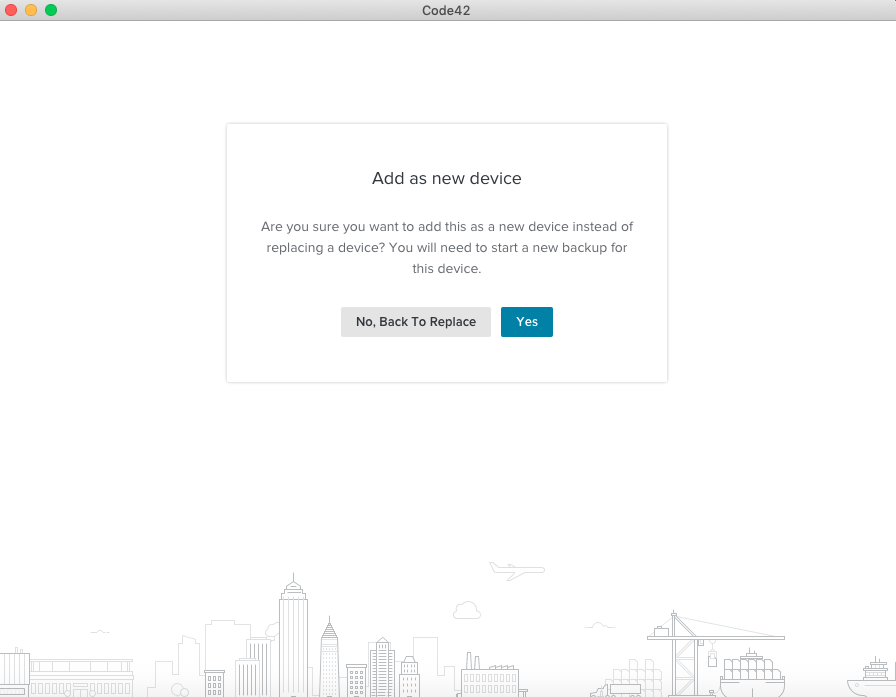
On the next screen click Yes to add this device to your backup account.
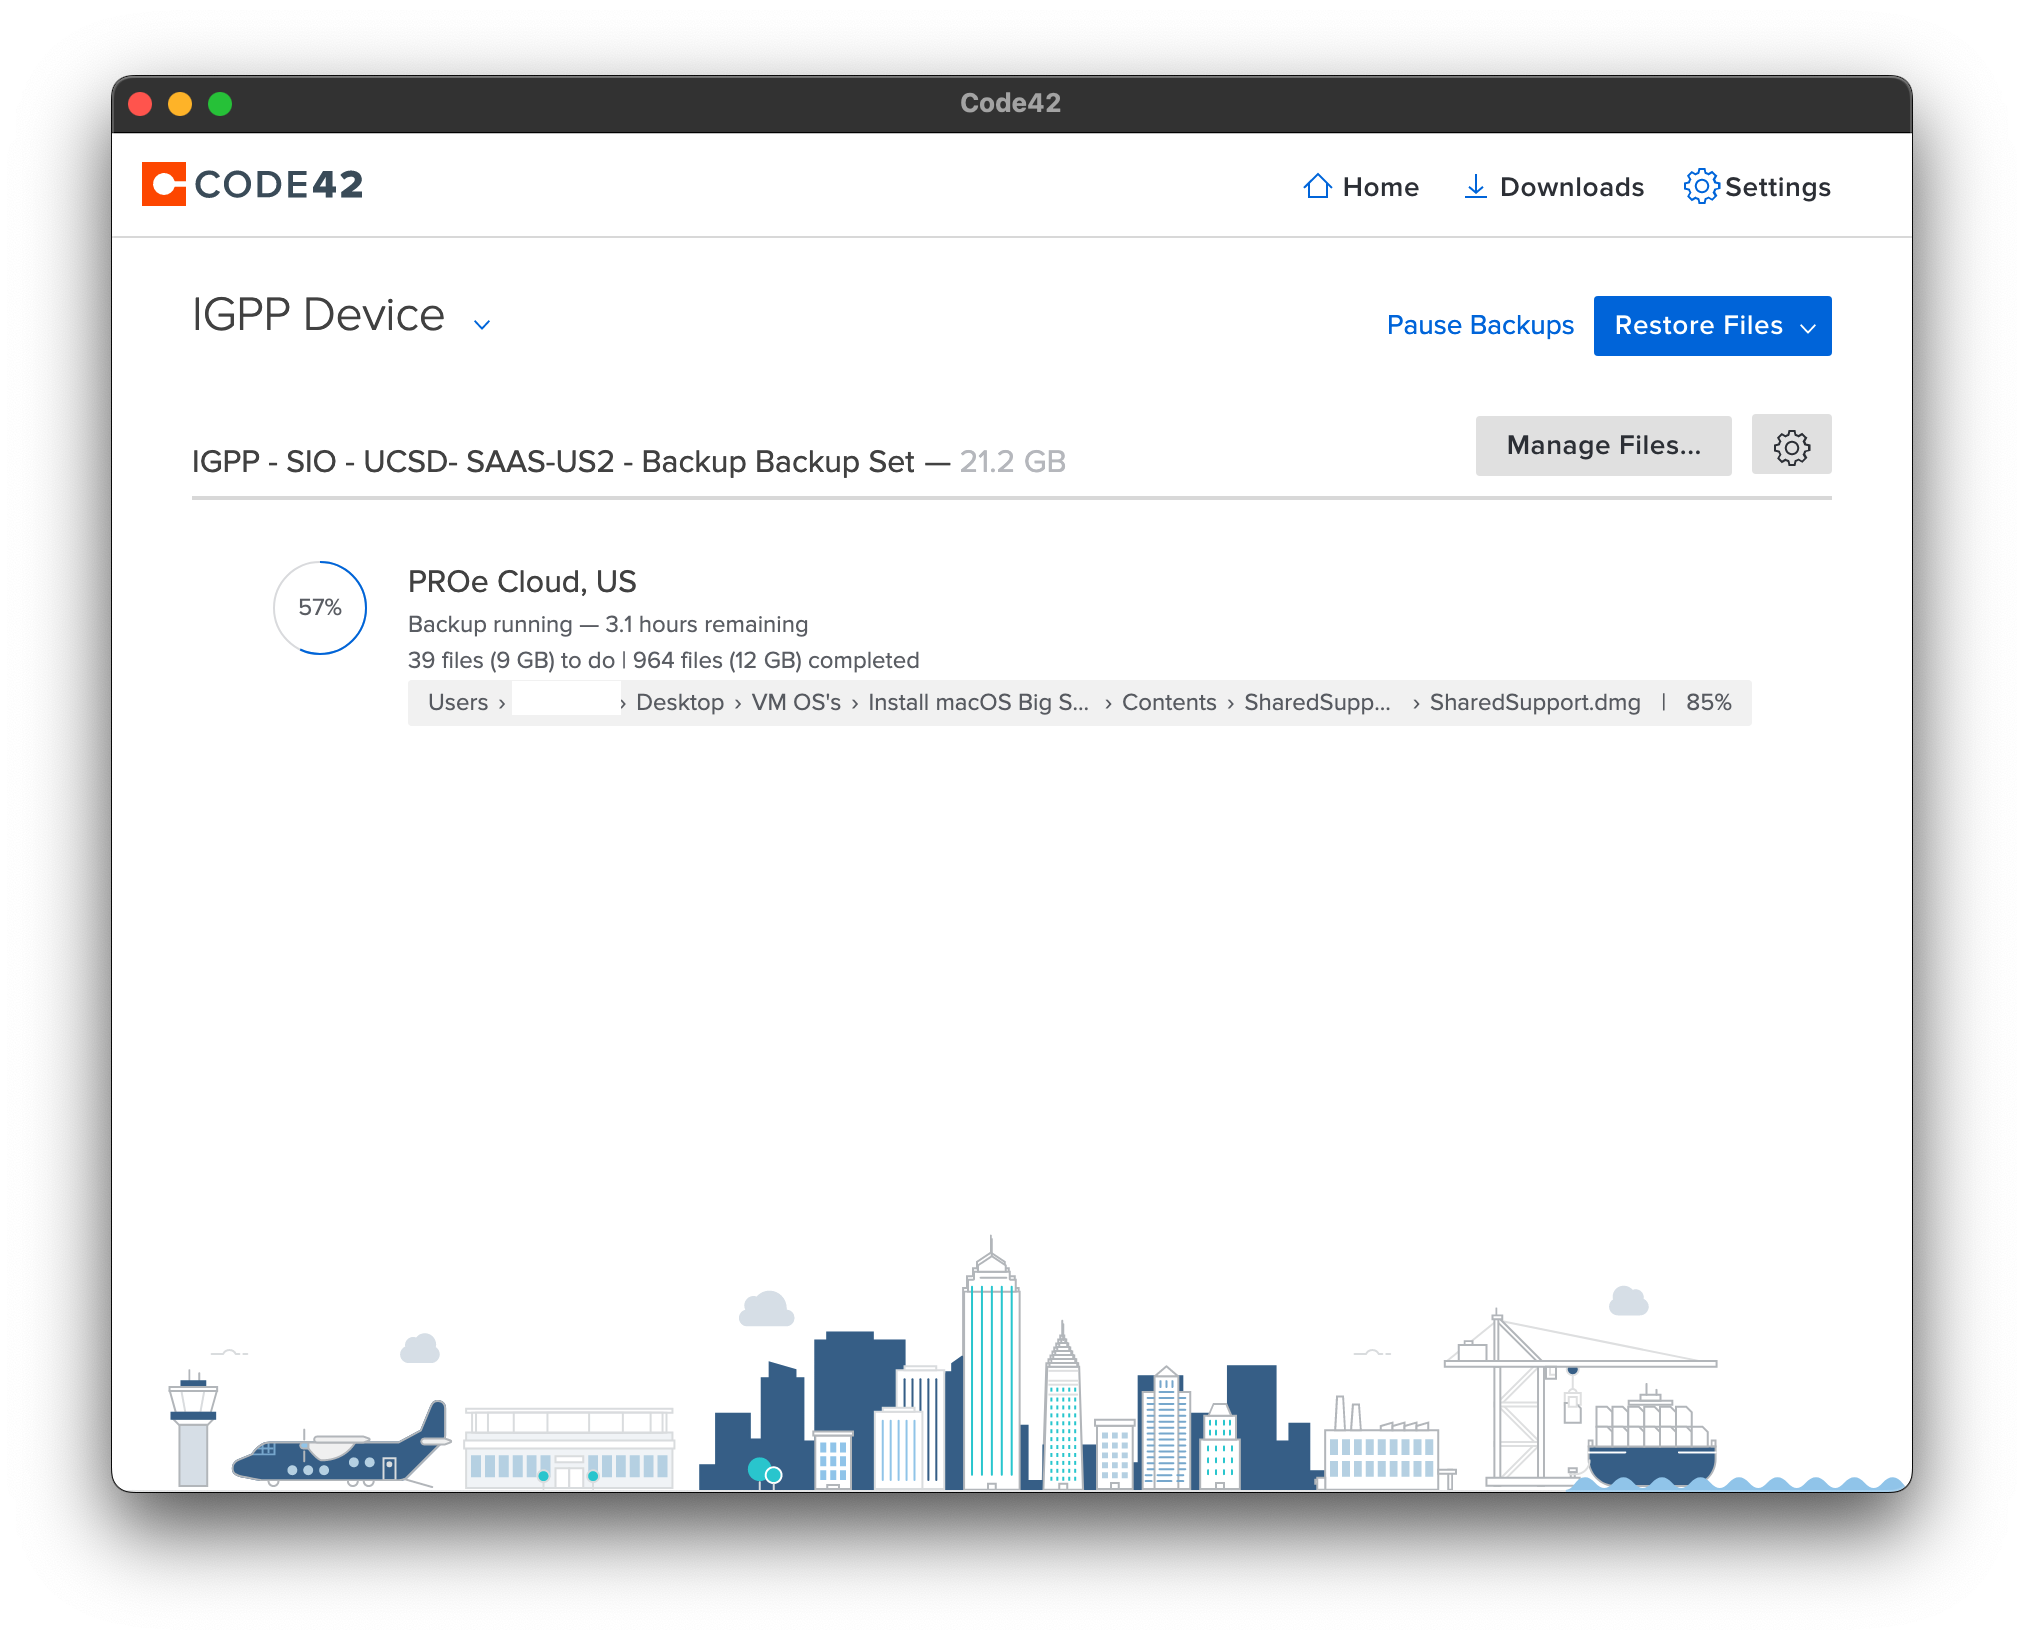
This will take you to the main window. The application will sync your files with both of our backup servers (this may take a while depending on how much data you have and your unload speed). This process will run in the background and then the backup will begin.
Verification
Check client backup status on server
With your email address log in to https://console.us2.crashplan.com/
Verify a file is selected for backup
You can verify that a file is set to be backed up by doing the following:
Open the Crashplan application (/Applications/Crashplan)
Select the Manage Files tab.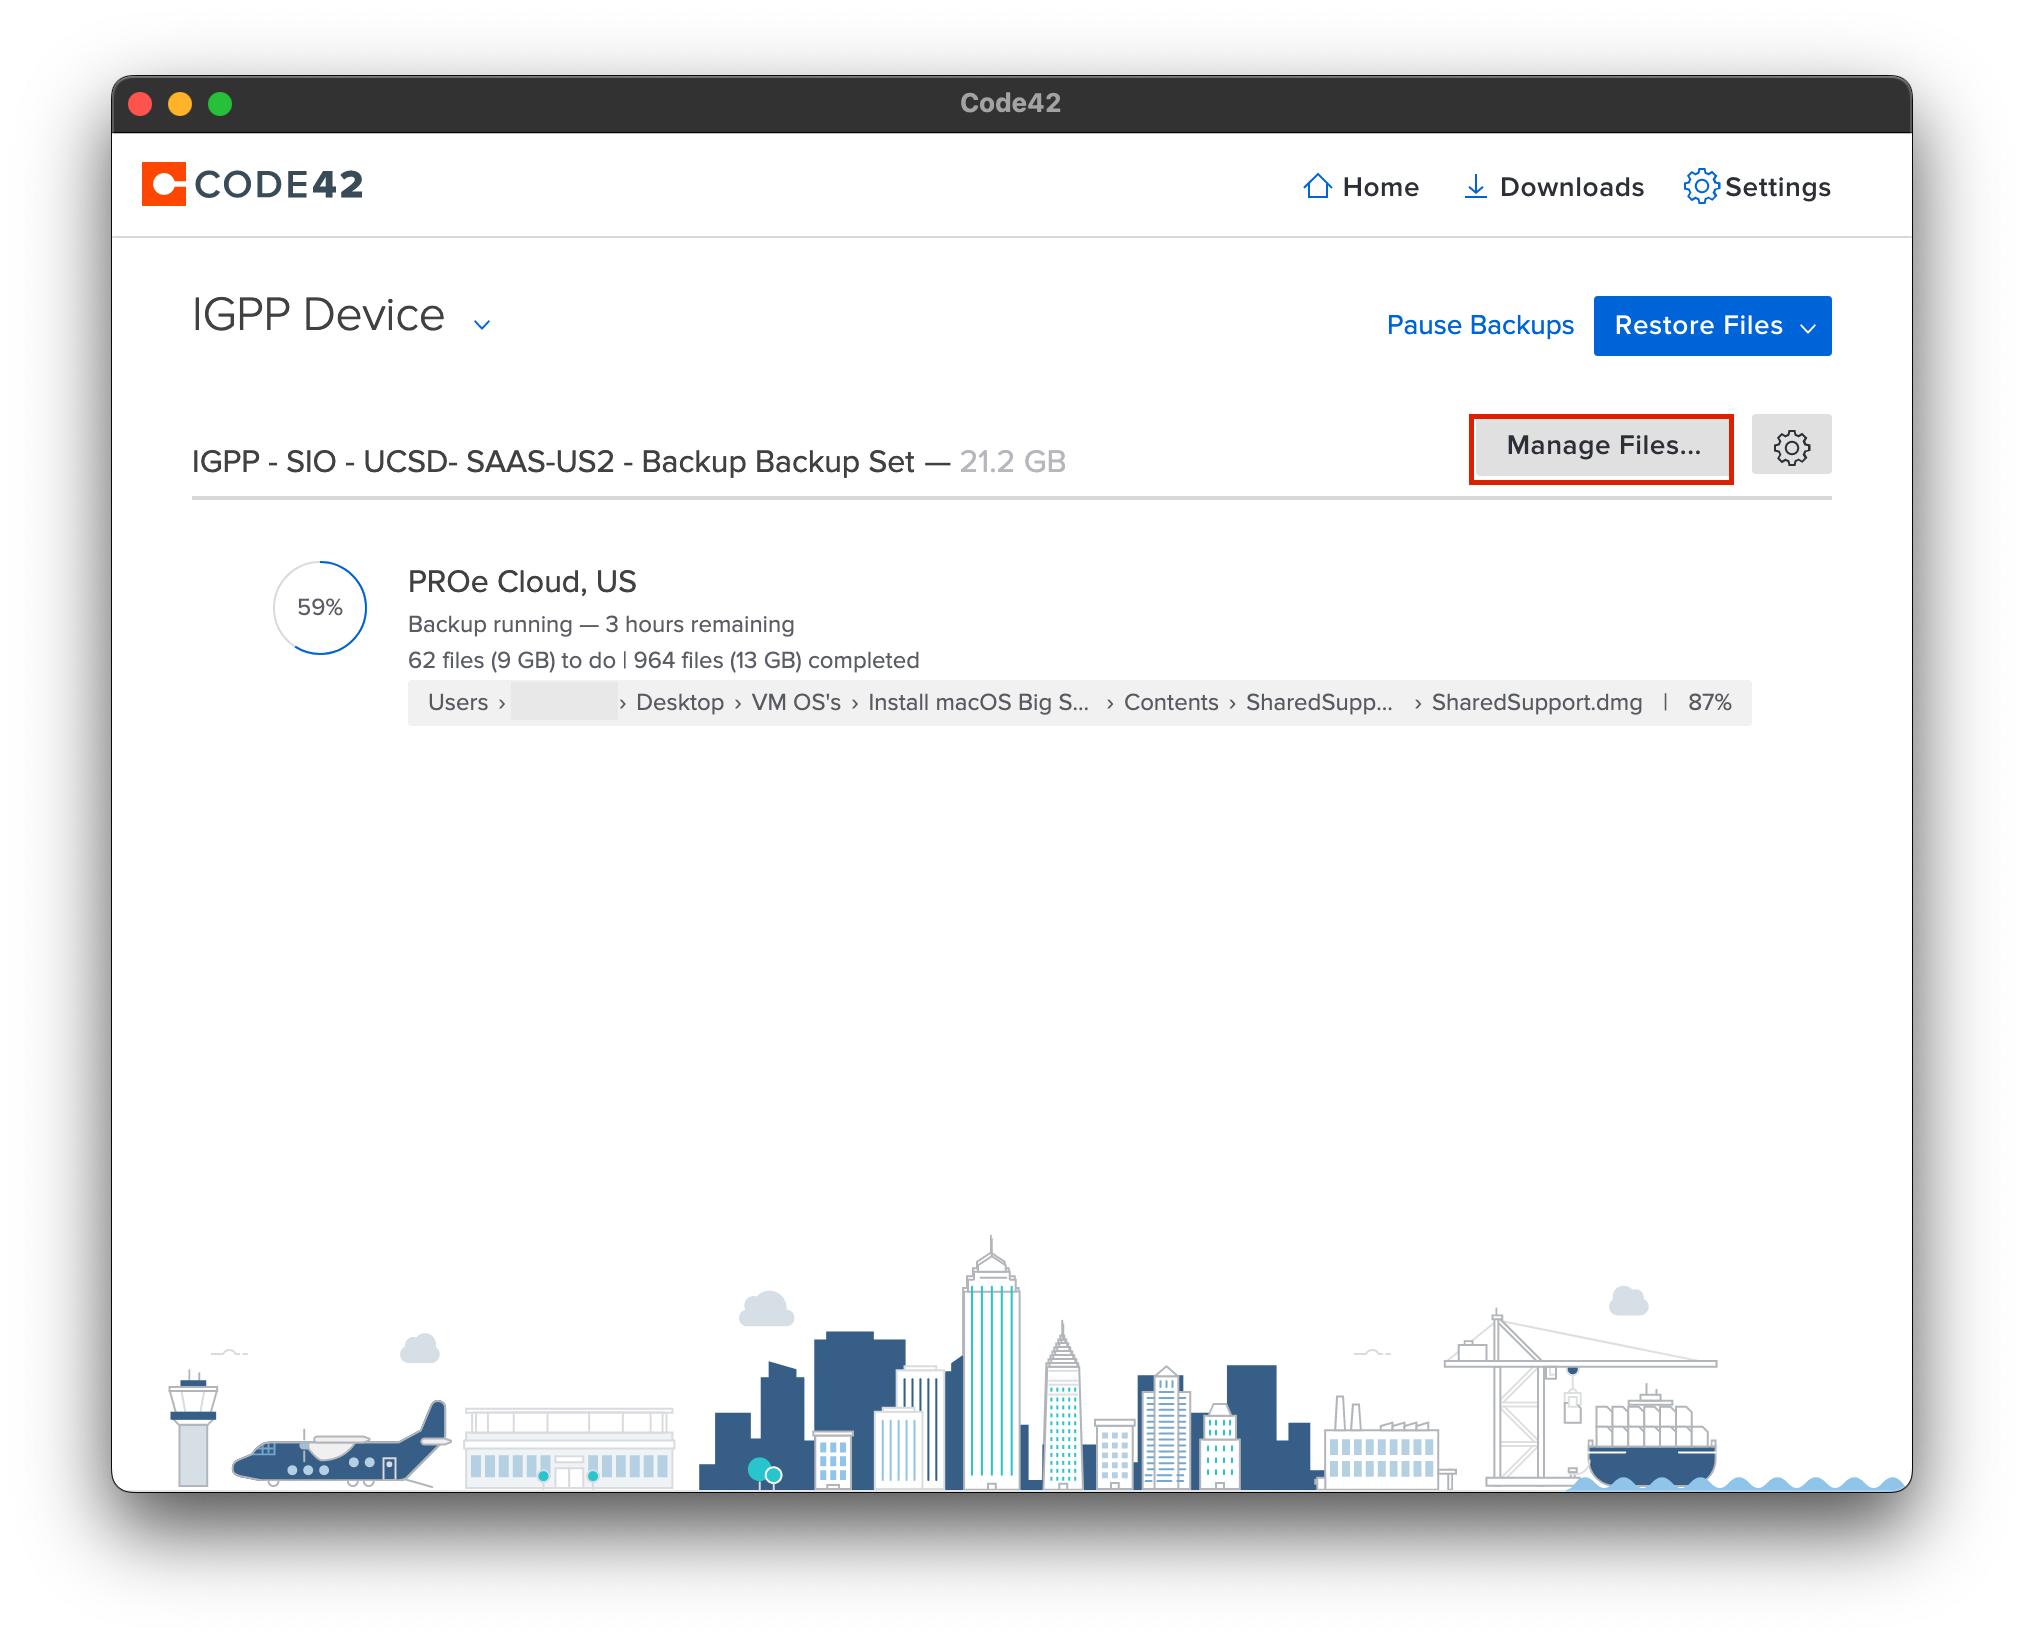
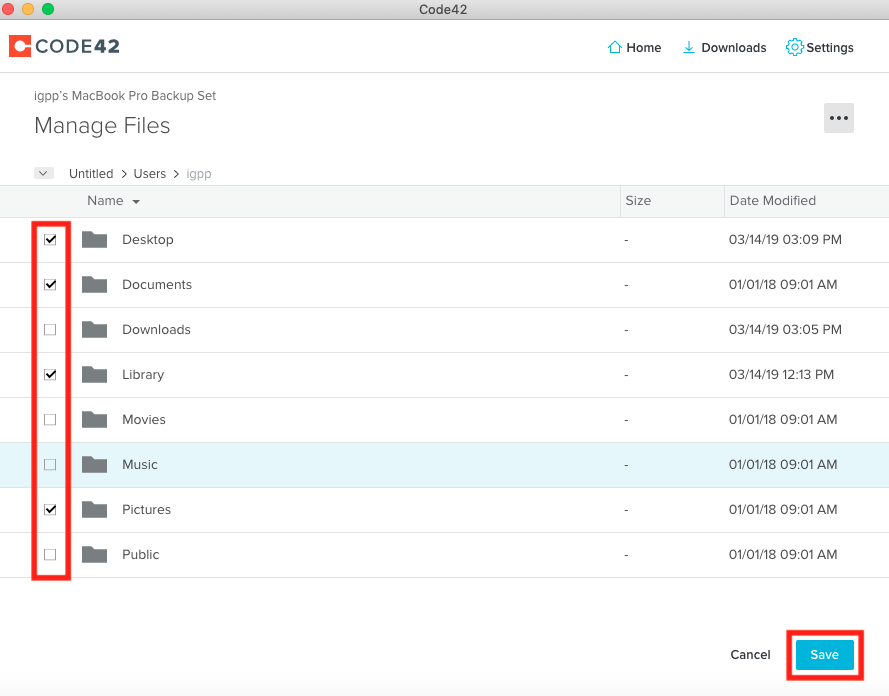
There is a line at the top which will indicate your location in the filesystem.

The checkboxes on the right side indicate files which are being backed up. Check or uncheck any files you wish to modify and click save to update your backup settings.
Note: Double clicking a folder will load the contents of that folder into the window.
Also Note: By default, the checkmark does not necessarily indicate that the entire contents of a folder are selected.
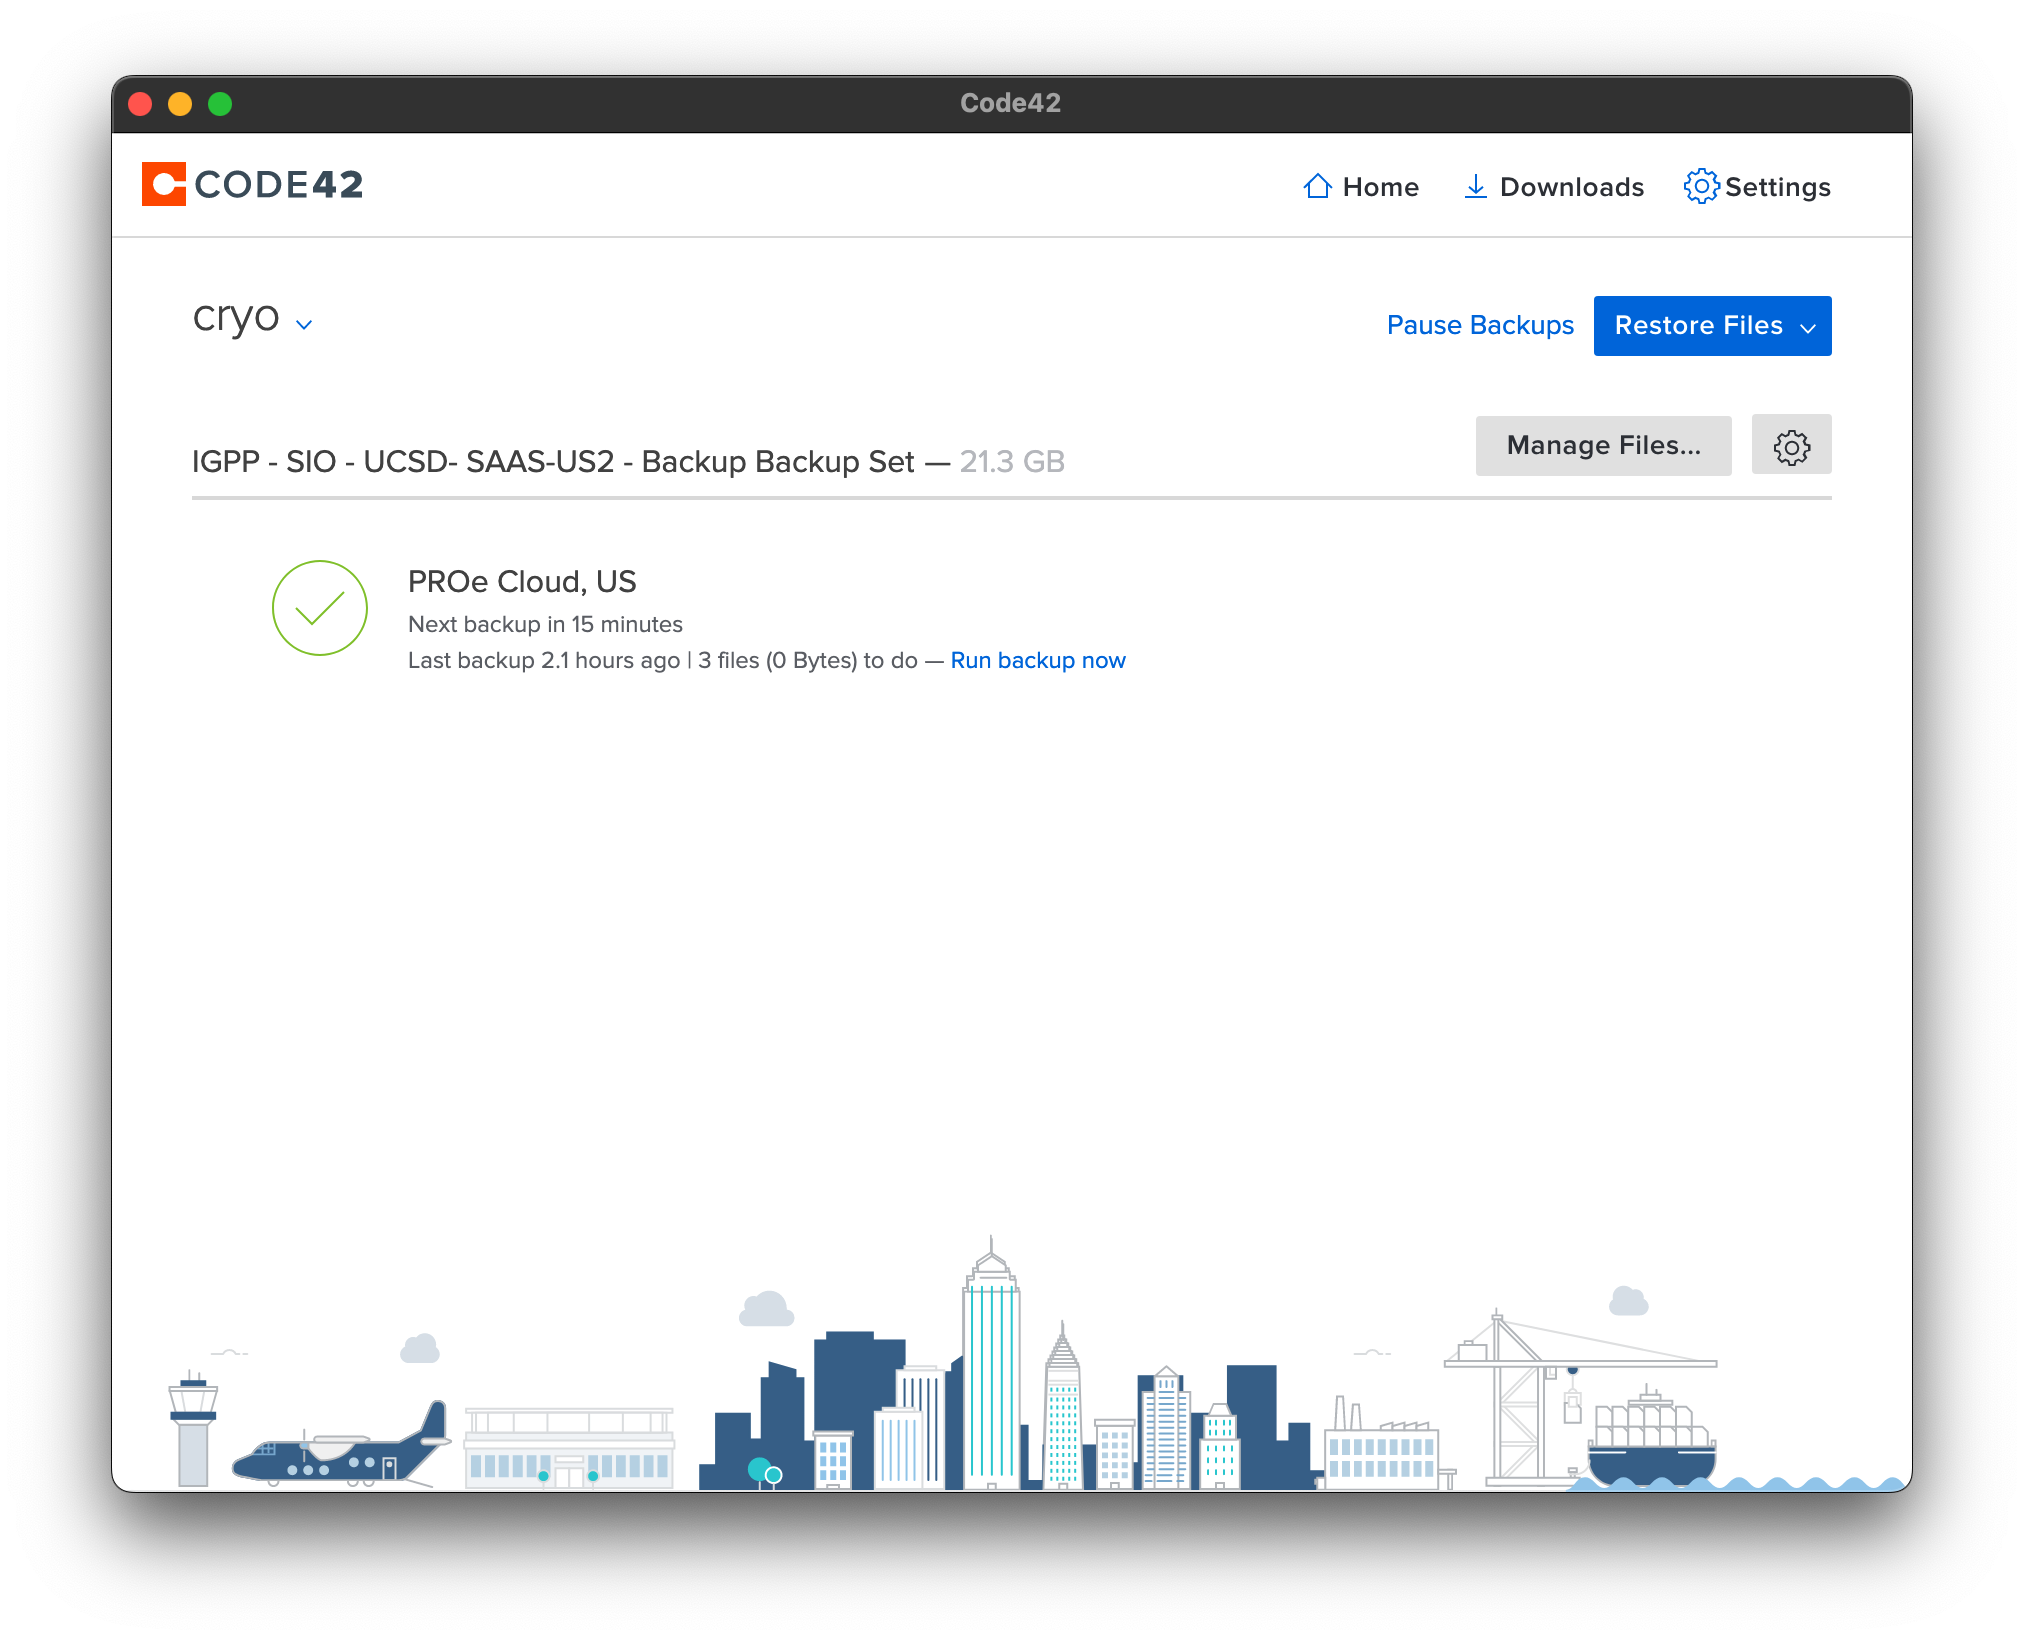
Verify files are being backed up
A green checkmark located next to the PROe Cloud server indicates that your backup is complete. (NOTE : The initial backup typically takes 2-5 days to complete depending on the amount of data being backed up). You may want to do a simple test restore to confirm.
Crashplan server status
Visit https://status.Crashplan.com/#
Uninstalling Crashplan
To fully uninstall Crashplan using Command line, Run the following command
sudo /Applications/Crashplan.app/Contents/Helpers/Uninstall.app/Contents/Resources/uninstall.sh
If you need further assistance, please contact IGPP HelpDesk.