a) via Graphical User Interface
- Restart computer and hold down ''Command + R" to open up Recovery Disk Mode
- Select the Recovery Disk.
- Select 'Disk Utility' from the macOS Utilities page
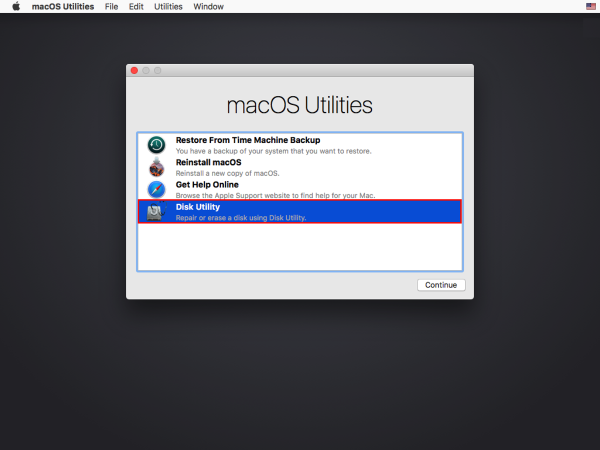
- Select the desired internal drive and select Erase
- Select 'Security Options' and drag the slider to the third option or 'Most Secure' to ensure that the drive is completely secured.
- Click Confirm and begin the wiping process. (Note: This process may take hours to complete.)
b) via Command Line
- Restart computer and hold down ''Command + R" to open up Recovery Disk Mode
- Select the Recovery Disk
- Access Terminal through: Utilities > Terminal
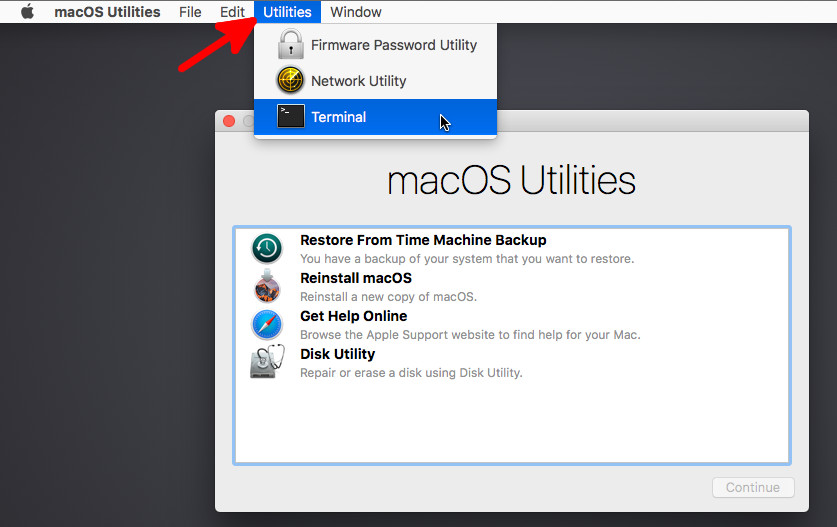
To see a list of disks, issue the following command within Terminal:
diskutil list
Use this list to determine the desired drive to wipe.
Issue the following commands within terminal:
Use zeroDisk if zeroing out the disk for reuse. Use randomDisk if sending it out for surplusing
Make sure to issue the correct disk when wiping! Any errors will result in lost data!Example:
sudo diskutil zeroDisk /dev/disk4
sudo diskutil randomDisk /dev/disk3
c) via Target Disk Mode
Note: This method requires the use of two working Macs.