/
Secure Wipe a Disk Before Surplusing
Secure Wipe a Disk Before Surplusing
- Former user (Deleted)
- Wayne Chen
Owned by Former user (Deleted)
Last updated: Jul 02, 2018 by Wayne Chen
a) via Graphical User Interface
- Power on by holding down ''Command + R" keys to boot into Recovery Disk Mode
- Select the Recovery Disk.
- Select 'Disk Utility' from the macOS Utilities page
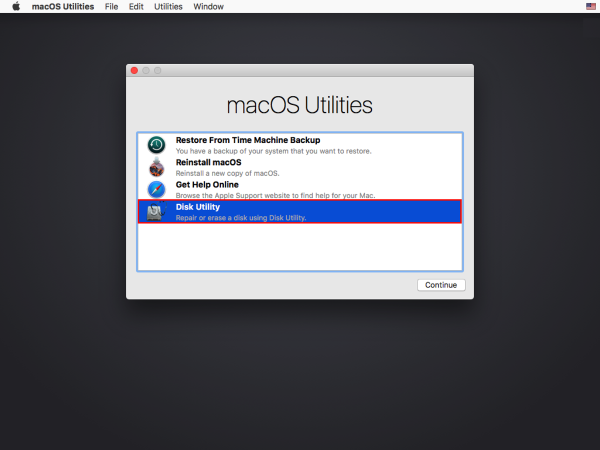
- Select the desired internal drive and select Erase
- Select 'Security Options' and drag the slider to the third option or 'Most Secure' to ensure that the drive is completely secured.
- Click Confirm and begin the wiping process. (Note: This process may take hours to complete.)
b) via Command Line
- Power on by holding down ''Command + R" keys to boot into Recovery Disk Mode
- Select the Recovery Disk
- Access Terminal through: Utilities > Terminal
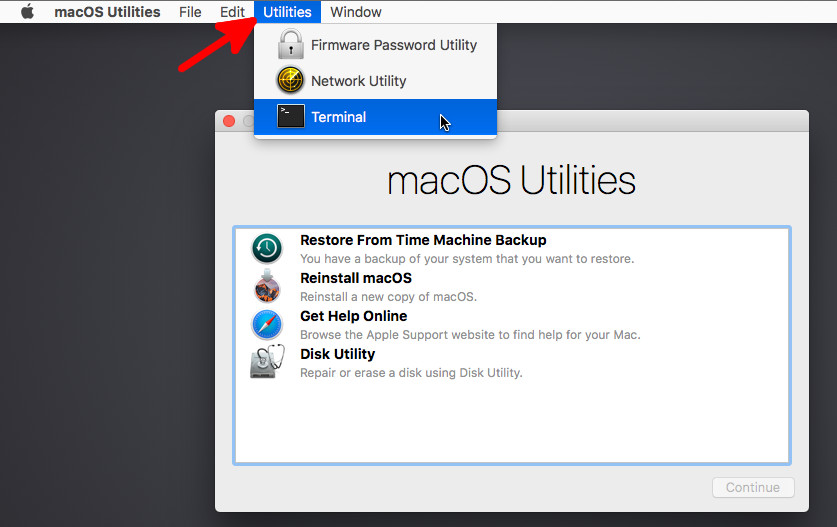
To see a list of disks, issue the following command within Terminal:
diskutil list
Use this list to determine the desired drive to wipe.
Issue the following commands within terminal:
Use zeroDisk if zeroing out the disk for reuse. Use randomDisk if sending it out for surplusing
Make sure to issue the correct disk when wiping! Any errors will result in lost data!Example:
sudo diskutil zeroDisk /dev/disk4
sudo diskutil randomDisk /dev/disk3
c) via Target Disk Mode
Note: This method requires the use of two working Macs.
- Connect the two Macs through a firewire or thunderbolt cable.
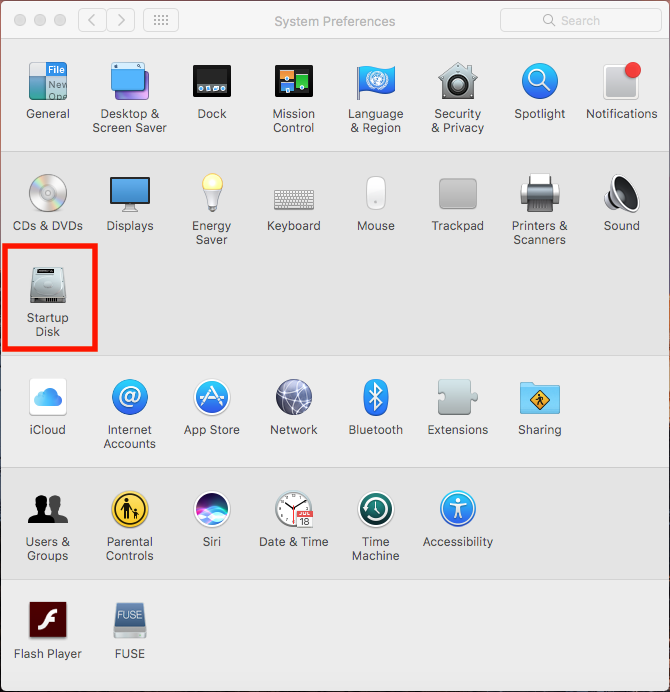
- From the device you are trying to wipe, access Target Disk Mode through: Applications > System Preferences > Startup Disk
- Unlock the lock (Administrator password required) to make changes.
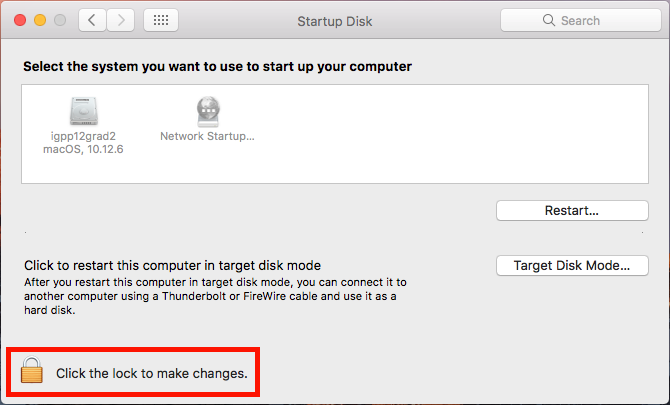
- Select Target Disk Mode and restart your computer.
- From your second computer, access the Disk Recovery Mode and follow the procedures from Part A or B to wipe the connected computer.
Note: Make sure to select the correct hard drive in which you want to erase! Selecting the wrong drive can result in lost data!
, multiple selections available,