Adding a Printer in Windows 10
To add a printer to Windows 10, go through the following steps:
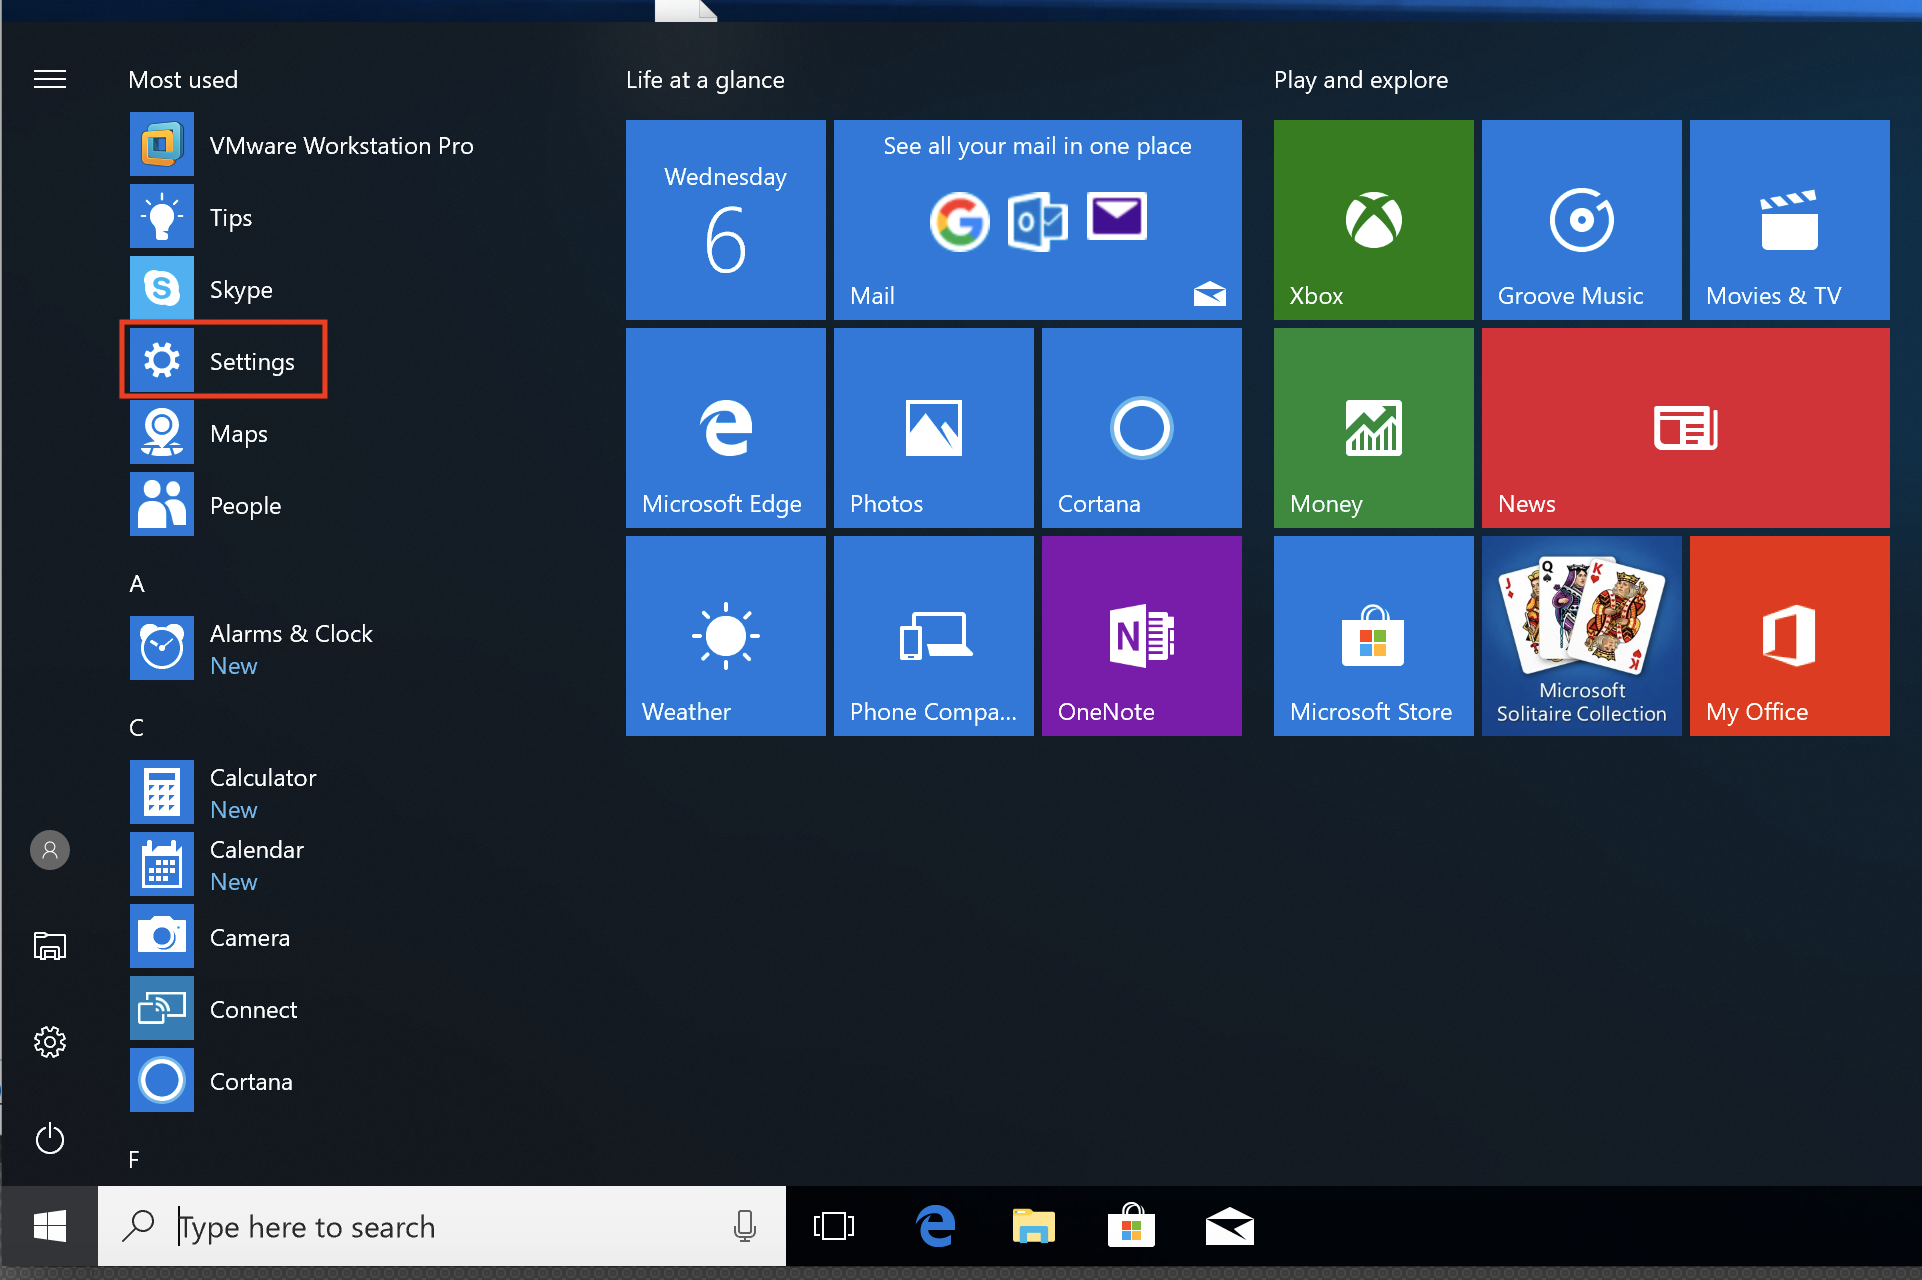
Open the Start Menu and select Settings.
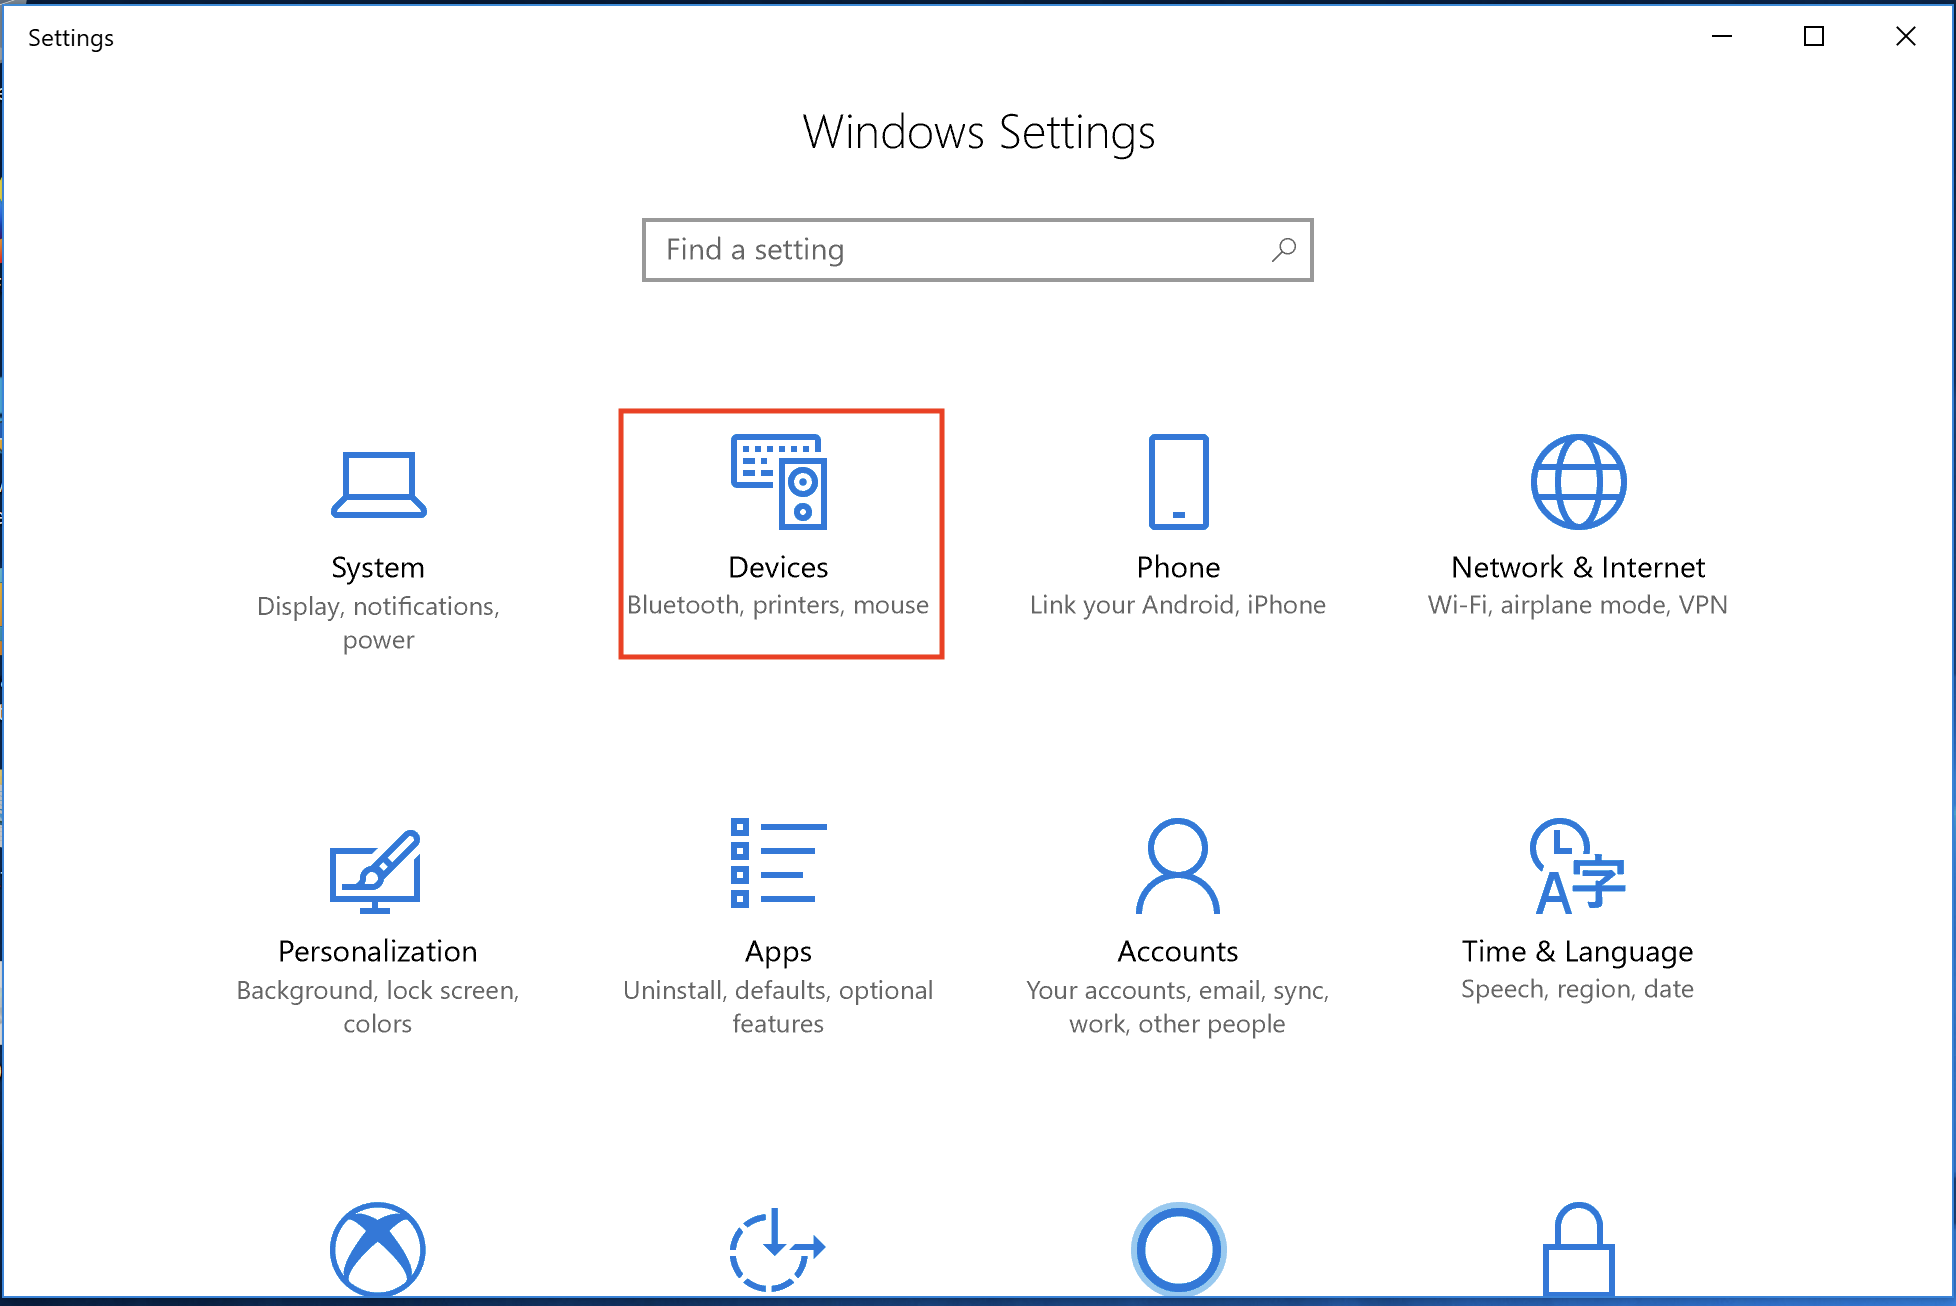
In the settings window, select Devices.
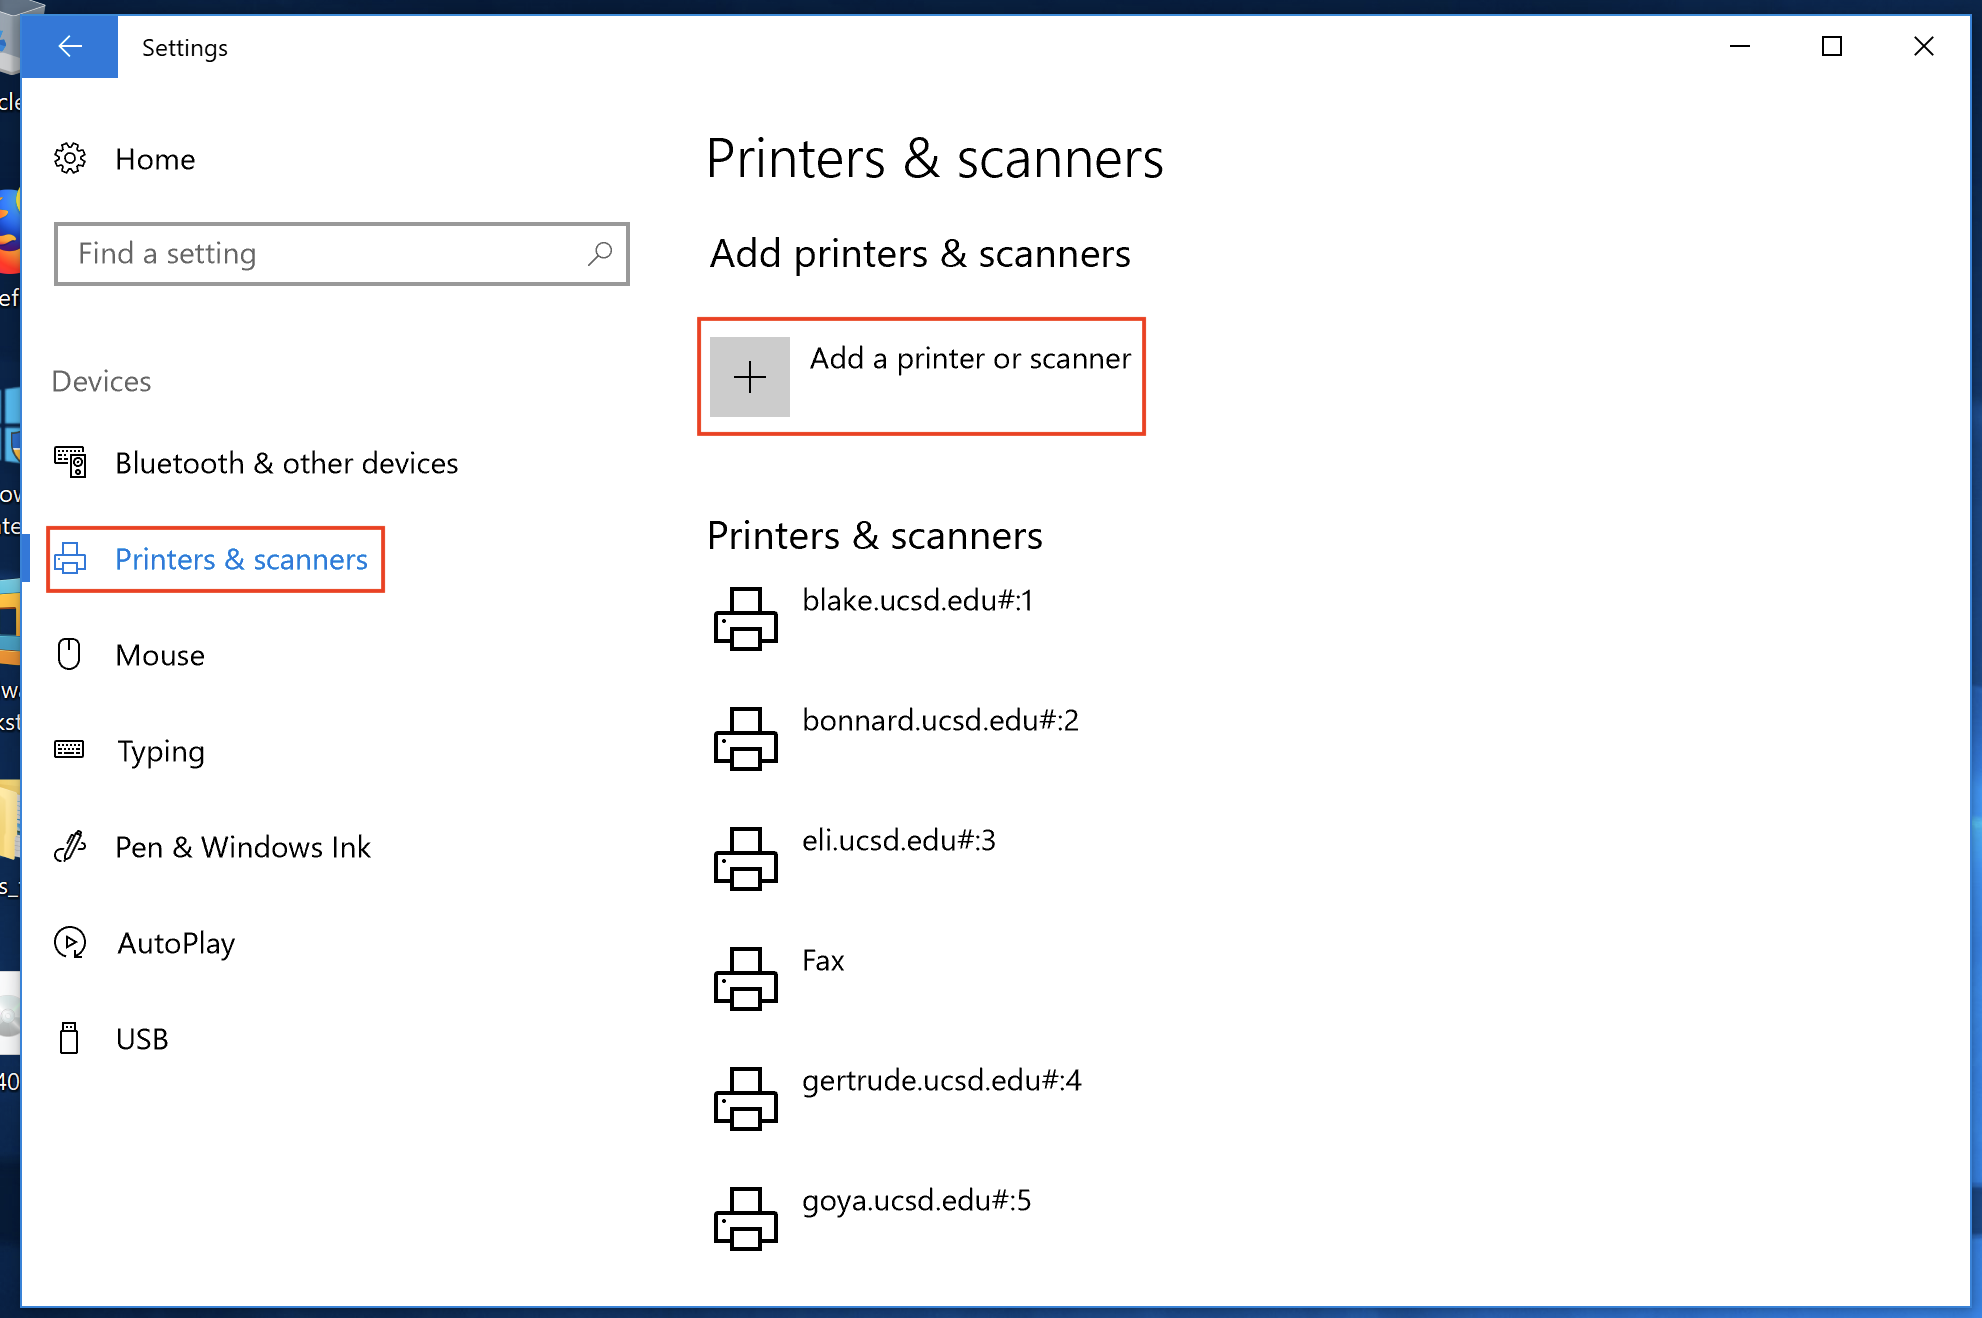
In the Devices window, open Printers & scanners and select Add a printer or scanner.
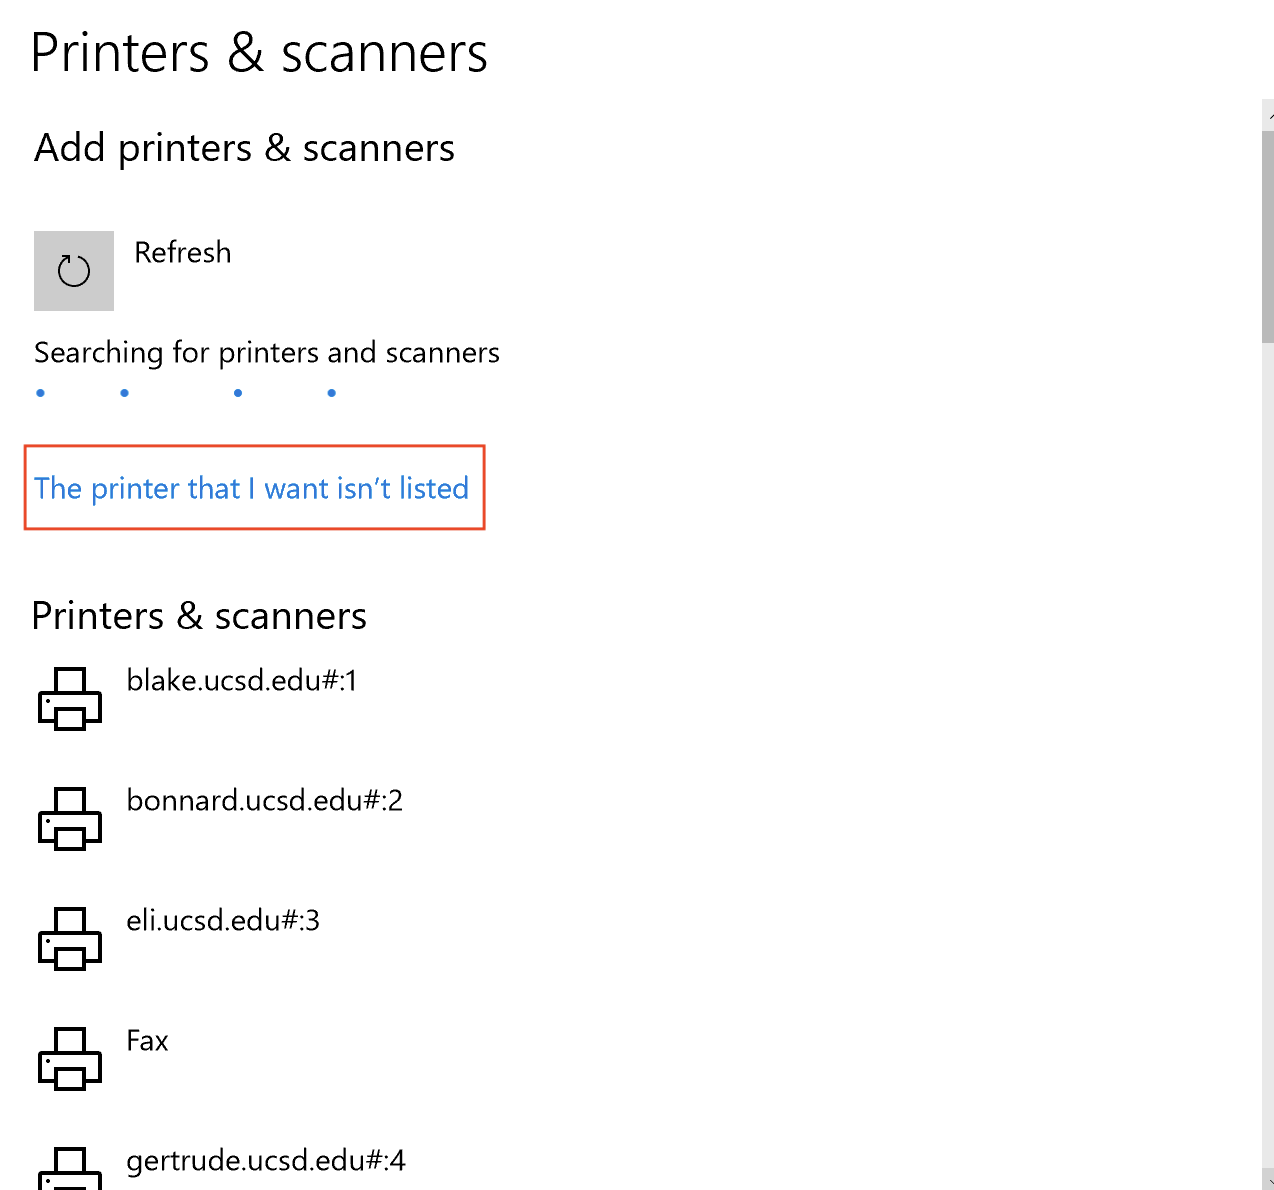
Windows will search for the printer, but won't find it. When The printer that I want isn't listed appears, click the text.
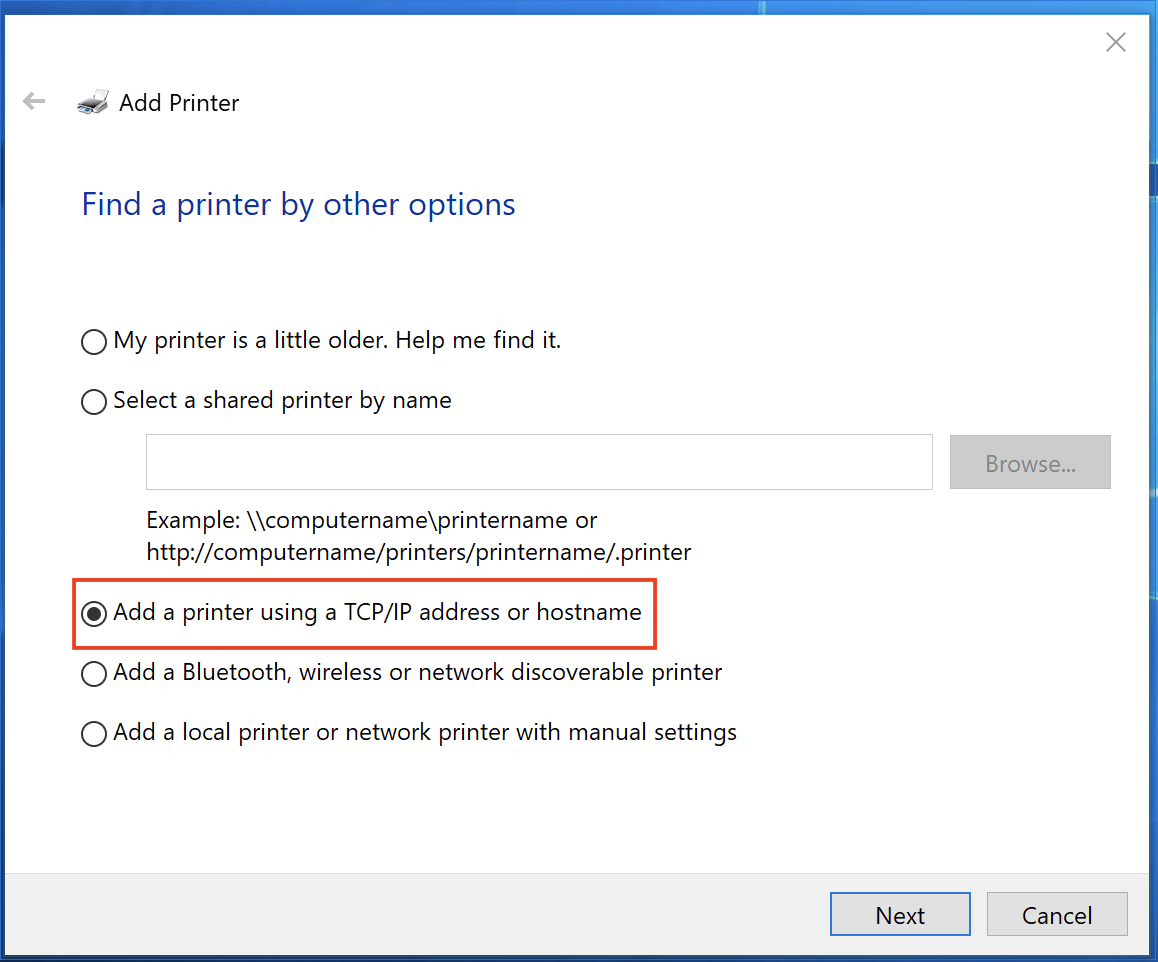
In the next window select Add a printer using a TCP/IP address or hostname and click Next.
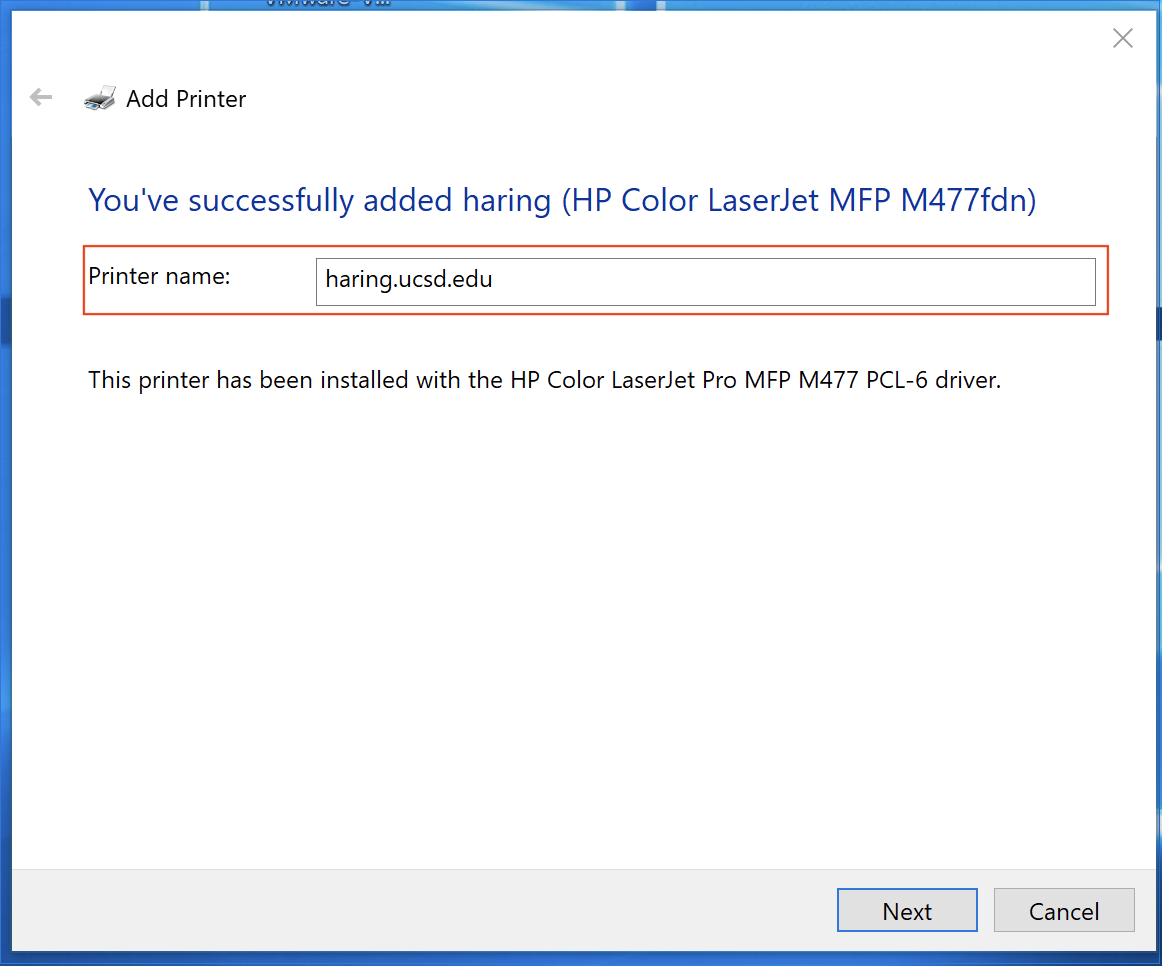
Enter the name of the printer you're trying to add, make sure you include .ucsd.edu after the printer name. Once you've entered the correct name click Next.
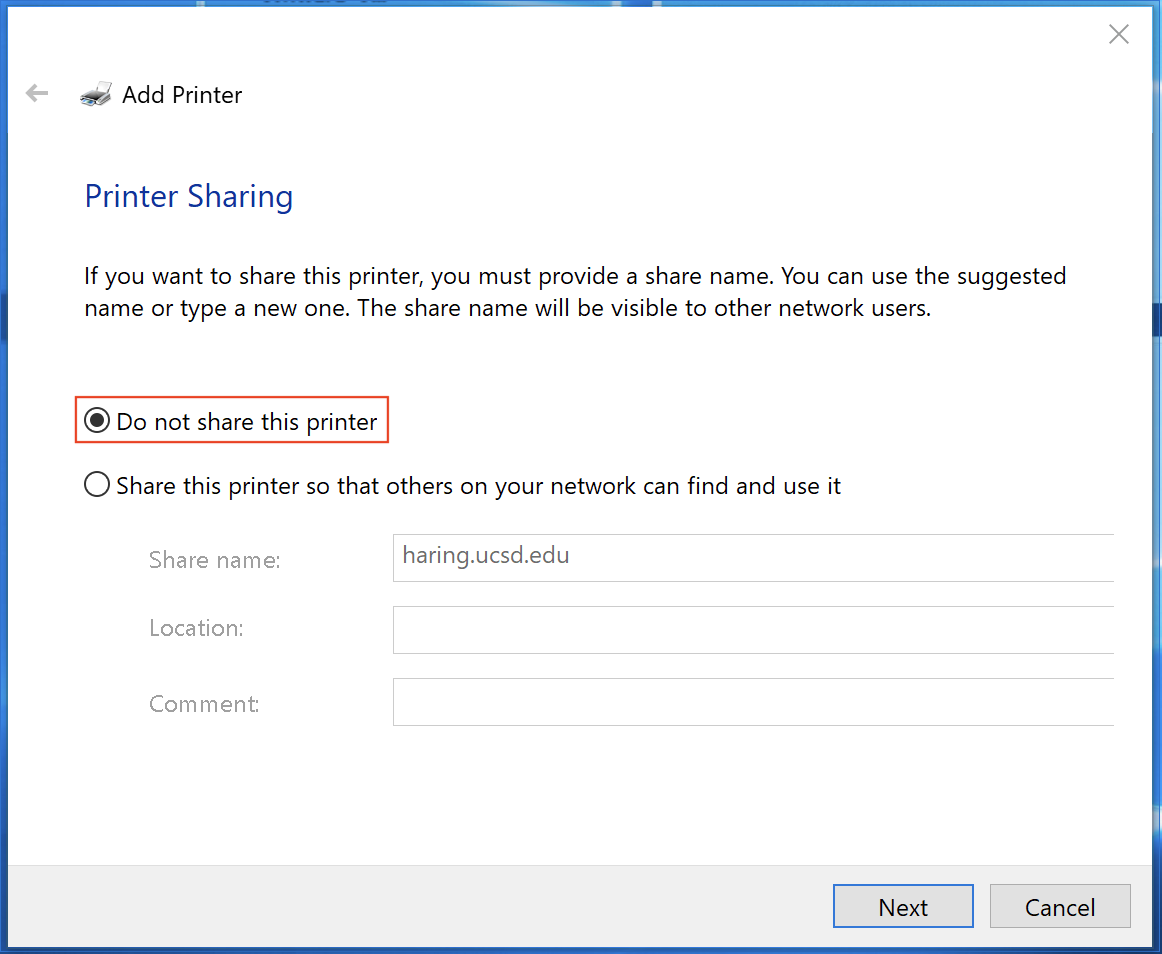
On the next screen select Do not share this printer then click Next.
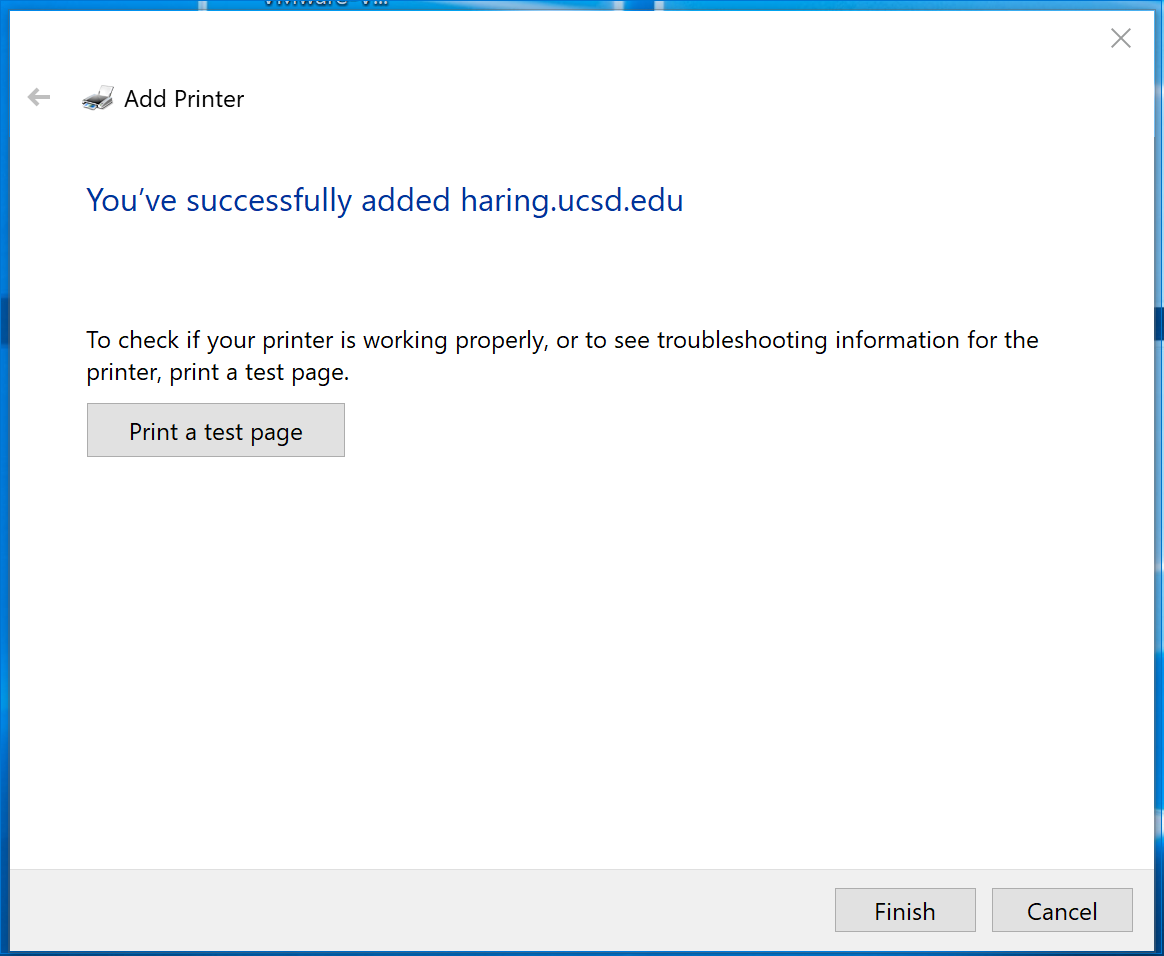
If you've entered all the information correctly you should see a test screen. Click Finish.
Once you've finished adding the printer, check the list of printers in the Devices window to make sure it was added.
