ChronoSync 4 Settings
Default Chronosync 4 settings for IGPP users
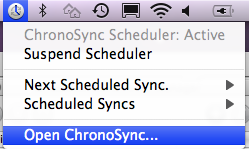
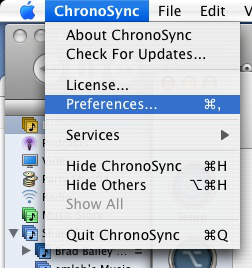
- First you must bring up the active backup script. To do so, open ChronoSync either from within the Applications folder in the Finder or by clicking the icon on the menu bar at the top of the screen:
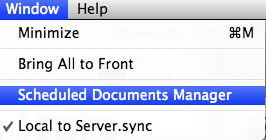
- Open the Scheduled Documents Manager window (under "Window" on Chronosync menu bar).
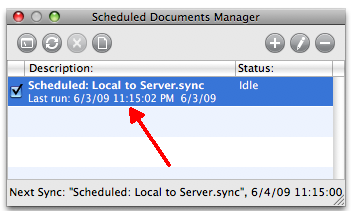
- Double click on Scheduled: Local to Server.sync to verify the schedule.
- Each weekday should be selected as shown below.

- NOTE: Backups are NOT run on weekends
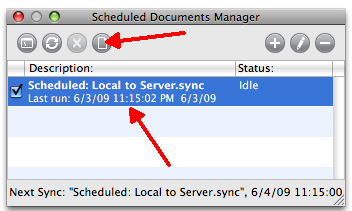
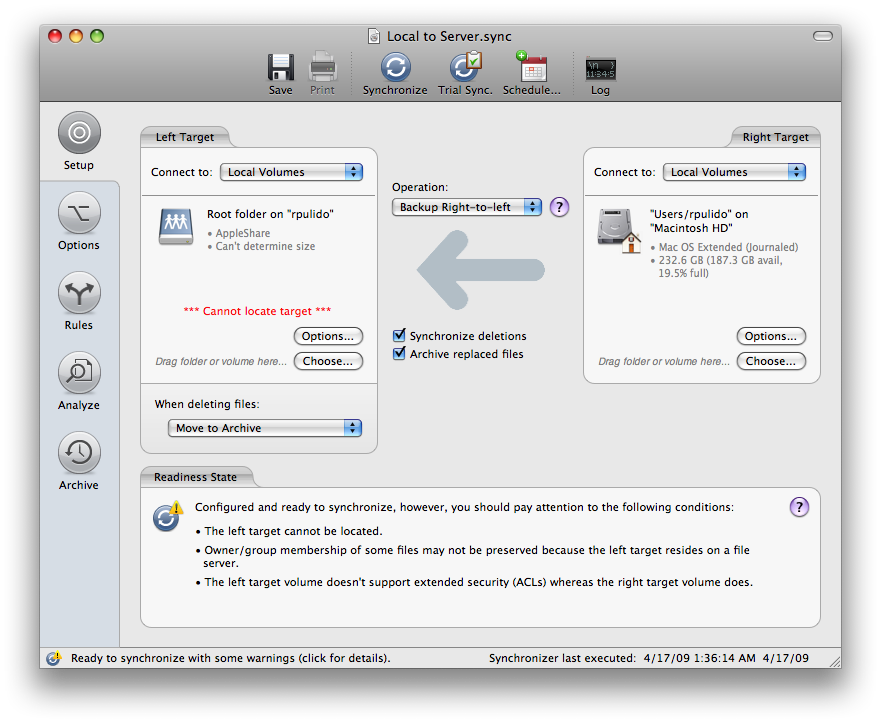
- Next open the script by selecting Scheduled: Local to Server.sync and click once on this icon (forth icon from the left).
- This is what the setup tab should look like. Your local home directory on one side, and your server home directory on the other. The arrow in the middle should point to the server home directory. It is normal if it says "*** Cannot locate target ***" while the script is not running. When you press the "synchronize" button at the top the script should automatically mount the target volume. If not you may need to check your password stored in the script or re-add the destination.
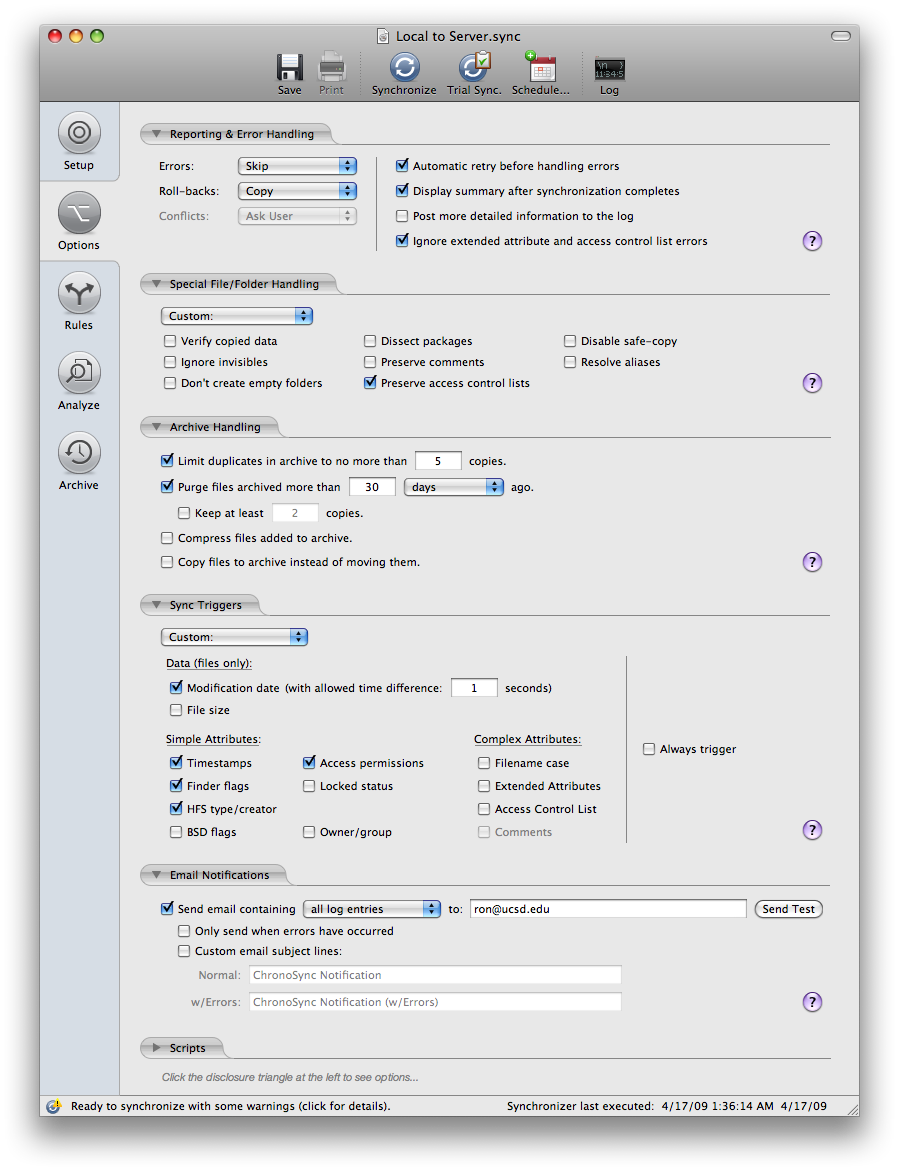
- Your settings should match those below for all functions to work properly. Also make sure it has your email adress under Email Notifications.
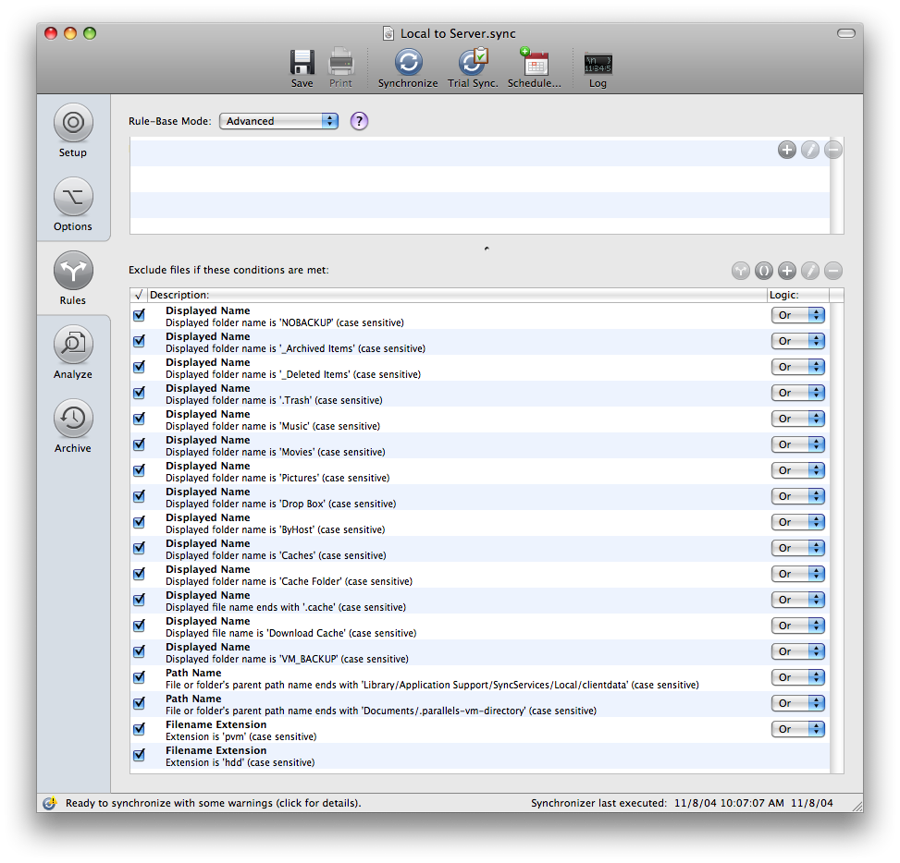
- These are the rules that should be set. Note some rules specify files and others are for folders:
- Now is the time to Save the Document if you have made any changes.
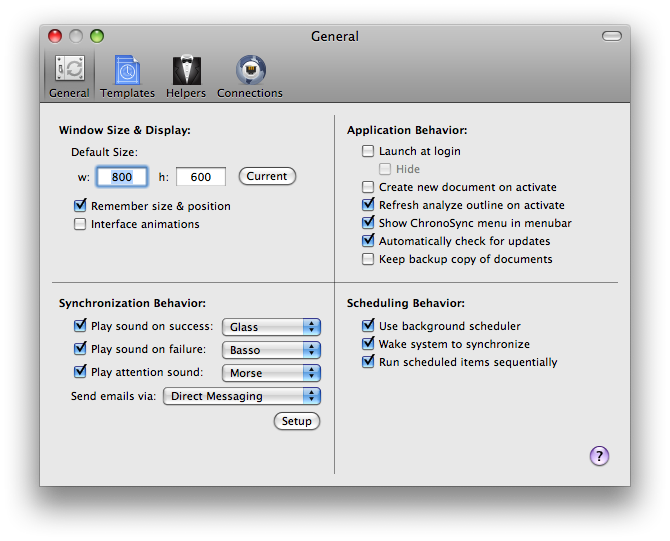
- Lastly set your Preferences (Chronosync menu > Preferences).
- The General tab should look like this:
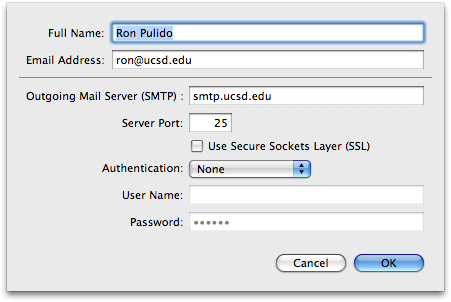
- If it says that Direct Messaging is not configured, you have to click the setup button and fill the form out like this. (With your name and email address of course).
If you need further assistance, please contact IGPP Net Ops.
, multiple selections available,