Approving Reservations on the IGPP Calendar
- Former user (Deleted)
Erick Pomplun updated November 22, 2016 at 2:39 PM
Objective: This wiki will go over how to approve calendar events on https://igpp.ucsd.edu
Approving Reservations through Admin Room Reservations
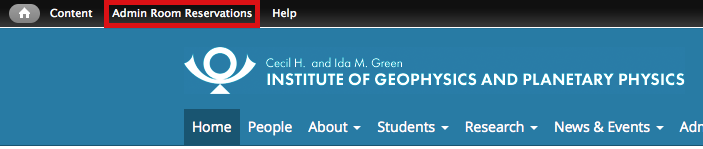
Up at the top of the page you will have a black bar spanning across the screen that has a tab labeled "Admin Room Reservations". This view will allow you to see all reservations with the newest reservation at the top in descending order as you go down the list.
This view will give all the details on the reservation itself as well as the status. The main purpose of this view is to determine what reservations were made first to keep requests fair. This way if 2 people request the same room at the same time, the Admin Room Reservation view will show which request was sent first.

Click on "Edit" and navigate to the bottom of the page where you will be able to change the status of the reservation to "Confirmed" or "Denied"
Make sure to save after you are finished editing the reservation.
Approving Reservations through the IGPP Calendar
- Open a browser and navigate to the IGPP Website
- Login in the top right corner of the page using your Active Directory (AD) credentials
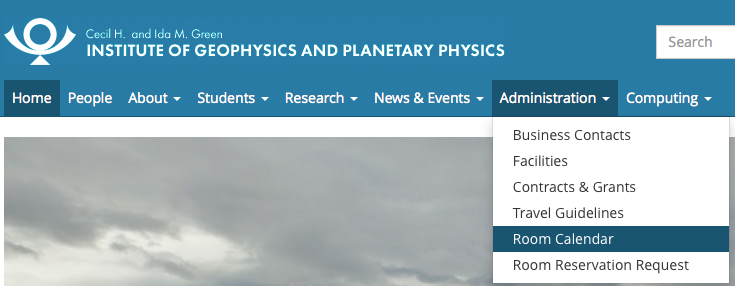
- By hovering over or clicking the tab labeled "Administration" select "Room Calendar"
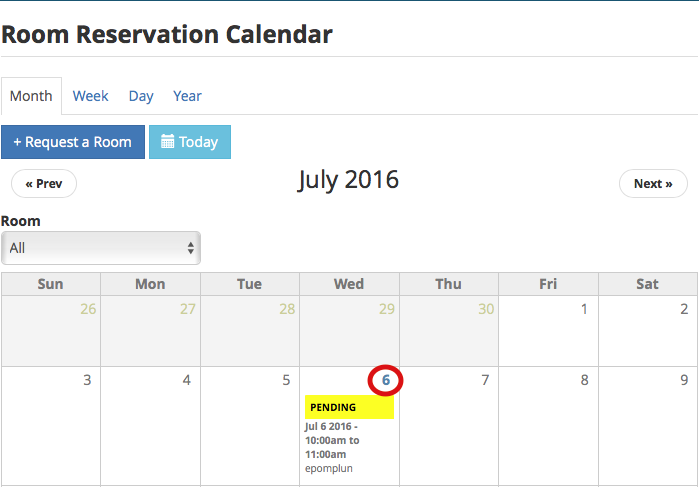
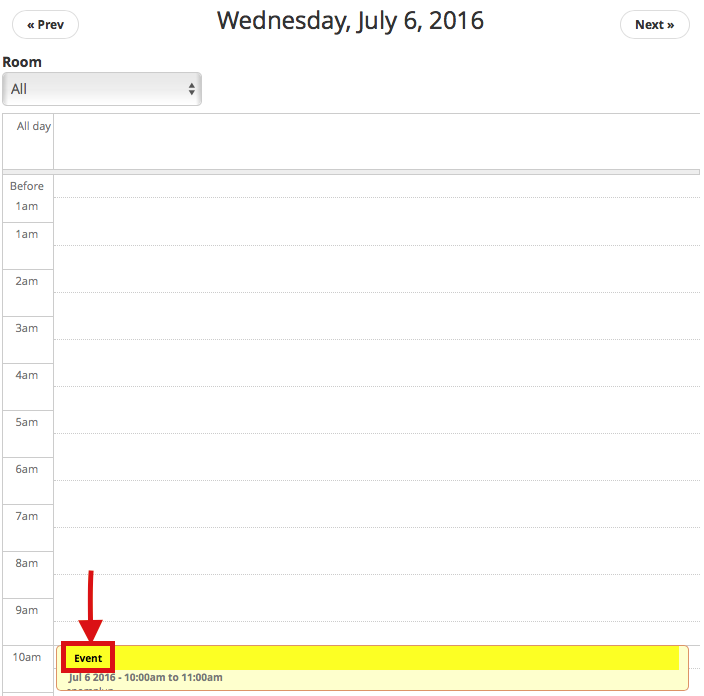
- View the reservations for a specific day by clicking on the number for that day
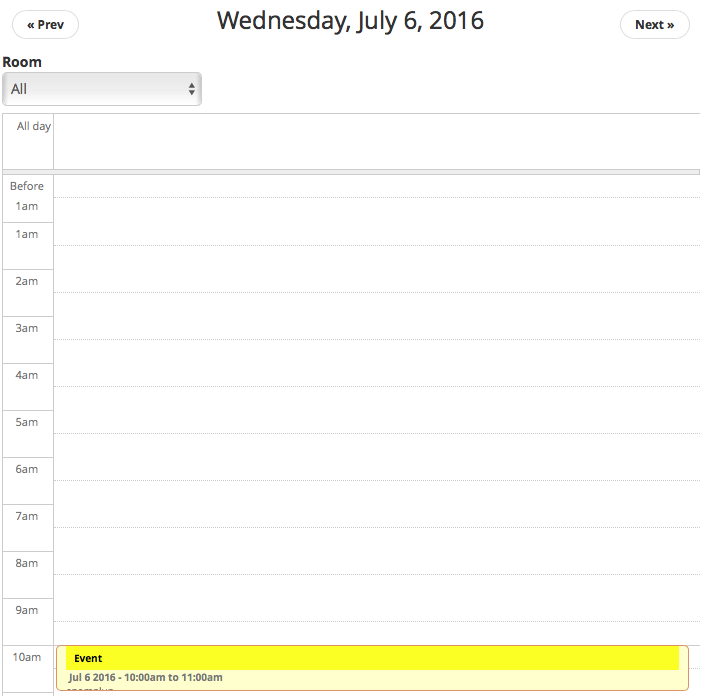
- This view will allow you to see what events are happening at what time throughout that whole day
- The room legend on the right side will specify the status of every reservation. Any reservation with a room name is approved while any reservation with a "Pending" label has not been approved yet.

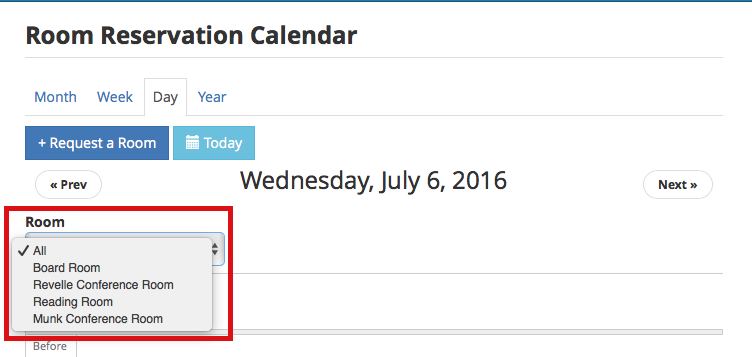
- You can also filter out specific rooms by selecting the drop down from the top left and selecting the room you wish to see the events for.
- Click on the reservation name to view its details
- Select the edit tab and navigate to the bottom of the page
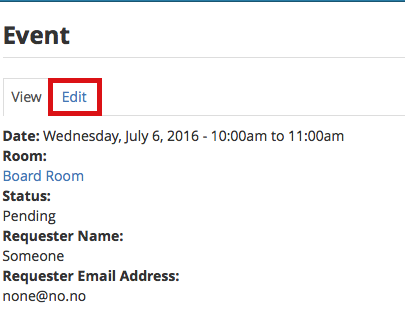
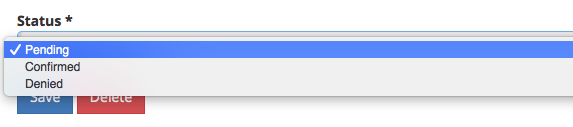
- Click on the "status" drop down to either confirm or deny a request.
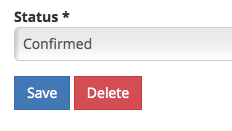
- Once you have confirmed/ denied the request make sure you save by clicking on the save button underneath the status drop down
Canceling a Reservation
- Complete Steps 1-9 from the beginning of this wiki
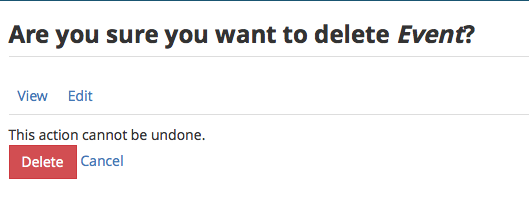
- Select Delete and confirm that you really want to delete this event when asked.