Records in Airtable
Objective: This page will go over the process of adding a new record to Airtable as well as editing existing records.
Adding a User
- Log into Airtable using your AD credentials either via website (https://airtable.com) or Airtable application from the app store.
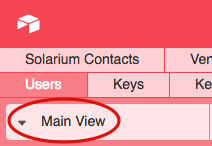
- Select the tab up at the top you wish to add the corresponding record to.

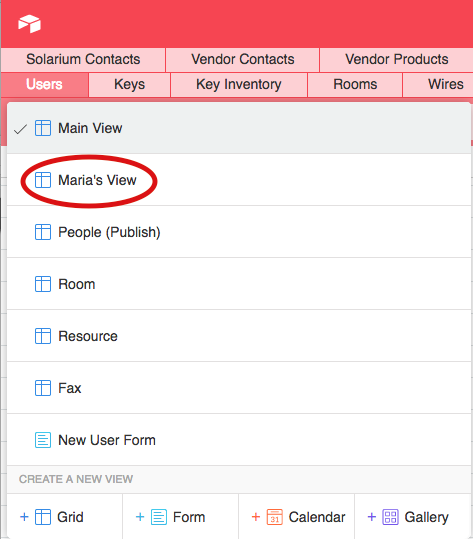
- Switch "Main View" to "Maria's view" from the drop down
- When adding a new user you will want to place the newest addition to the very top of the list
- While at the top of the list, right click on the left most column and select "insert record above"

- Fill in each section starting with the "Last Name" section. Please note that the "ID" Section in Users will populate its information from the rest of information within the row you are filling out.
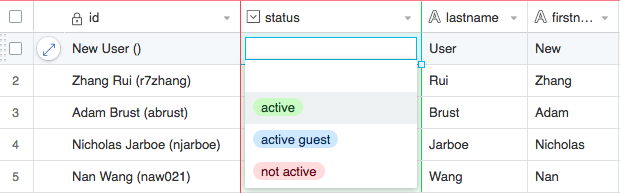
- The status drop down will default to "Active", but for guests, this should be changed to "Guest Active"
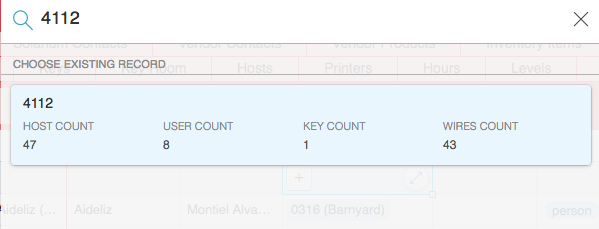
- For sections with highlighted information, such as "room_num", "kind", "emp_status" etc.. simply select from the pull-down menu and no need be filled in manually. Once you begin typing, Airtable will auto populate. Simply click on the correct record. Below is an example for room 4112.
- If you make a mistake you can execute an "Undo" just like in excel by pressing Command+Z IMPORTANT: You can only "Undo" your previous edit. This does not undo multiple edits so please check your work regularly
Editing a User
Airtable works a lot like an excel spreadsheet. By clicking on the field you wish to edit you can type the necessary changes you wish to make.
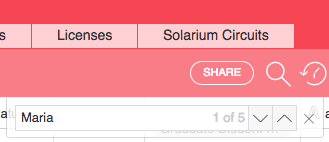
First find the user you wish to edit. This can be done by scrolling through the list of users or by using the search feature in the top right corner. Simply click on the magnifying glass shaped icon and type in the user you're searching for. Airtable will sort and highlight any information that mirrors what you typed in.
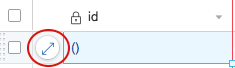
An additional way to edit is to expand the column in a separate window by clicking on the expand arrow next to the entry
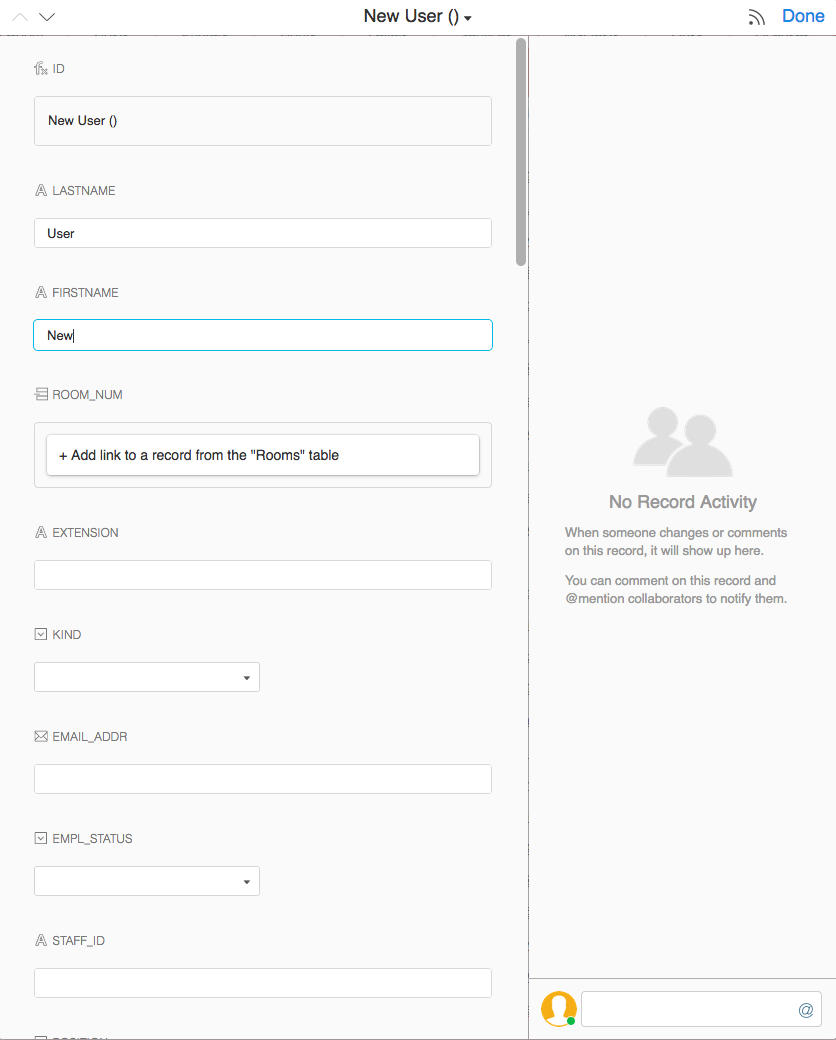
This will bring up an expanded version of the row you are editing.
Adding a Key
Adding a key is very similar to adding a User in the sense that you will go down the different columns in the row to fill in the required information. You can still use the right click at the beginning of a row to access the drop down that will allow you add a new record on top.

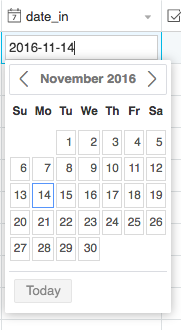
You will also have a spot where you can mark when someone has returned a key back to you under the "Date In" section. You can enter in the date manually with the following format YYYYMMDD or by selecting the date from the drop down. TIP: You can click on the "Today" button to automatically fill in the present day's date.