Setting Up Additional IGPP Printers for macOS
Setting Up Additional IGPP Printers for macOS
- Former user (Deleted)
- Former user (Deleted)
- Paul Dean
Owned by Former user (Deleted)
Last updated: Jun 07, 2021 by Former user (Deleted)
Questions Addressed
- How do I setup additional IGPP printers on my machine?
NOTE: In order to print to a IGPP printer, you need to be on UCSD Network or connected to Virtual Private Network (VPN).
- Open System Preferences > Printers & Scanners.
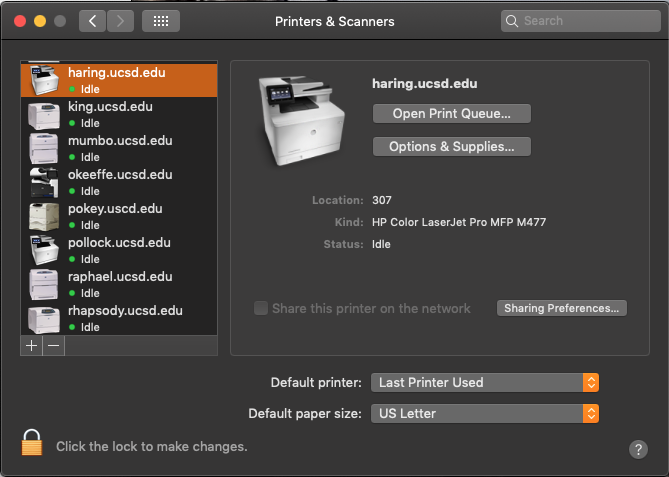
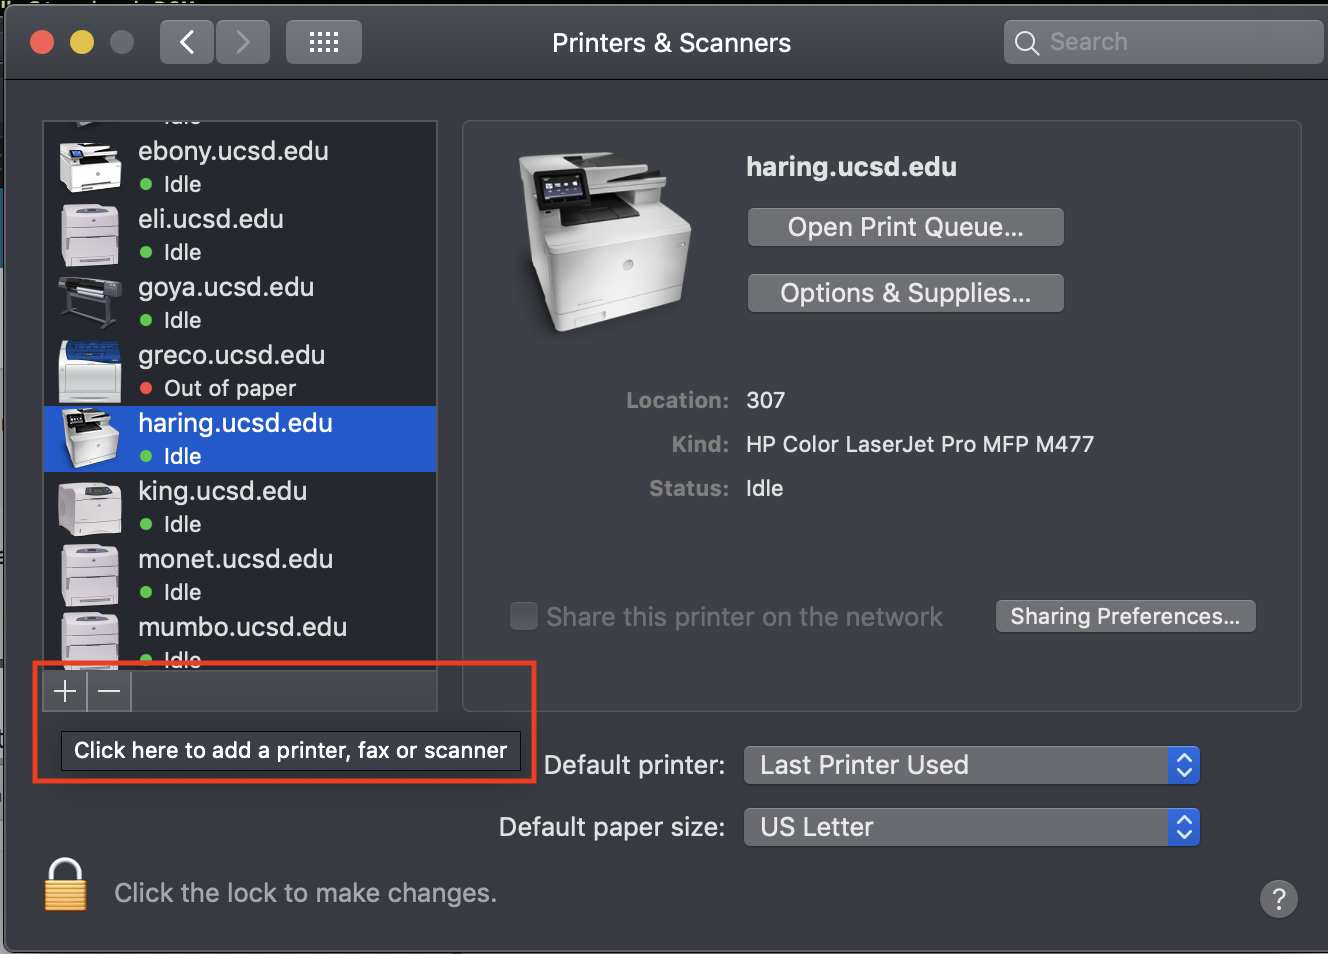
- In the Printers pane, click on the + icon, then select Add Printer or Scanner.
- Choose IP Printer from the top of the window.
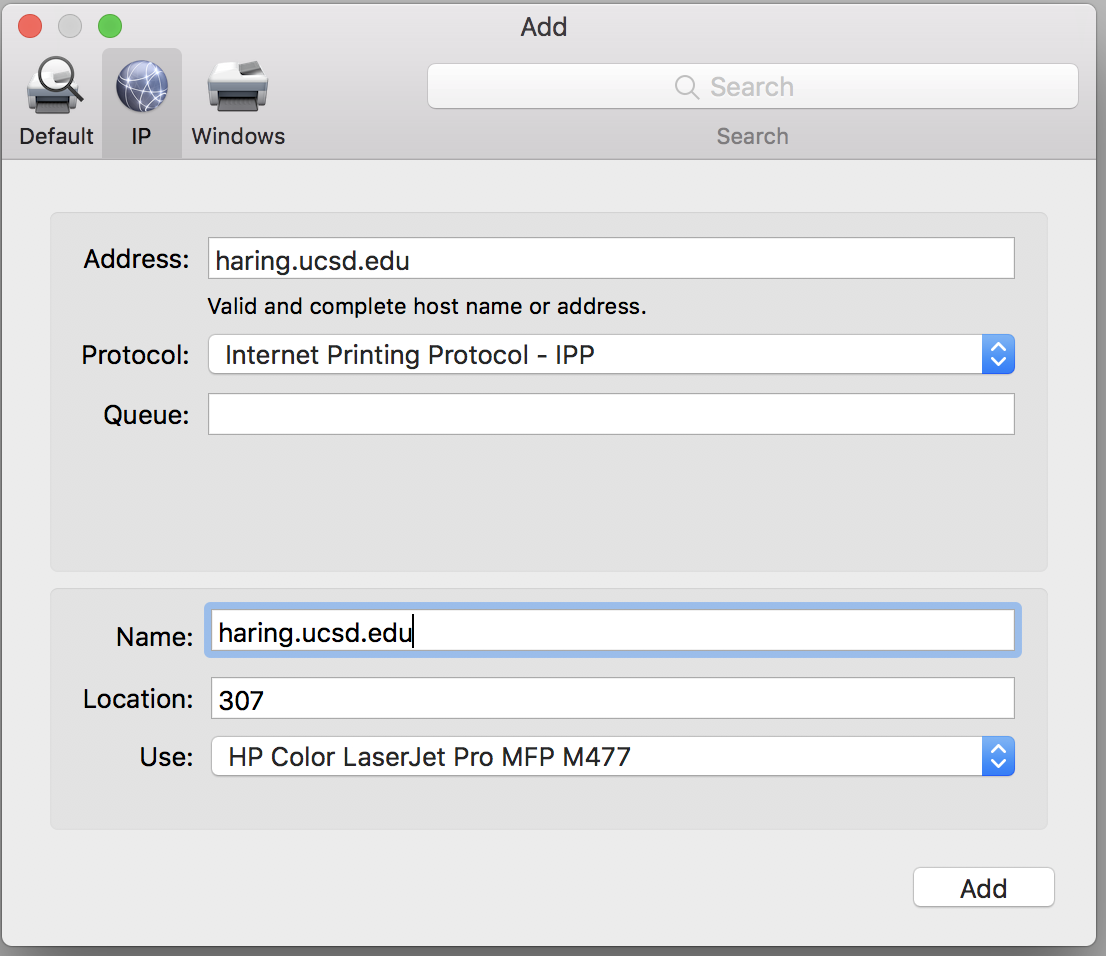
- In the Address and Queue field, enter the printer's address (printername.ucsd.edu).
- Make sure the correct printer model is selected from the Use: pull-down menu. If you do not know the model of the printer, you can look it up at https://igppdb.ucsd.edu/printers.
If printer model is incorrect, change it by selecting from the pull-down menu, Use: -> Select Printer Software. If the printer model cannot be found, you may need to download the driver from the manufacturer's website (links are provided conveniently for you on https://igppdb.ucsd.edu/printers .) - Click Add Add to finish the printer setup.
NOTES:
- Check https://igppdb.ucsd.edu/printers to see a printer's capabilities and additional settings (ie. duplex, Number of trays) and download the linked drivers.
- On your top toolbar, click > Software Updates to update any printer drivers.
, multiple selections available,
Related content
Installing IGPP Licensed MATLAB
Installing IGPP Licensed MATLAB
More like this
Usage of Plotter Printers
Usage of Plotter Printers
More like this
How-to: Install Qualys Cloud Agent and Trellix Endpoint Protection
How-to: Install Qualys Cloud Agent and Trellix Endpoint Protection
More like this
Enrolling your Computer to Jamf Cloud
Enrolling your Computer to Jamf Cloud
More like this
How to: Enrolling Your Self-Managed Windows Machine to SIO-Intune
How to: Enrolling Your Self-Managed Windows Machine to SIO-Intune
More like this
File Sharing and Accessing Your Network Home
File Sharing and Accessing Your Network Home
More like this