Setting ChronoSync Destination
Conrad McGarry updated July 16, 2014 at 12:56 PM
Questions Addressed
- How do I set the destination in my ChronoSync script? How do I set the destination in my ChronoSync script?
Setting the link to your network home directory in ChronoSync
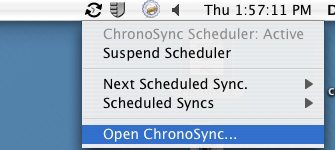
- First you must locate the "Local to Server.sync" script on your drive. To do so, open ChronoSync either through the finder or by clicking the icon on the menu bar at the top of the screen:
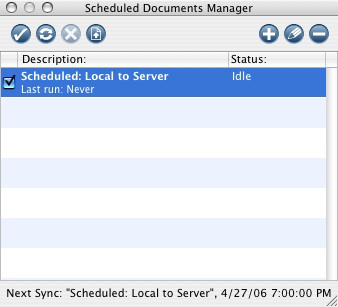
- Make sure the Scheduled Documents Manager window is open and active.
It can be accessed via the top menu: Window -> Scheduled Documents Manager - To open the script, select it in the box (should be highlighted like in the picture) and click the fourth icon from the left
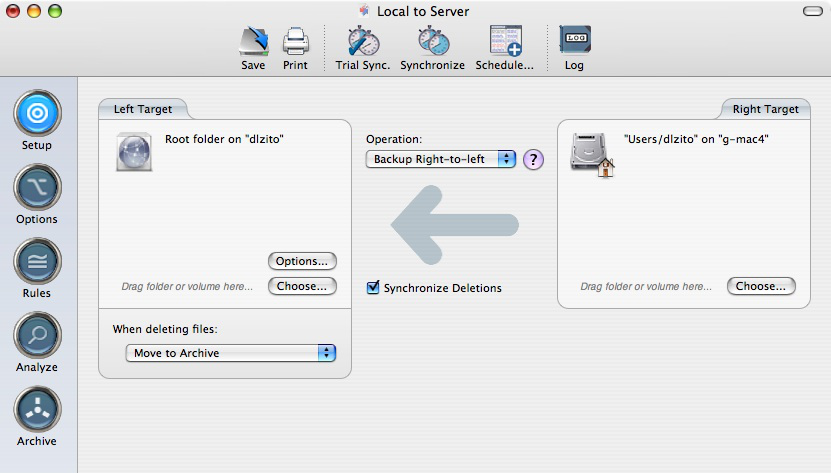
This is what the setup tab should look like. Your local home directory on the right, and your user directory on the server. - Now connect to the server csync.ucsd.edu and mount the volume with the name of your home directory.
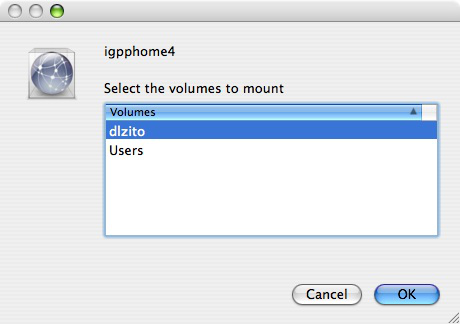
(In Finder, go to Go in the top menu and choose "Connect to Server..." or just press ⌘ + K. - Click on choose in the left target.
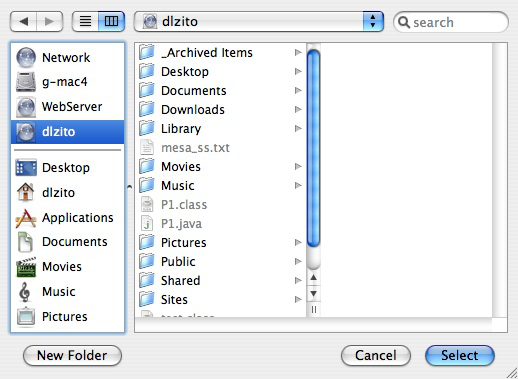
- Find your home directory and click select.
- Save your script and you are finished!
Caution: If you choose not to run the backup immediately, then please unmount the server volume after this step.
, multiple selections available,
