CrashPlan How To Restore Files
Description
CrashPlan provides two options for restoring files or folders: through the Crashplan application itself, or through your web browser using CrashPlan Web Restore.
If you have CrashPlan running on the computer you want to restore the file to, restore using the CrashPlan application.
If you want to restore a file to a computer that isn't running CrashPlan, you can use CrashPlan Web Restore.
*Note: Web Restores require VPN.
Restoring through the CrashPlan application:
- Open /Applications/CrashPlan Pro.
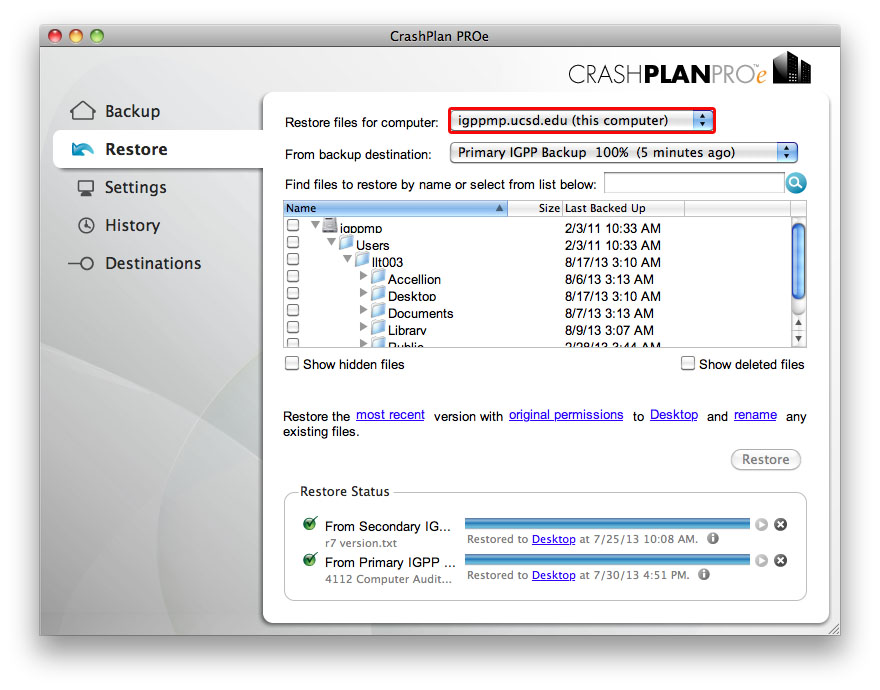
- Click the Restore tab on the left-hand side.
- Click on Restore files for computer drop down menu and select the computer you wish to restore from. (Only if you have two computers being backed up on Crashplan)
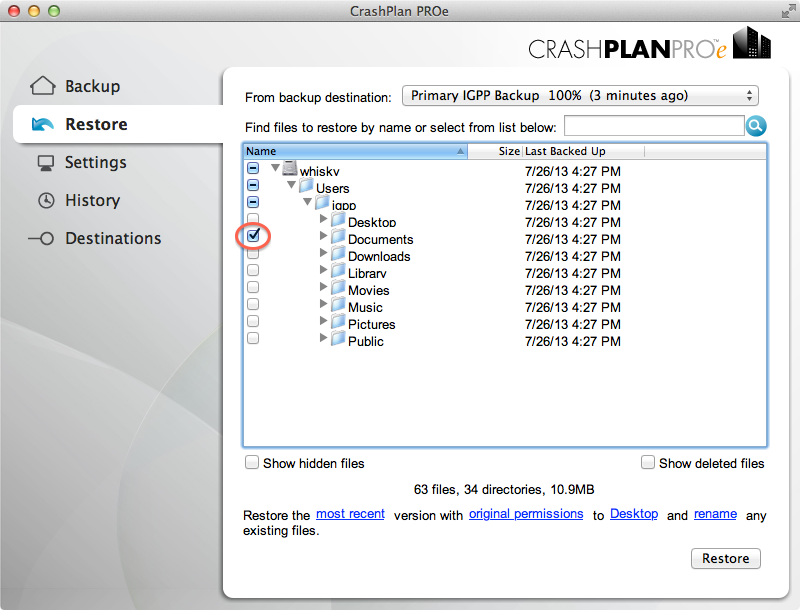
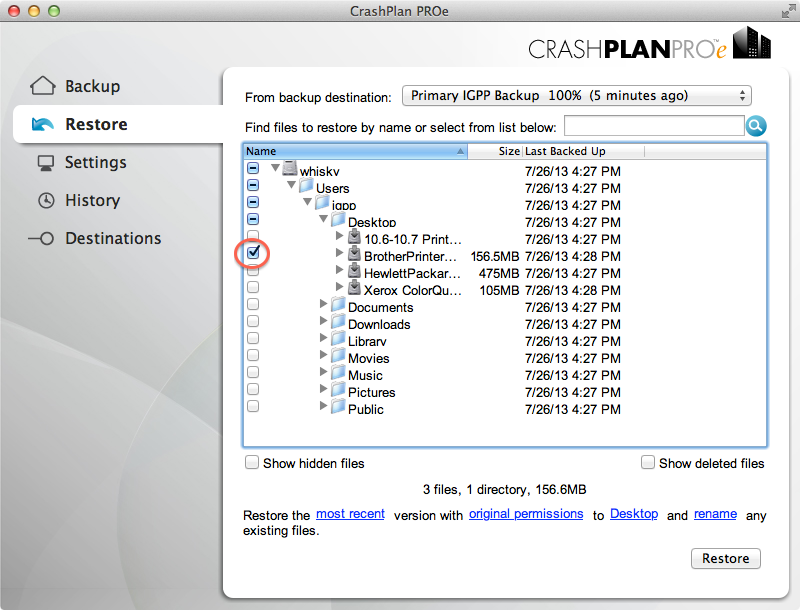
- Check the empty box on the left to restore the folder/file.
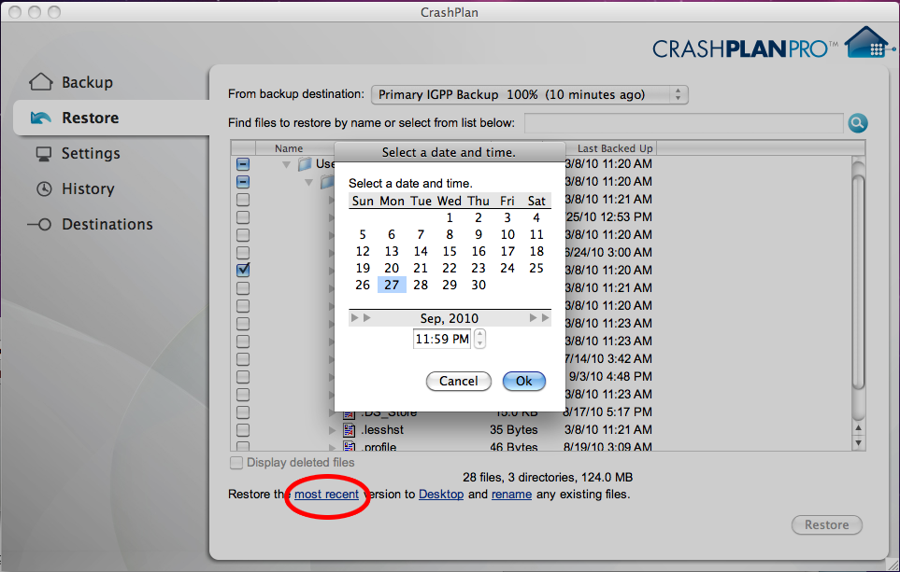
- By default, CrashPlan will restore the most recent version of your folder/file. If you have older versions of the folder/file you wish to restore, click the Most Recent link. Choose the date and time of the folder/file version you want restored, and click Okay.
- Click Restore. The restored files will be located on your Desktop and any existing files will be renamed.
Restoring through the CrashPlan Web Restore
*Note: Web Restores require VPN.
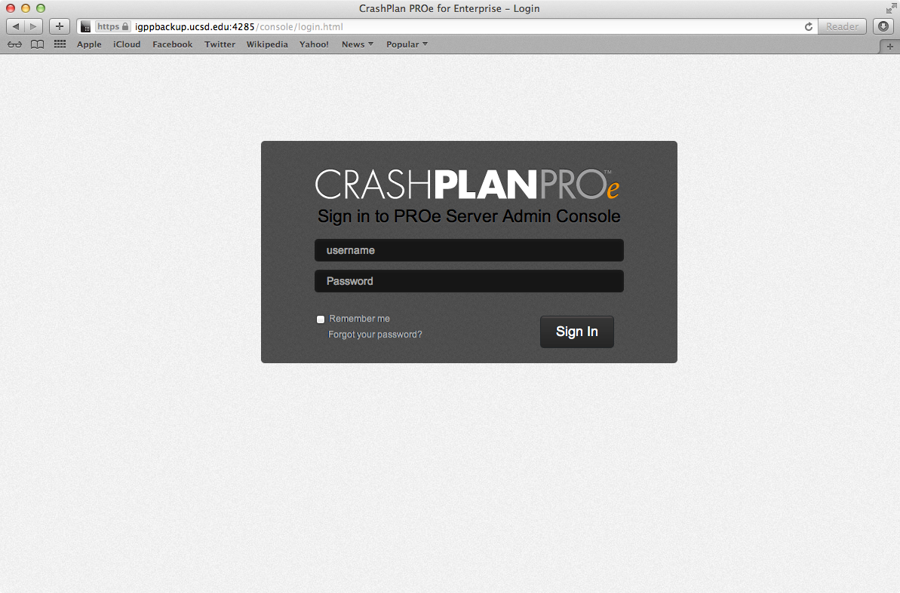
- Open your web browser and go to https://igppbackup.ucsd.edu
- Enter your AD username and password. This is the same username and password used to login to your email.
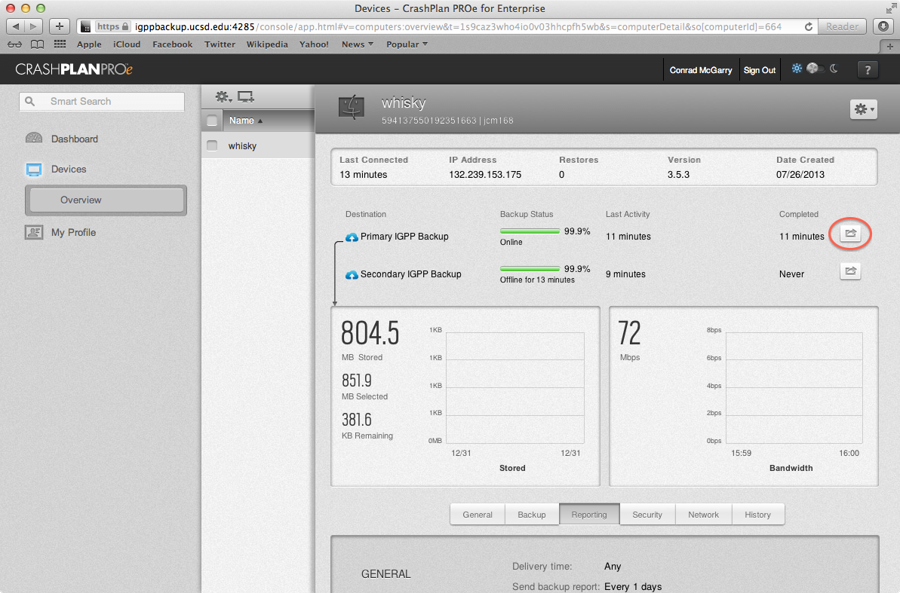
- Click on the device you wish to restore.

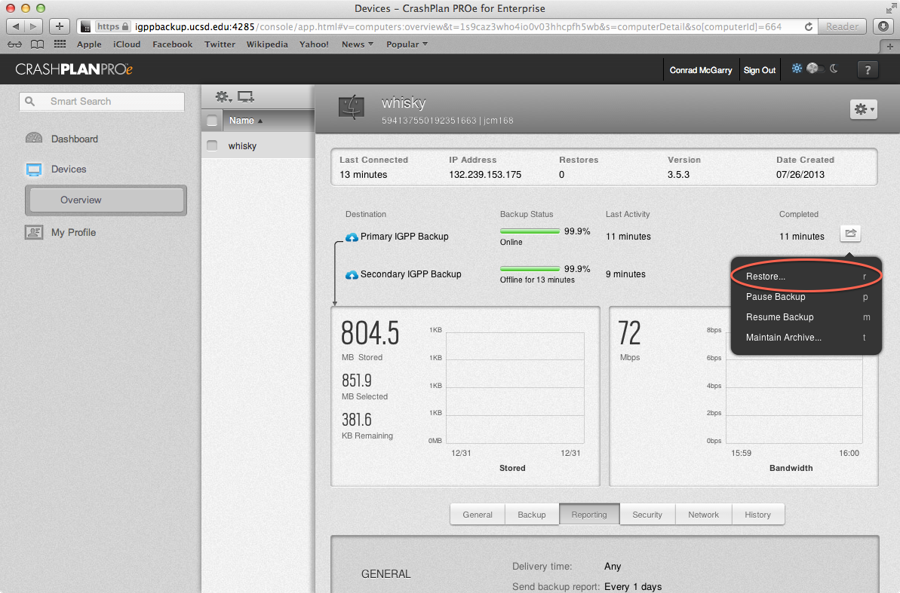
- Click on the icon to the right of the backup you wish to restore, and then on the restore button in the popup.
- Check the empty box on the left to restore the folder/file.
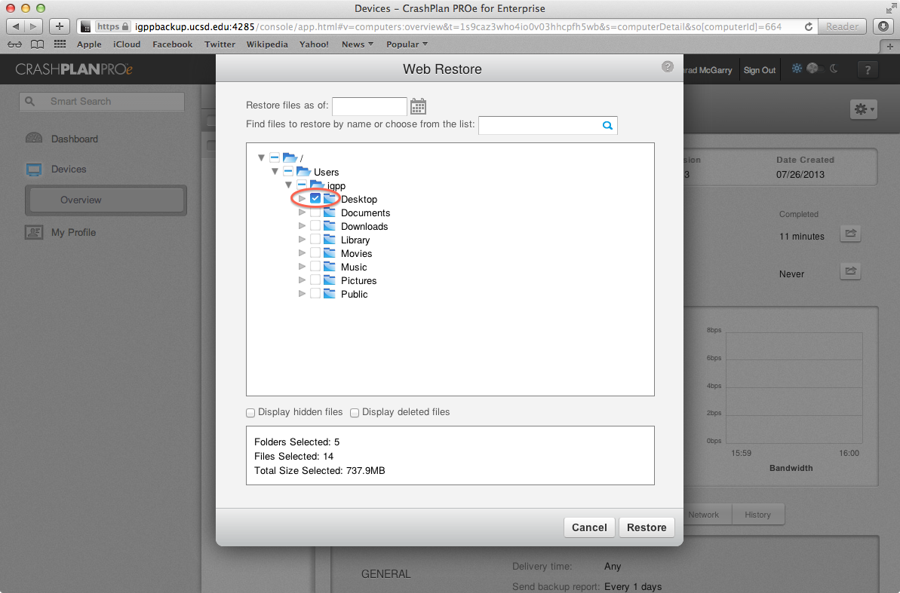
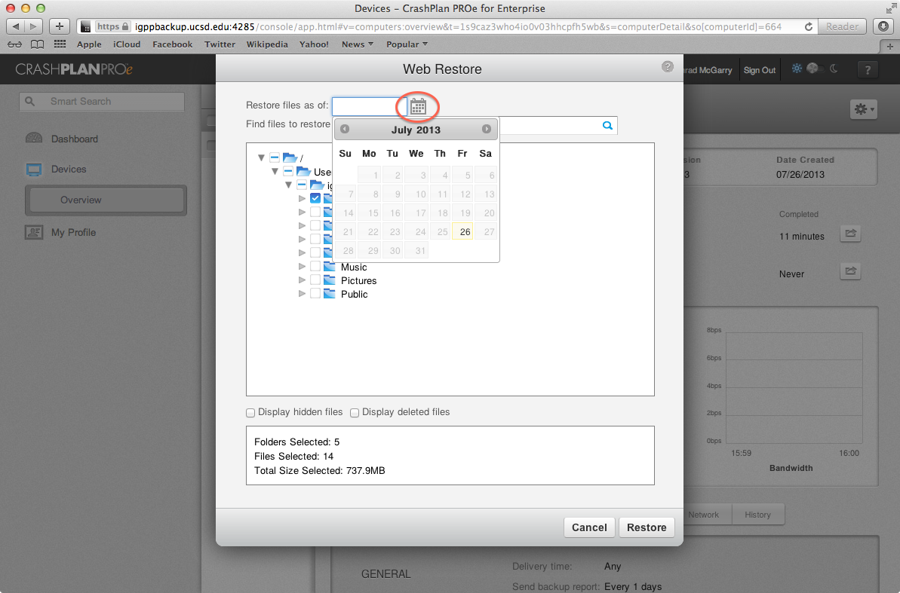
- By default, CrashPlan will restore the most recent version of your folder/file. If you'd like to restore all your files from a particular date, use the calendar on the left to select the day to restore from.
If you'd like to select the restoration date on a file-by-file basis, click the file. A list of versions dating back 90 days will be listed. Choose the appropriate version. Note that there is no equivalent for restoring an entire folder to earlier version other than the most recent; you will need select the date and time of the contents of the folder individually.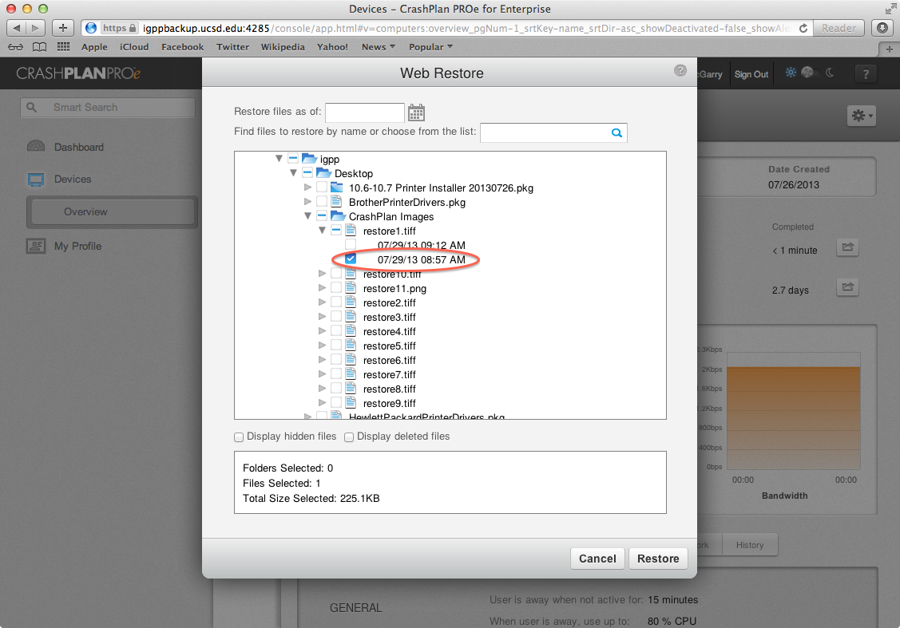
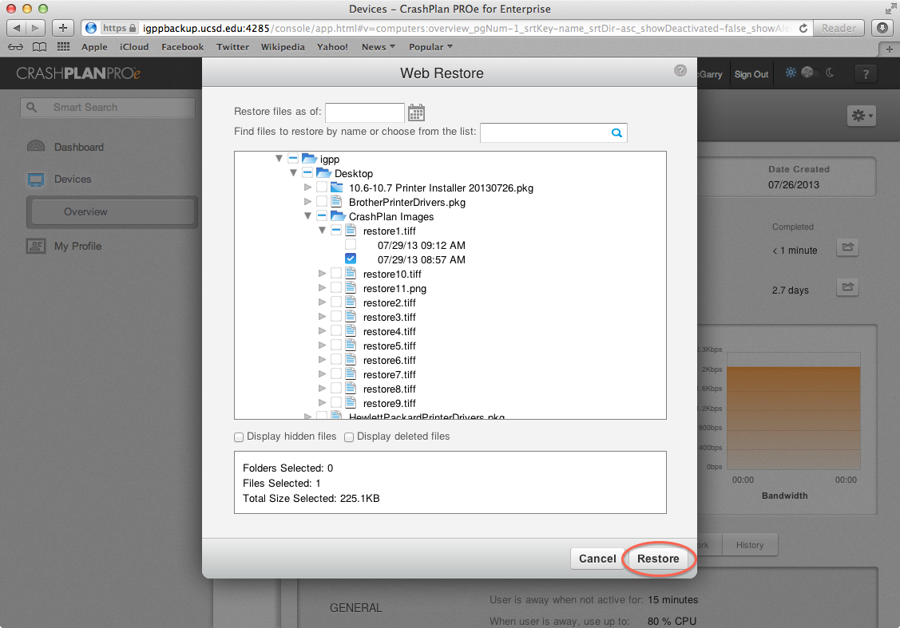
- Click Restore.
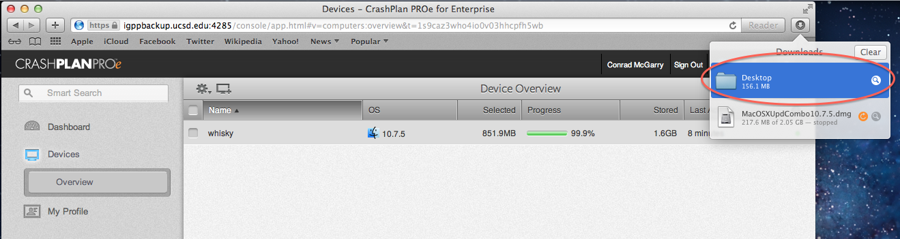
- Click "Click here to download" on the bottom of the left sidebar.
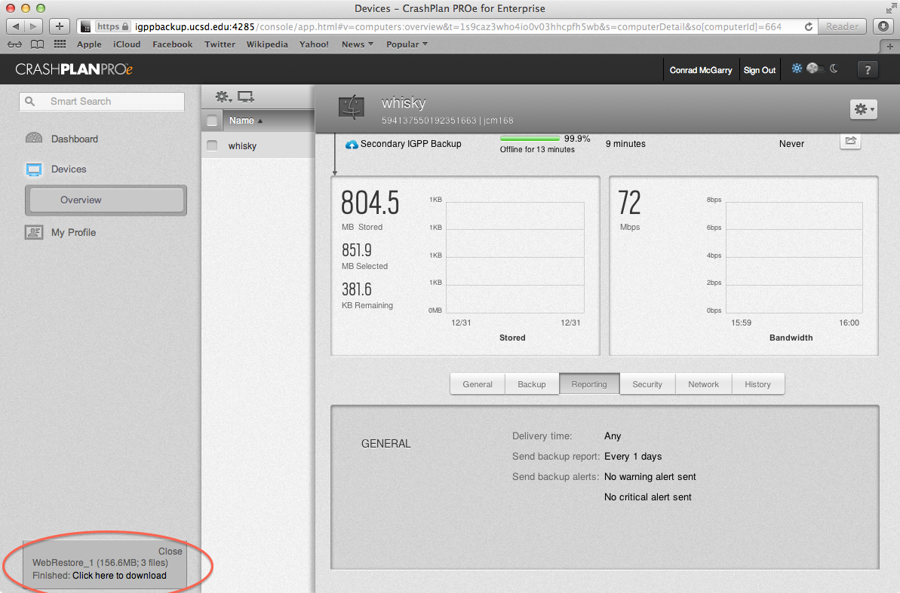
- The downloaded files can be found in the Downloads of your browser and your Downloads folder.

If you need further assistance, please contact IGPP HelpDesk.
, multiple selections available,